
Cleaning years of crud out of someone’s old Weber BBQ is not a fun job. BUT, with a little TLC the end results can be downright shocking and well worth the effort. Even kettles that have been neglected for 30+ years can be brought back to life with a little steel wool and a razor scraper. This is all thanks to the extremely durable porcelain enamel finish present on all Weber kettle grills. This enamel is the same material used inside most household ovens and resists scratching, cracking and chipping even under extreme heat.
Although the two are drastically different in terms of scratch resistance – I like to think of the kettles finish as a paint job on a high-end car. In order to get it looking really good you want to remove as many of the tiny surface contaminants as possible just like a detailer would. This article will show you how to do just that with a few basic cleaning tools.
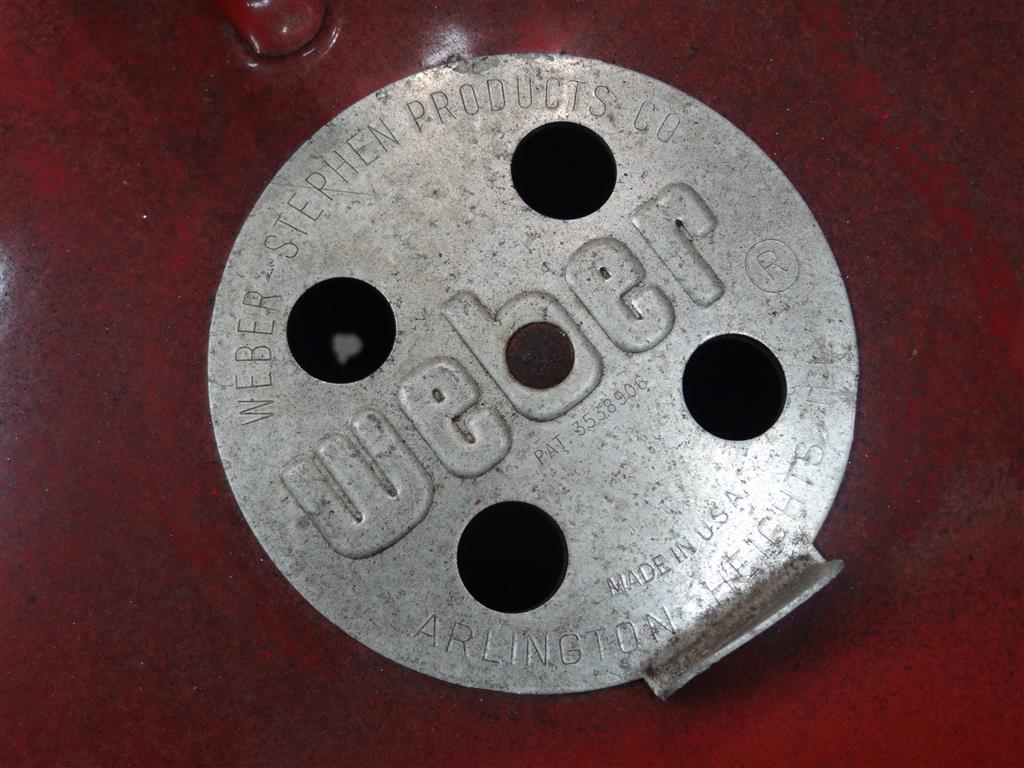
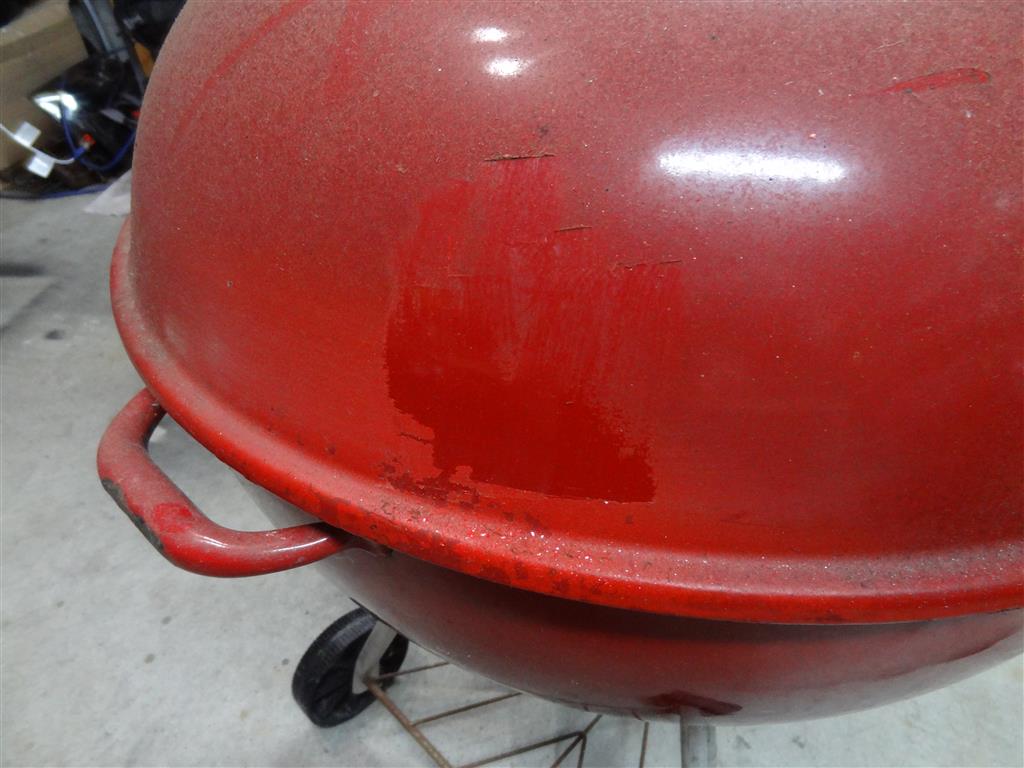
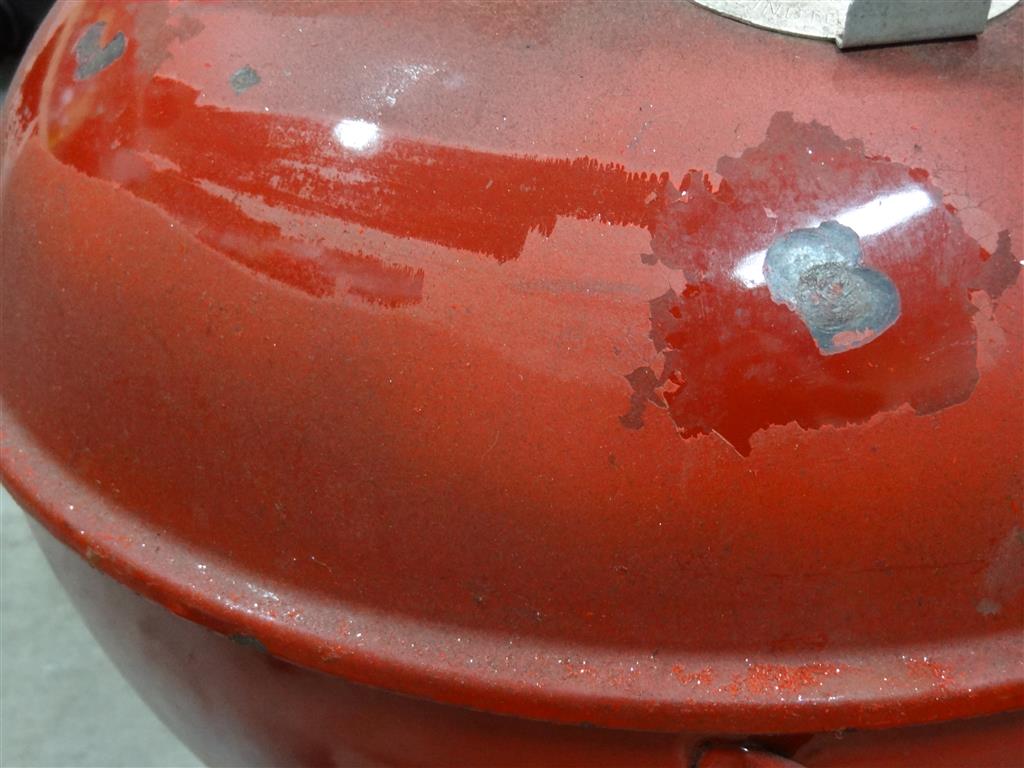
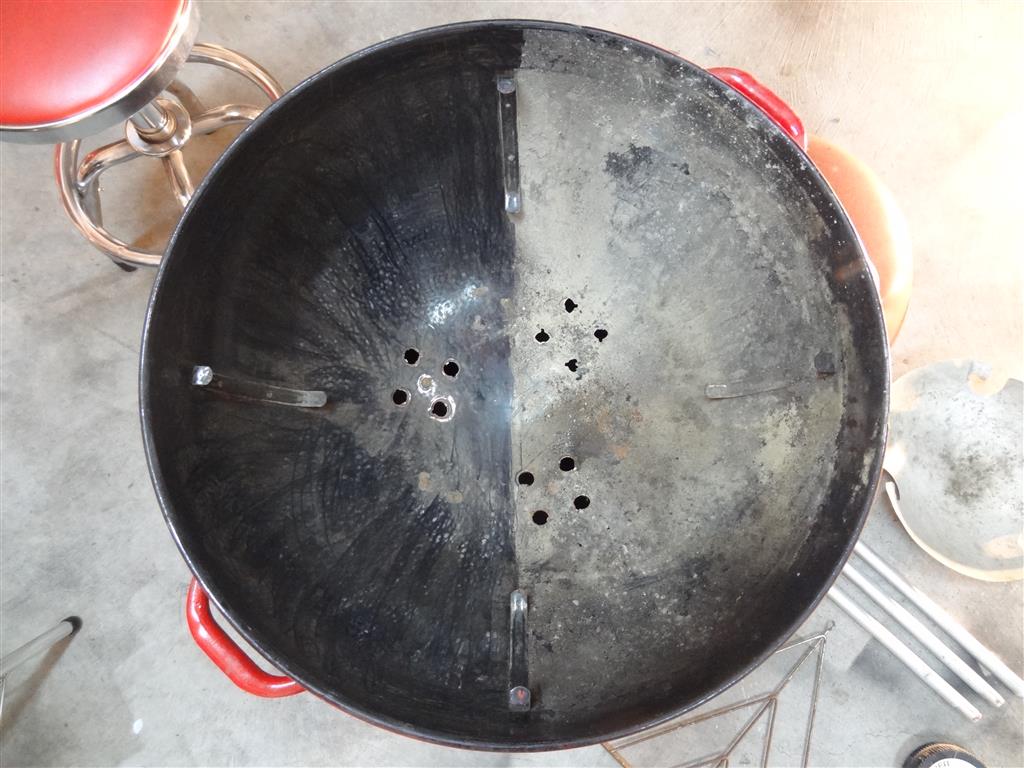
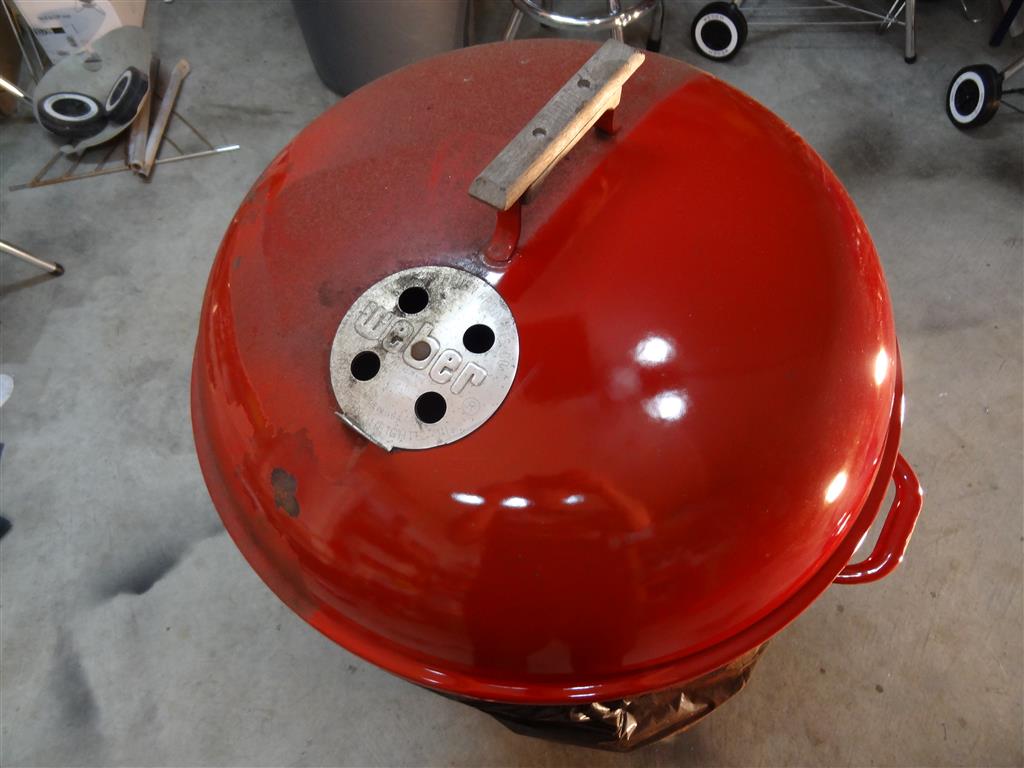
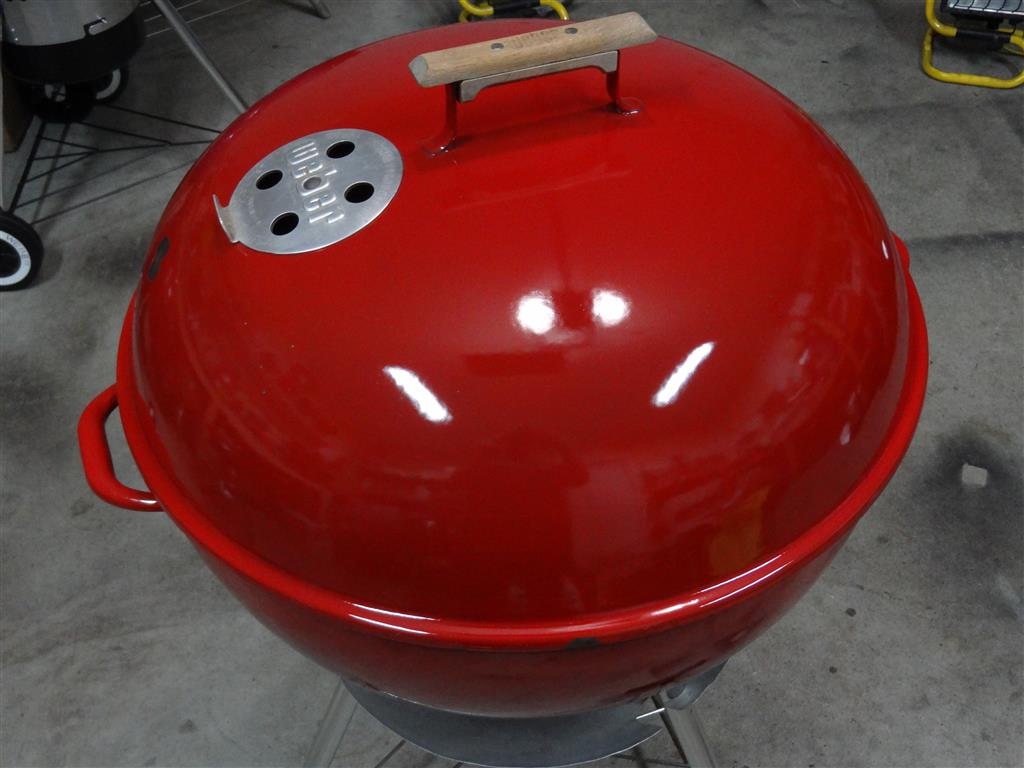
First off I would like to introduce the kettle being used in today’s demo. This is a no date stamp red MBH kettle that I found on craigslist in early January. It’s clearly seen better days and at one point the previous owner even decided to “eye ball” some rattle can paint onto a few areas to cover damage. Thanks to the Age Guide we know this particular kettle was made sometime around 1978.
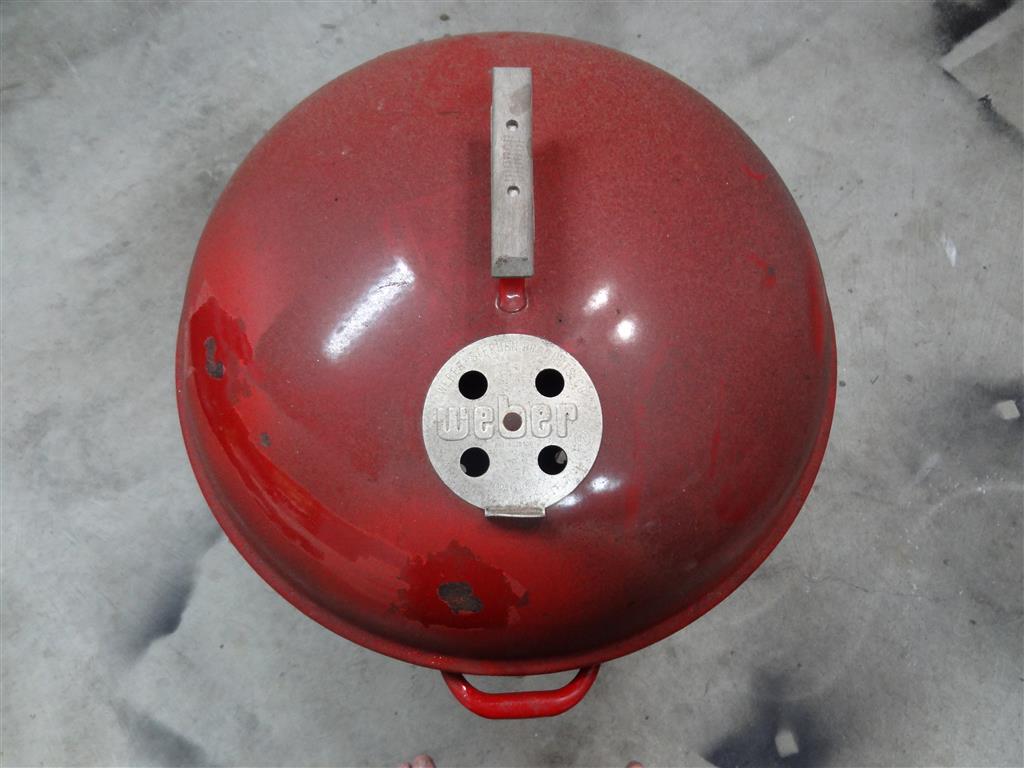
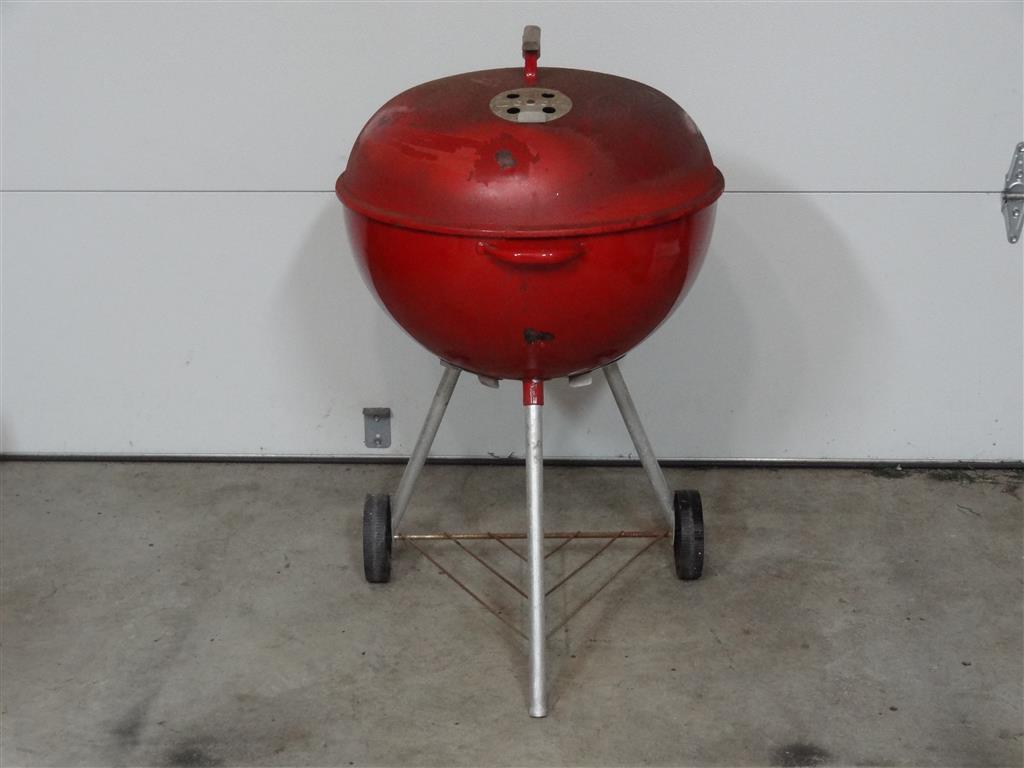
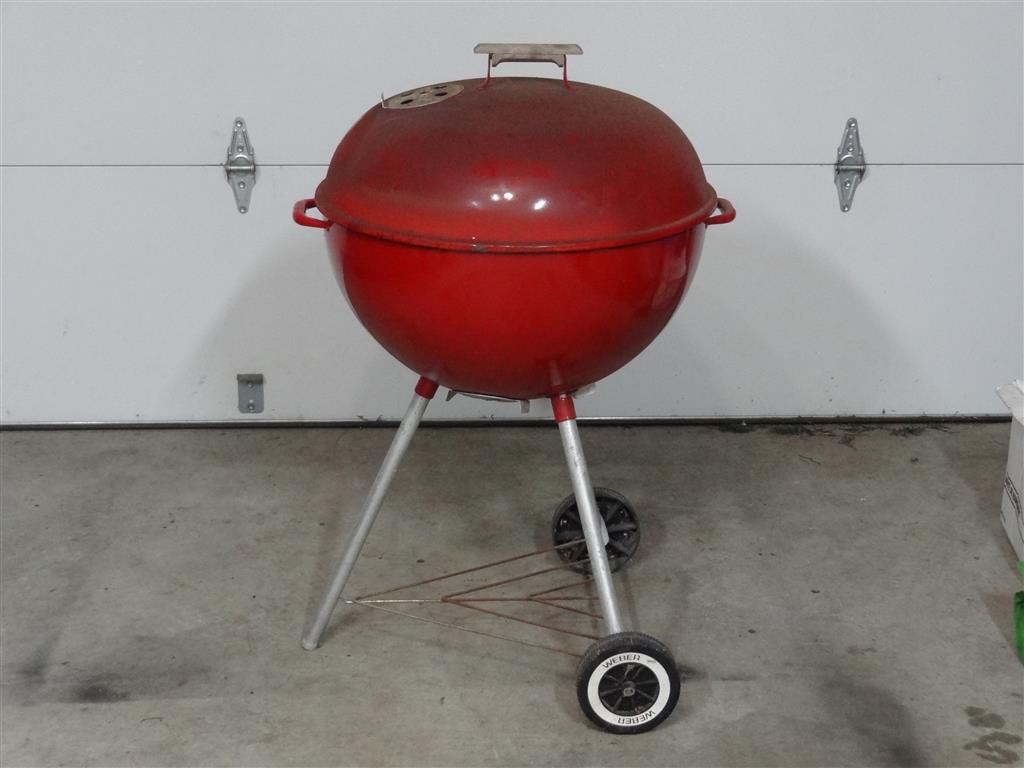
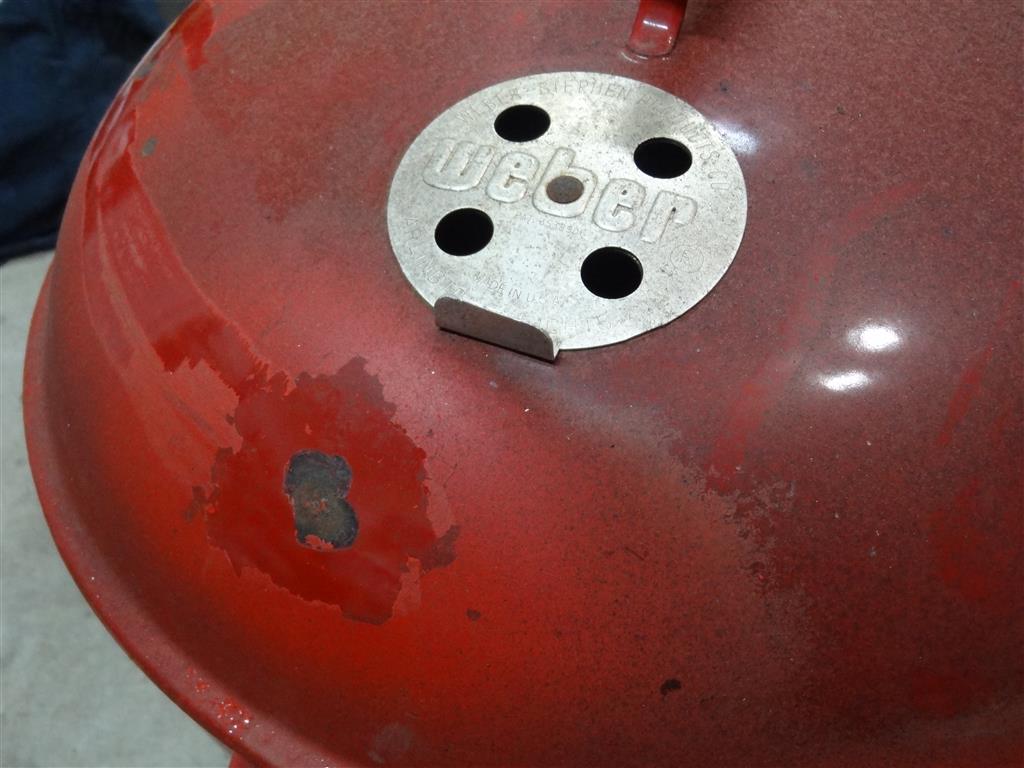
At first glance this poor kettle is a bit of a pooch! but don’t give up just yet… it’s time to get down to business!
Materials required:
1 Quality Razor Scraper
1 Pack of Razor Blades
1 Pack of #0000 Extra Fine Steel Wool
1 Bottle of Weber Exterior Grill Cleaner (Can also use water and dish soap – this is more just a lubricant for the razor blade)
2 cotton rags
Tip: Take a close look at the price of razor blades! Many times Home Depot or other stores will sell a small pack of 10 blades for something like $7.99 but if you look for the jumbo 100 pack it’s only $5 or $6 more. You’d be surprised how fast you can go through these – go big!
On to the teardown!
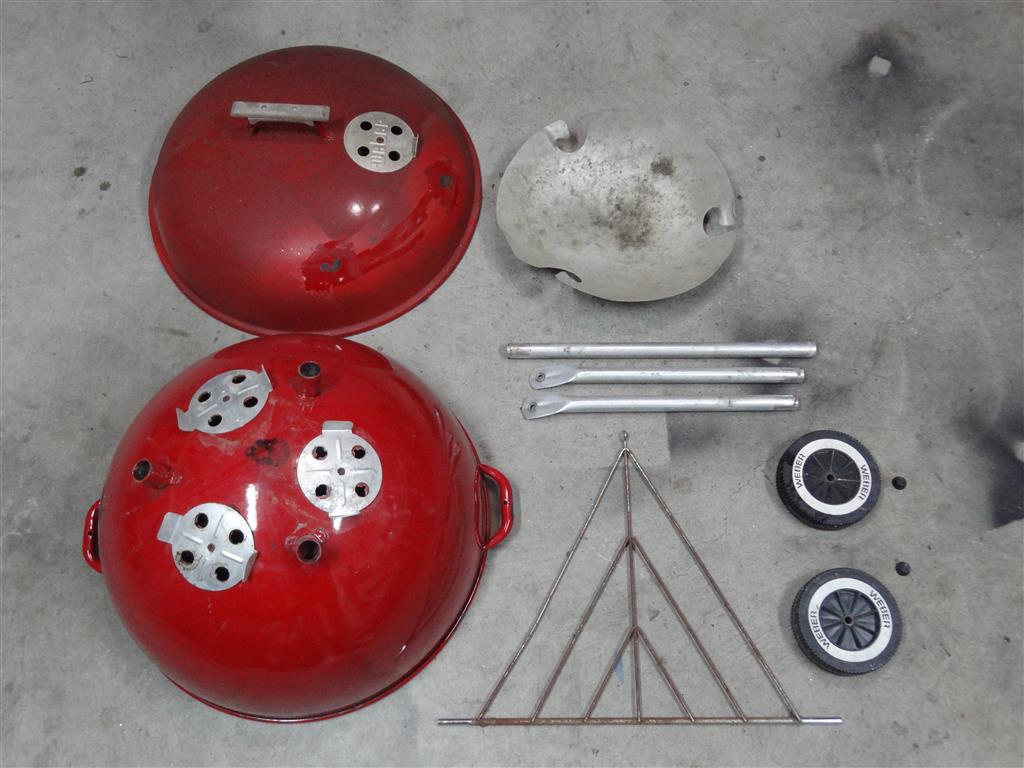
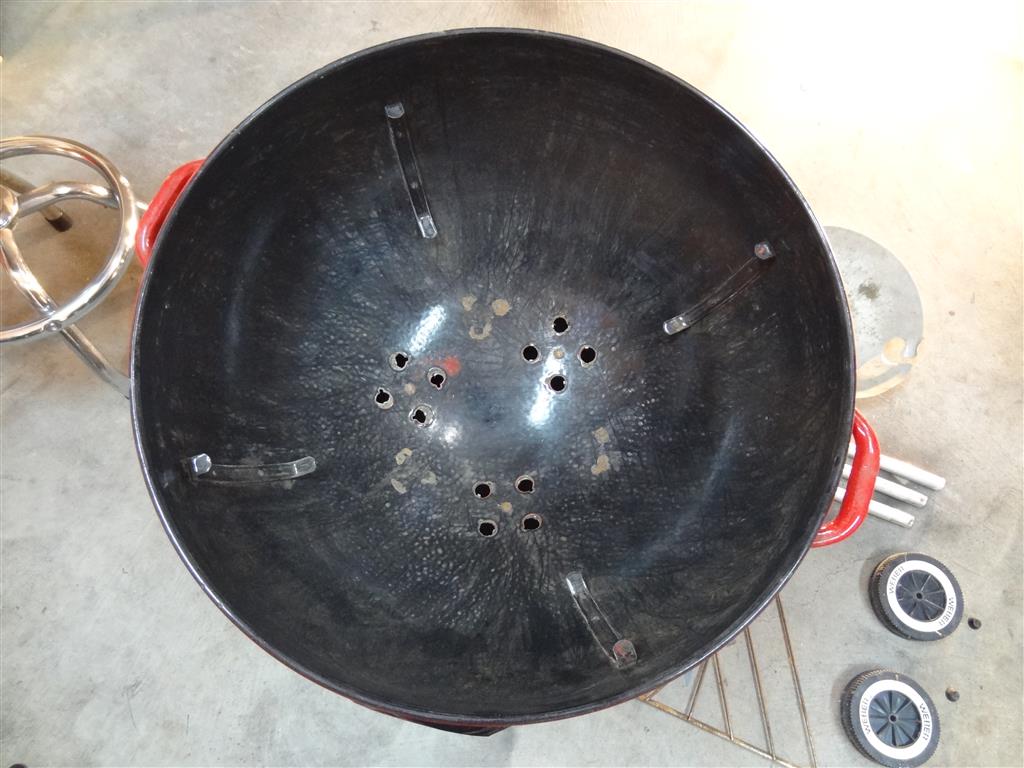
The first thing I suggest doing is completely dismantling the kettle if at all possible. Lay out the individual pieces neatly so that nothing goes missing during the cleanup and then take a good look at the bowl sections of the kettle and identify areas of concern or sections that may require some additional attention while cleaning.
Next up you want to elevate the kettle to a good working height so that your not killing your back trying to bend down to the floor. The perfect solution to this problem is a good old trusty garbage bin lined with a garbage bag. Not only will it give you a stable base and nice working height, but you can also scrape ashes and grime down through the damper holes in the bowl and directly into the garbage bag below.

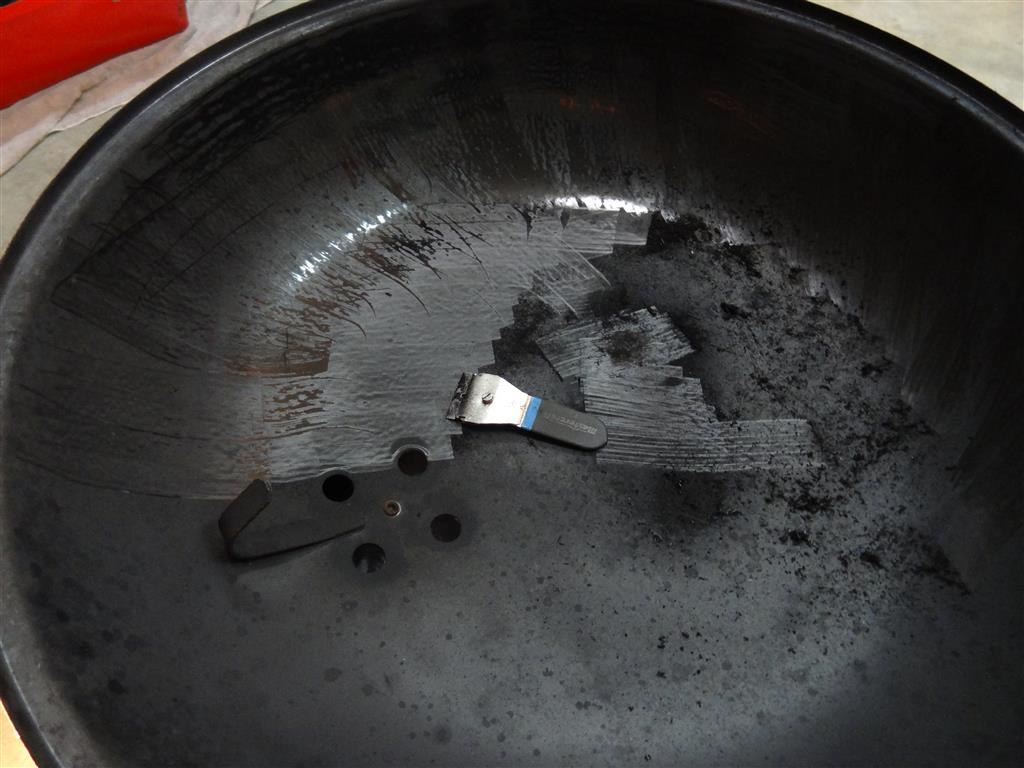
Some people like to use oven cleaner such as Easy-Off at this point to help break down the grease and grime, but over time I have decided that the mess, toxic fumes, and chemical burns just weren’t worth the hassle. A much easier and environmentally friendly approach is to actually dry scrape the grime away with a good old razor scraper. This is a must have tool if you are planning on cleaning up even one kettle, let alone the multiple kettles that will soon begin to appear in your yard 😉
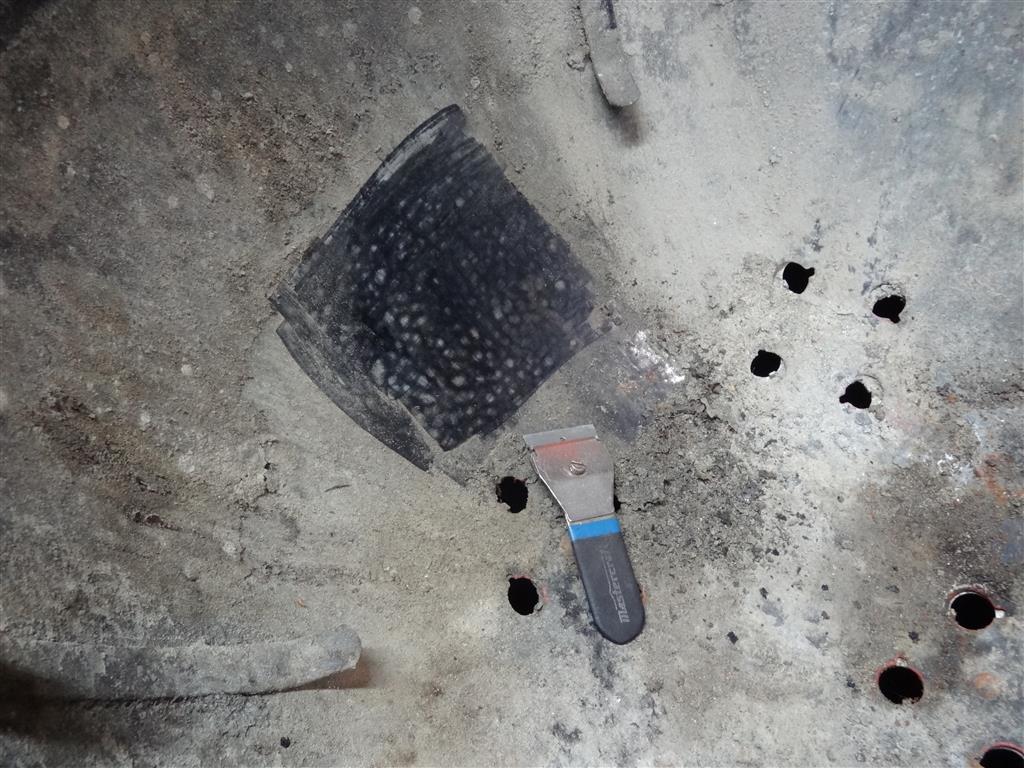
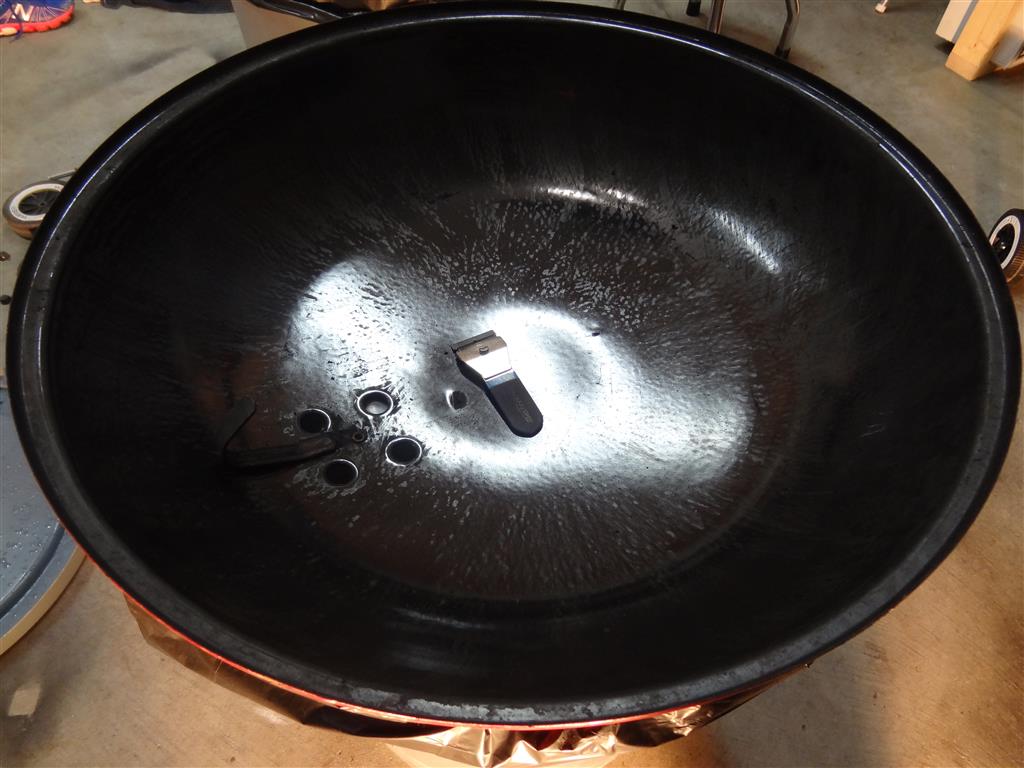
Above you can see how I’ve started shaving the crud away almost like you are stripping paint. Try to keep the razor blade at a 45 degree angle against the bowl and scrape in vertical motions rather than horizontal (for whatever reason it seems to sit flatter on the bowl this way)
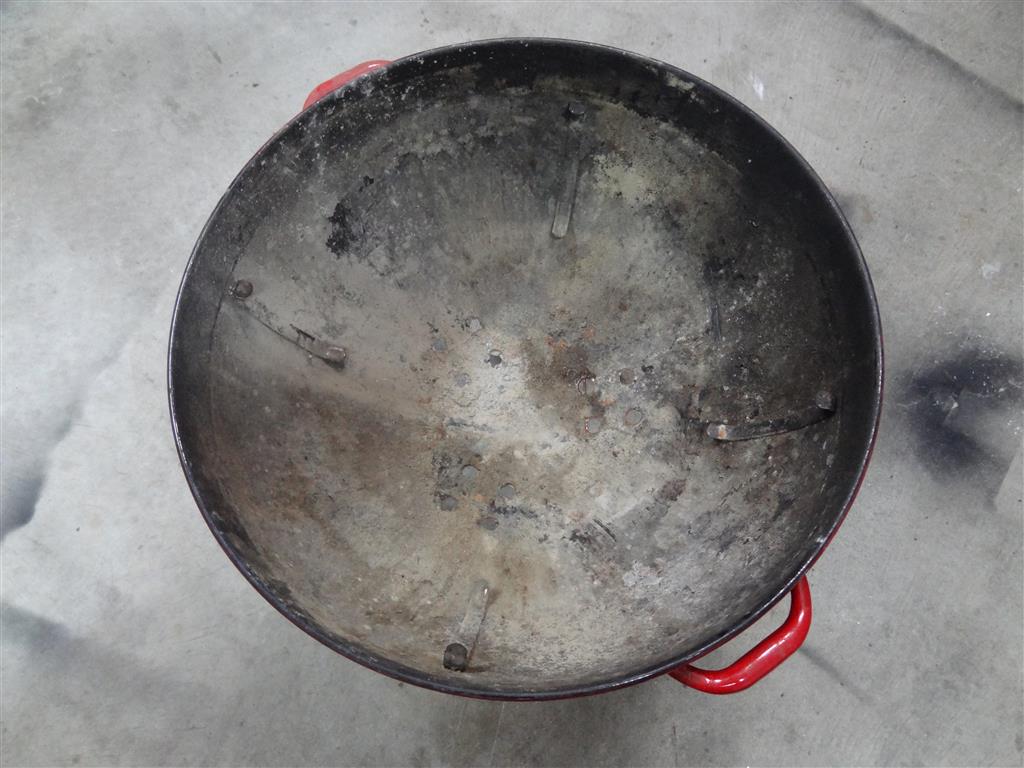
The severity of the interior cleanup depends on a lot of factors and is almost a roll of the dice. Sometimes you will find a kettle with horribly solidified ash in the bottom, and other times you’ll get lucky and end up with a quick and easy cleanup. This time I was fortunate and this was only about a 4 out of 10 on the nastiness scale. If your bowl is in worse shape the procedure is still the same, it will just take longer to complete.
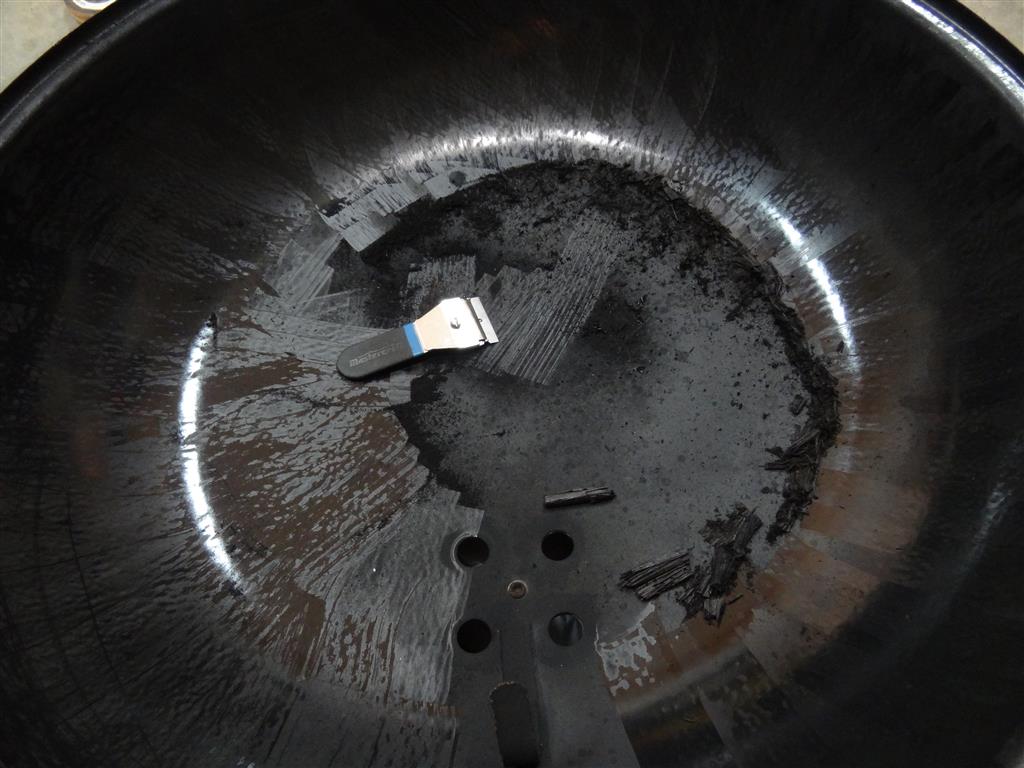
I like to work in quarters and complete that section 100% before moving along to the next quadrant. This way I find I take more time to get it perfect and end up catching some smaller details you would otherwise miss by jumping all over the place.
The razor scraper works great on almost all areas of the bowl including the edges and crannies at the welded grate tabs.
(Tip: I strongly suggest changing your razor blade out at least a couple times throughout the course of a cleanup. A sharp blade sits much flatter to the bowl and will make much faster work of bad areas. I usually go through 4-6 per kettle)
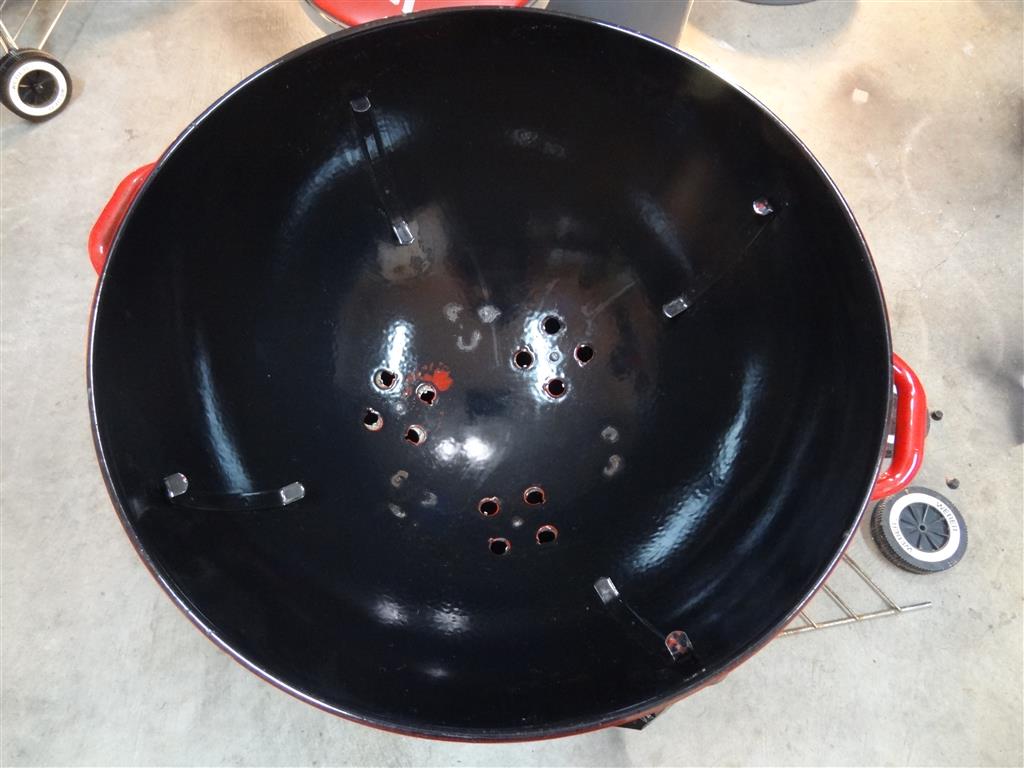
Once your bowl looks similar to the one above you can repeat the same process on the lid as well:
And that’s it for the nasty bit. It’s all smooth sailing from here on out!
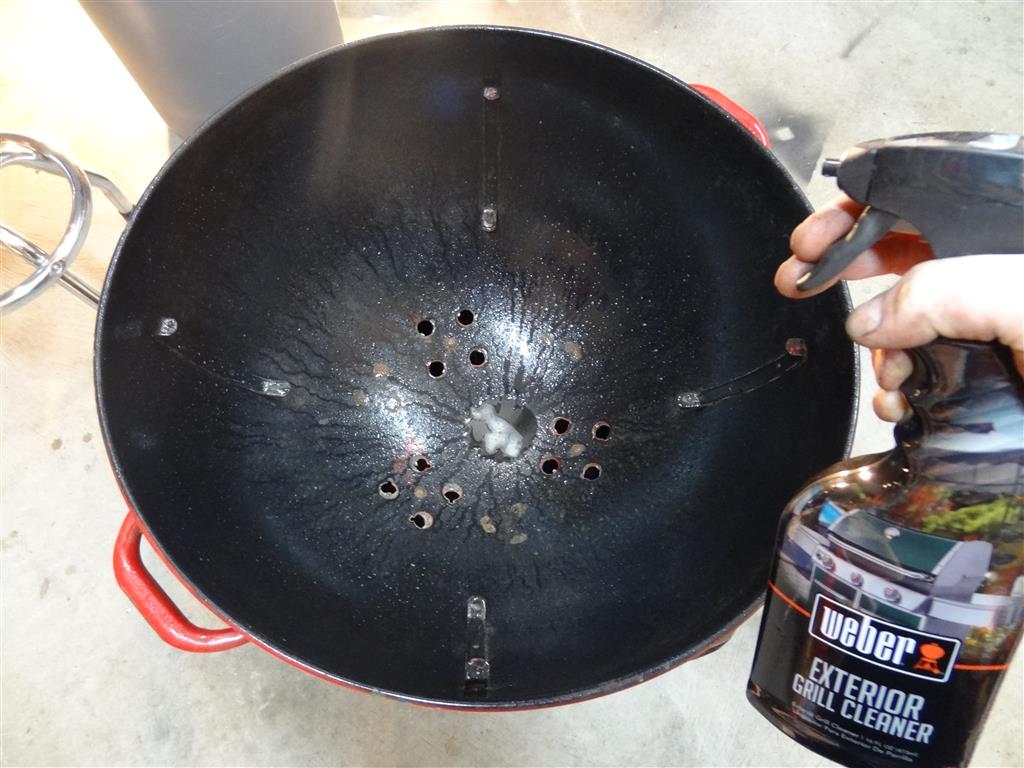
The next step is to dampen the interior with your chosen cleaner or bottle of soap and water and then scrub with steel wool. Personally I like to use the Weber Exterior Grill Cleaner because of its grease cutting properties, but I also do a full rinse of the kettle with clean water and steel wool once it’s all shined up.
You can’t even recognize the inside as being the same kettle, and it even has a few red overspray marks for extra character points 😉
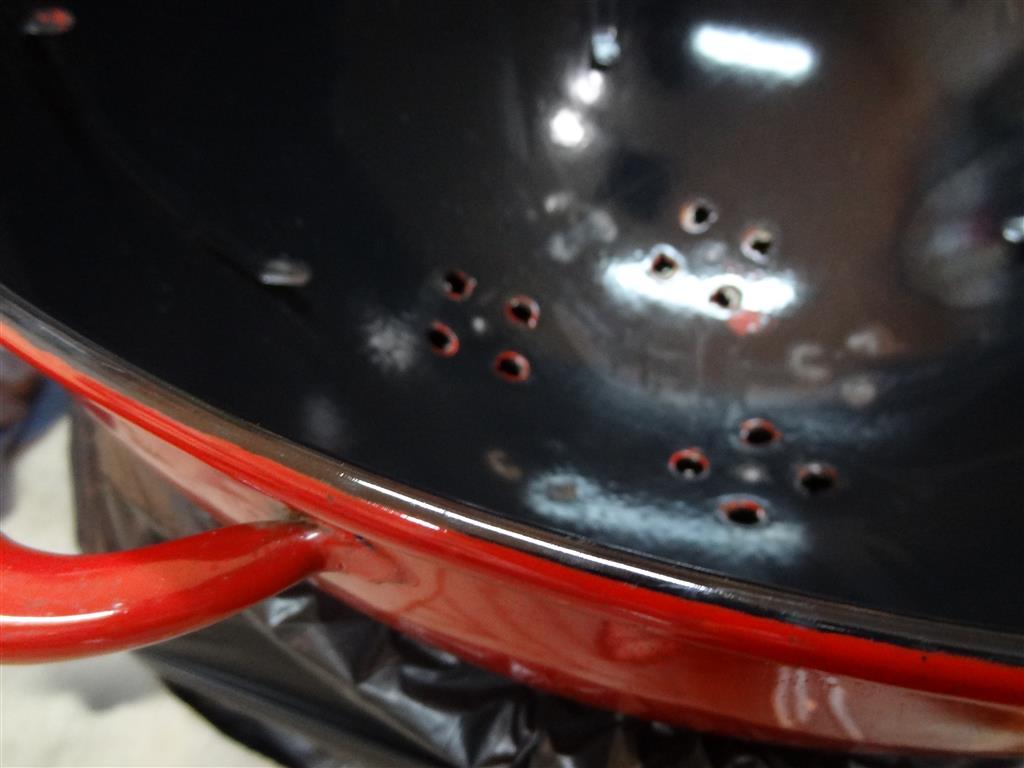
This sure looks promising… a nice crisp bowl edge:
Finally we have arrived at the most rewarding part of all – the kettle exterior! You have fought your way through all the nasty parts and now get to see your hard work pay off.
Essentially you want to repeat the exact same process on the exterior of the kettle as you did the interior. Start with your razor scraper to remove any heavy debris, and then follow up with the steel wool lubricated with soap.
*** IMPORTANT *** Some of the very old kettles do not have the same type of porcelain finish and therefore CAN be scratched with steel wool if you rub too hard in the same area for too long. This shouldn’t deter you completely from using the steel wool on an older kettle, just be conscious of it and only buff areas that need it.
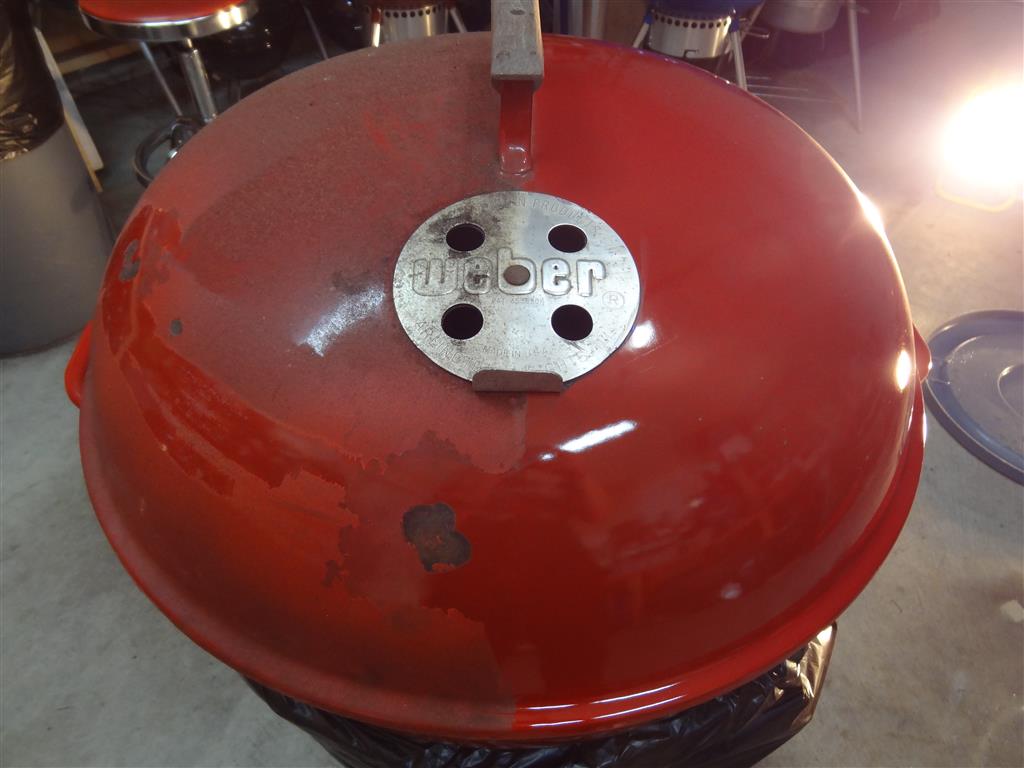
Take your time and slowly work your way around the lid. By now you will have developed your own little techniques for getting it just right, so go for it!
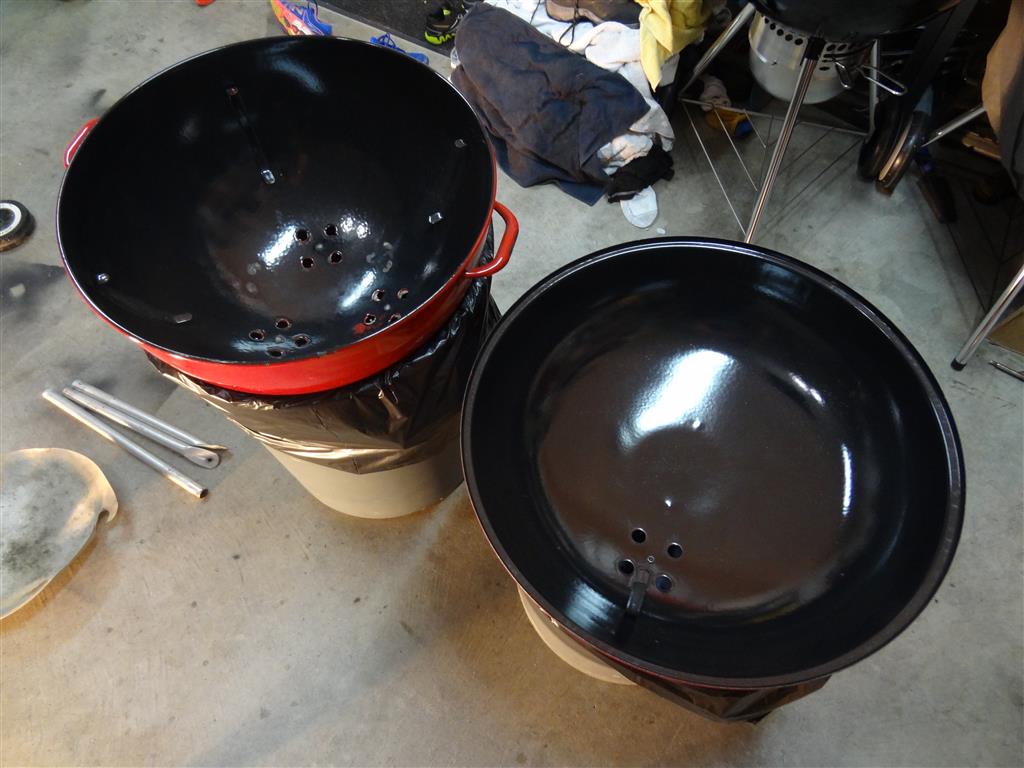
As you can see I’ve only cleaned one half of the lid to show what a drastic difference a good cleaning can make! The old red spray paint came off extremely easily and revealed a beautiful deep glossy red porcelain finish! Why someone would paint nearly the whole lid to hide three little chips is beyond me 🙂
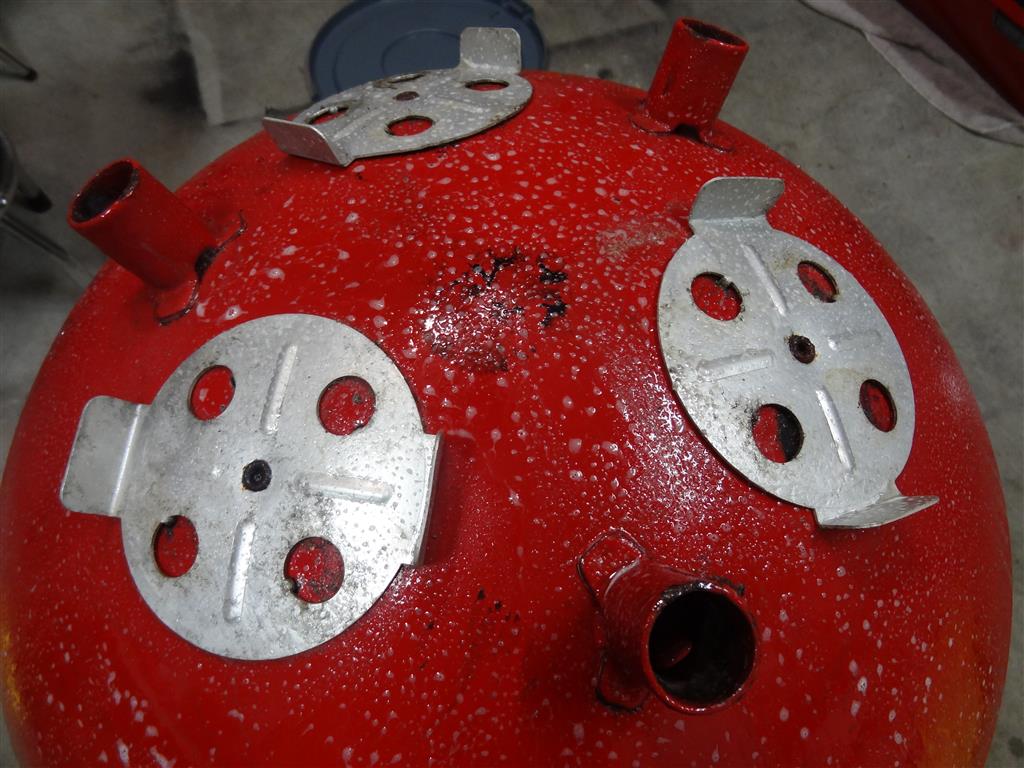
Below you can see the bowl section receiving its final cleaning. The lower vents were also very clean on this kettle so I was spoiled with an easy fix-up but most times you won’t be so lucky. The damper vents are prone to clogging up with grease if not maintained and can eventually seize solid. What I like to recommend is to really give it a good soak with your soap for 15 minutes and then use the razor scraper to go around the complete perimeter of the damper to “break the seal” so to speak. Also clean out as much visible crud as possible from around the vent holes using a mini flathead screwdriver. Every little bit helps in freeing up that damper so don’t get lazy at this point.
If the damper remains stuck after removing as much debris as possible then next thing I would try is actually reassembling the grill and firing it up with a half chimney of charcoal. Allow the kettle to get up to temp and then try to work the vents back and forth slowly. The heat should eventually unstick whatever is leftover and leave you with a fully functional damper. Wait for the kettle to cool slightly and then carefully wipe off any grease that came free and is visible from the underside of the kettle.
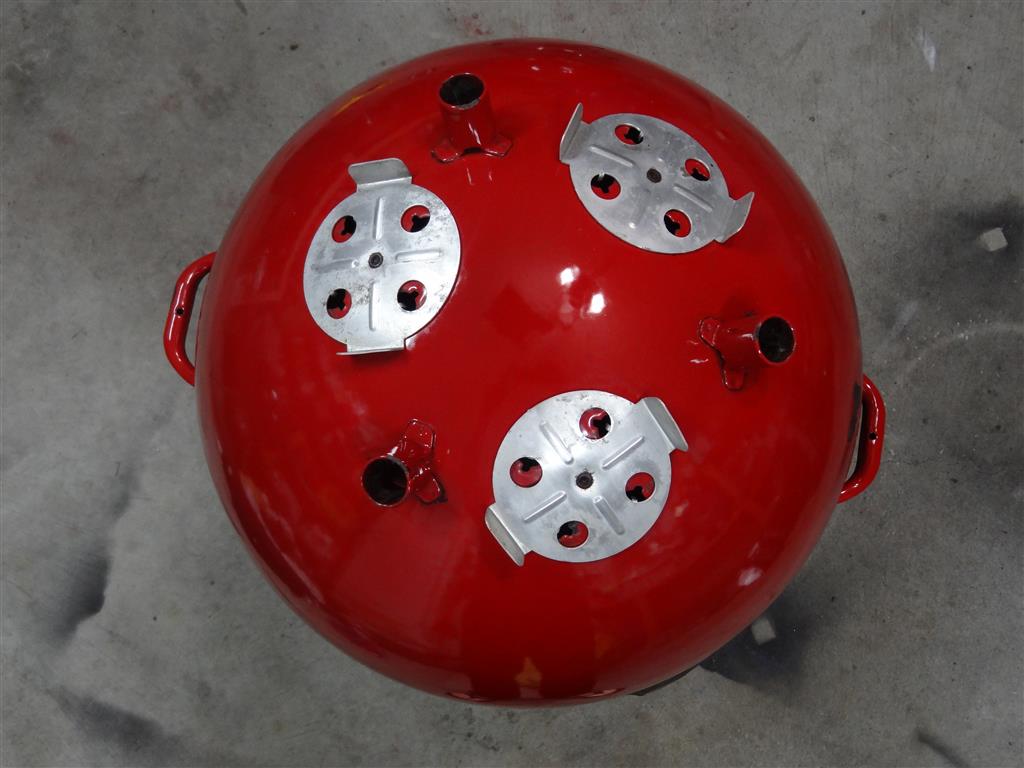
This turned out to be a really solid bowl with all leg sockets in great shape:
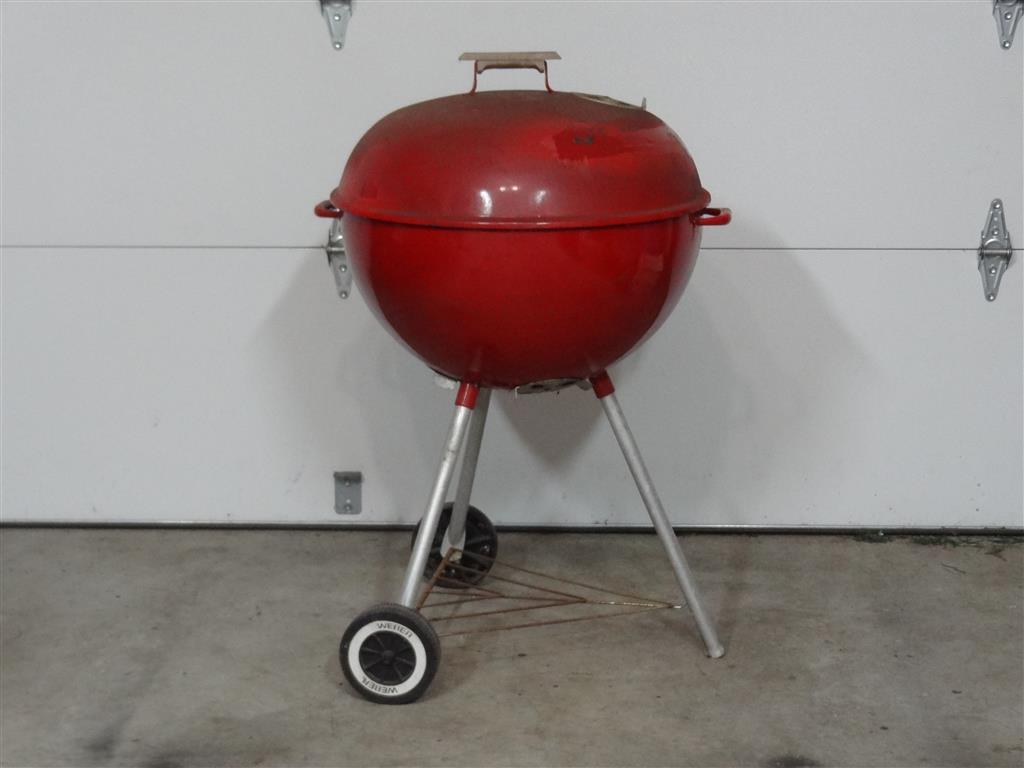
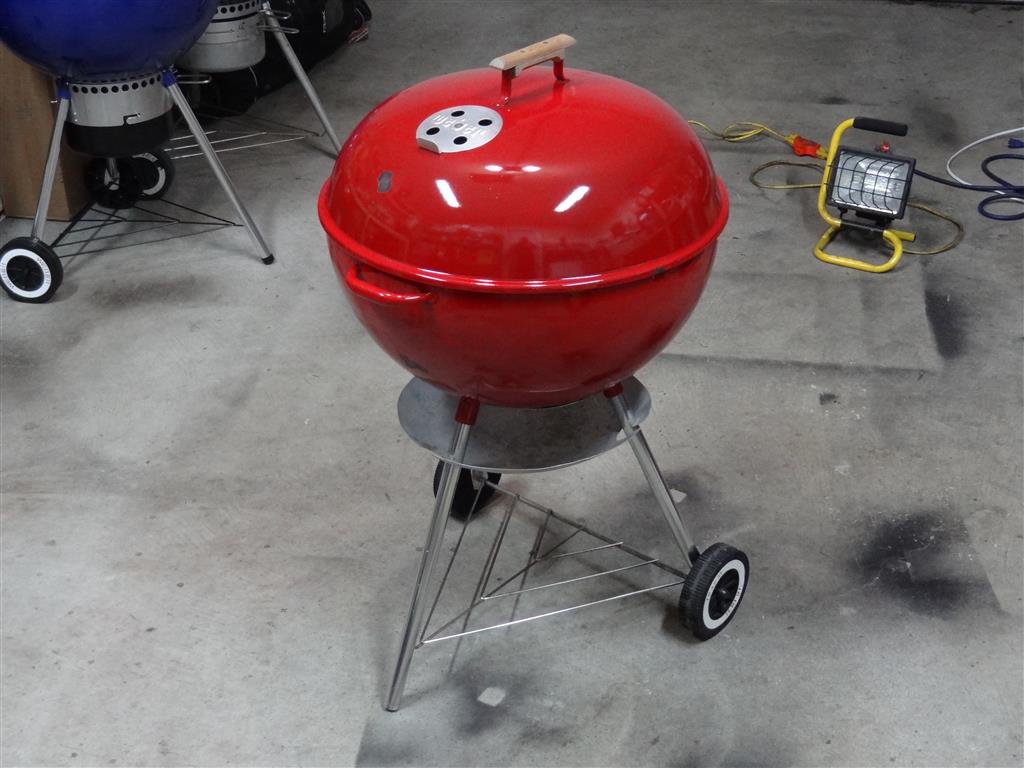
And now what you’ve all been waiting for! Time to reassemble the kettle… after following the WKC triangle and leg restoration guides of course!
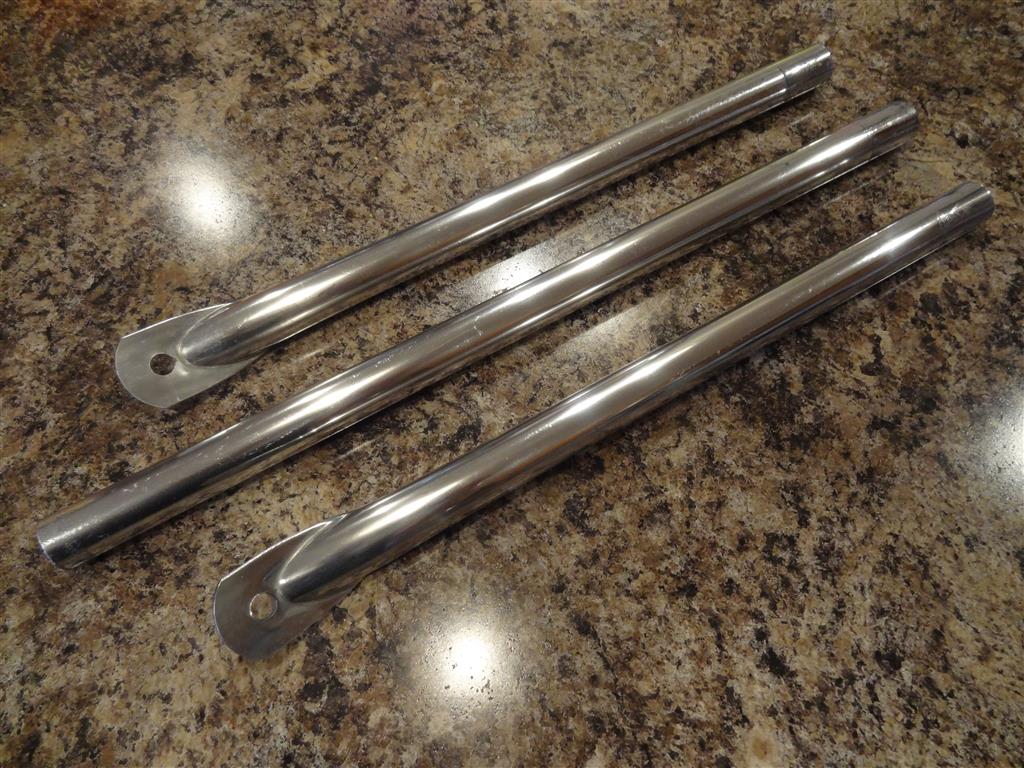
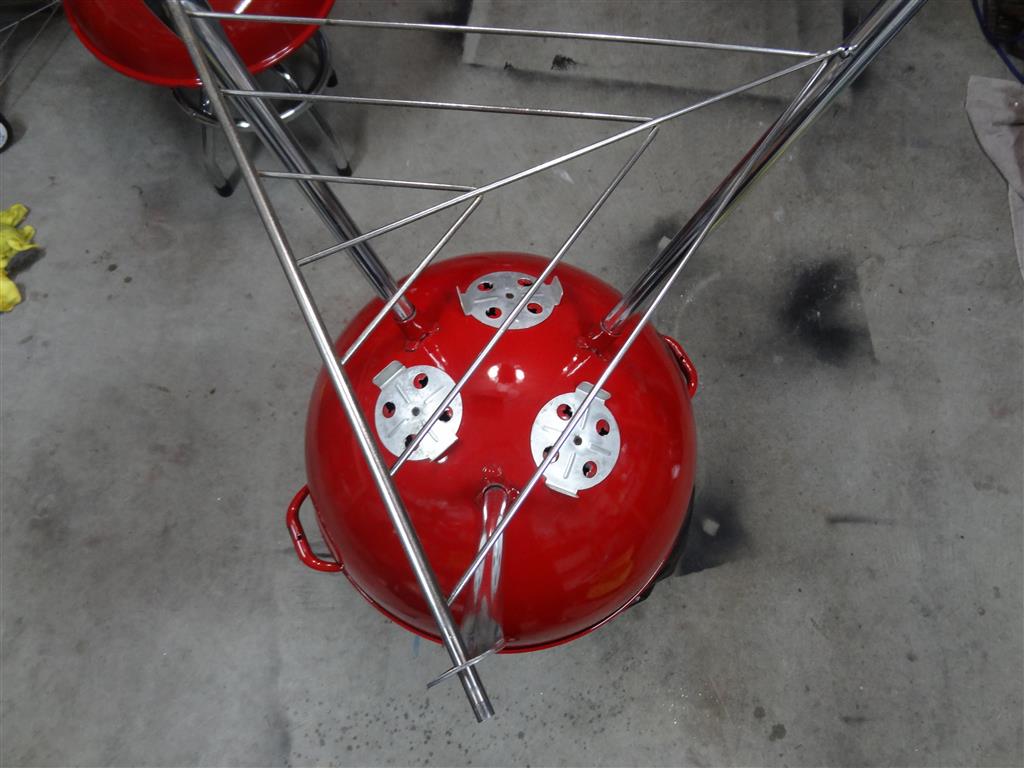
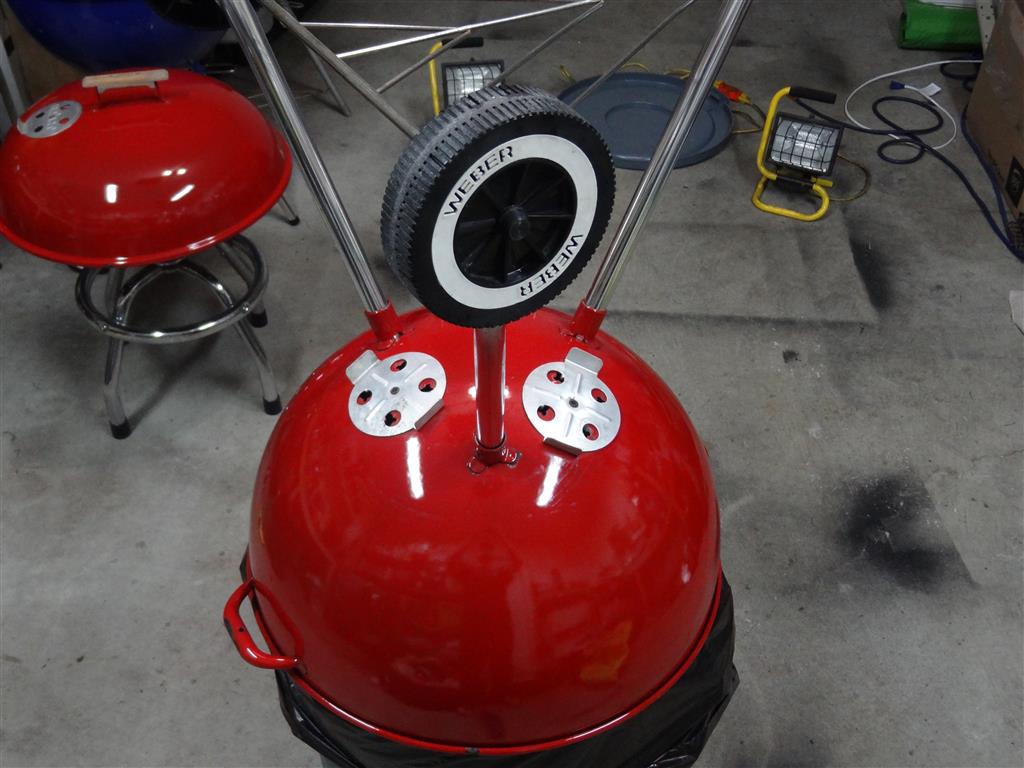
Cleaned up the wheels and this old girl grill is ready to stand on her own two three feet.
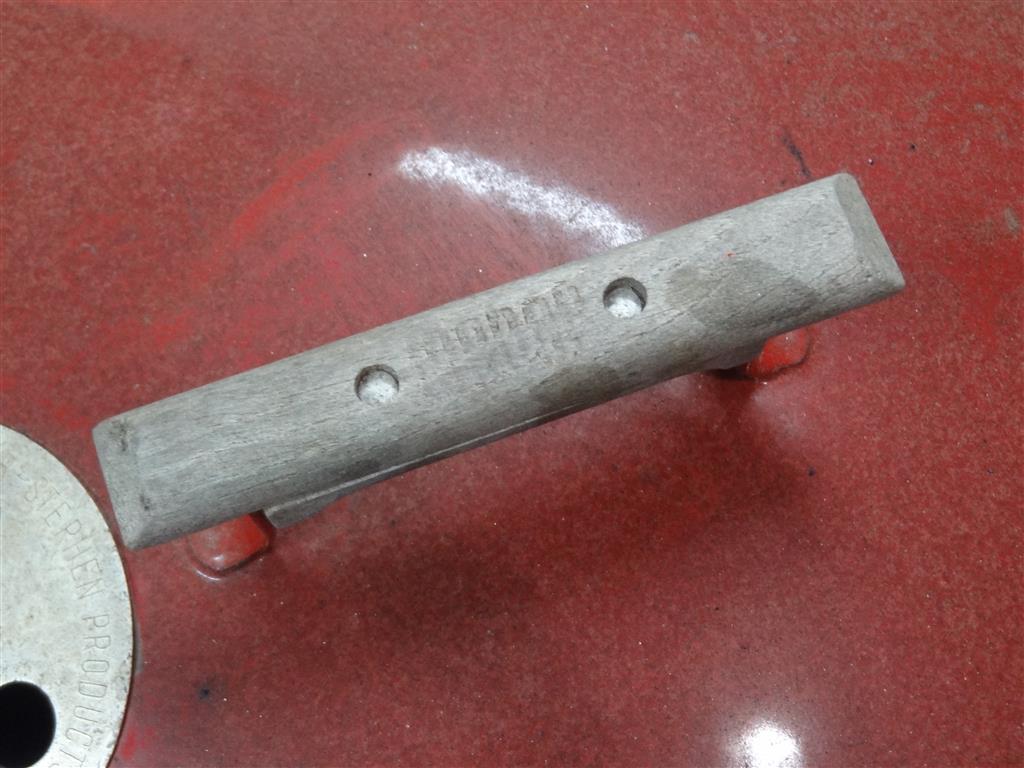
The handle was simply cleaned with soapy water and the steel wool. You want to use the wool just like sandpaper and it will come right back to life with some scrubbing. I still need to do a little work on the ends and underside but you can see the nice tan wood color coming back to life. The Ash-Pan is also original and was re-formed and then cleaned using the restoration guide found HERE.
And there you have it! A simple process with an excellent return on investment. This old red will be now be grilling for many years to come!
I hope to update this article with new restoration ideas and techniques so be sure to check back soon!
Thanks for looking and happy hunting.
Matt
(SixZeroFour)
R – R – R