
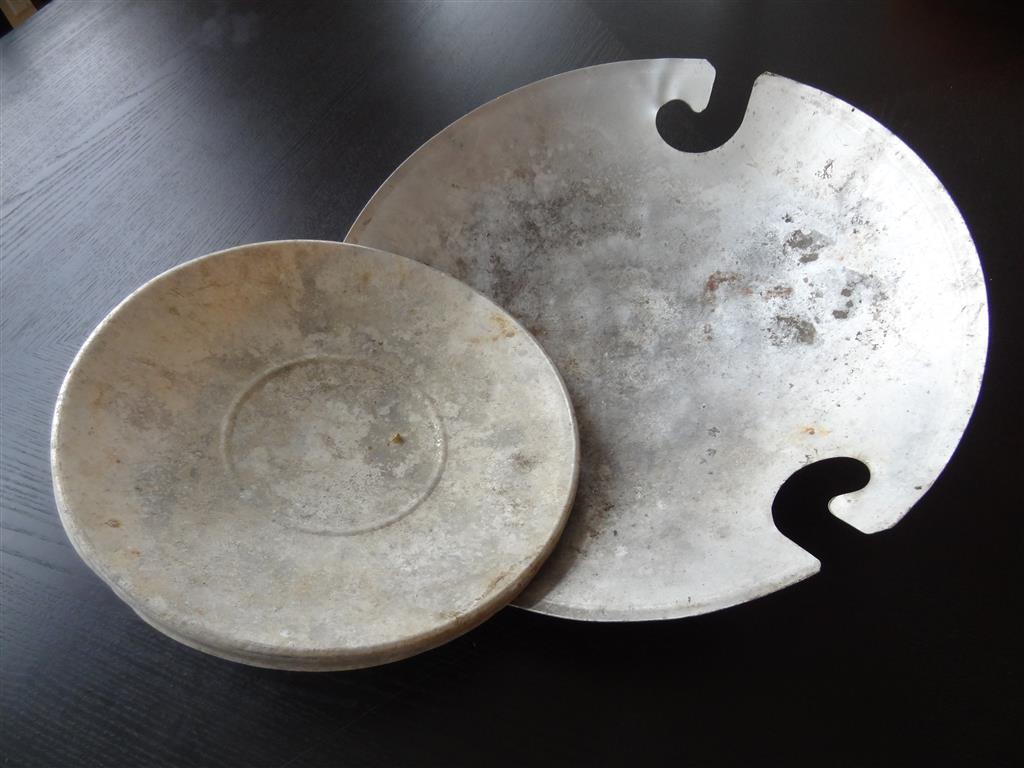
In my opinion one of the most challenging pieces to restore on a Weber kettle is the ash pan. The ash pans main function is to obviously catch the extremely hot ash that falls through the charcoal grate while cooking. More than likely scolding hot grease has also found it’s way down to the pan at some point and will harden up into dark discolorations which can be difficult to remove. Combine these points with the fact that the pan is also exposed to the elements and you can understand why they generally aren’t the prettiest part of a well used Weber kettle. This can be especially frustrating if you have an otherwise mint grill and a crumby looking ash pan that sticks out like a sore thumb taking away from the beauty of the kettle.
Twist on ash pans in particular are becoming more and more difficult to find so preserving or restoring the ones you already have in your collection is a smart idea. This guide will show you the method I have developed to clean up and restore almost any Weber ash pan. This is the combined result of MANY ash pan cleanups, tests, and excellent info provided by other members of the Weber Kettle Club.
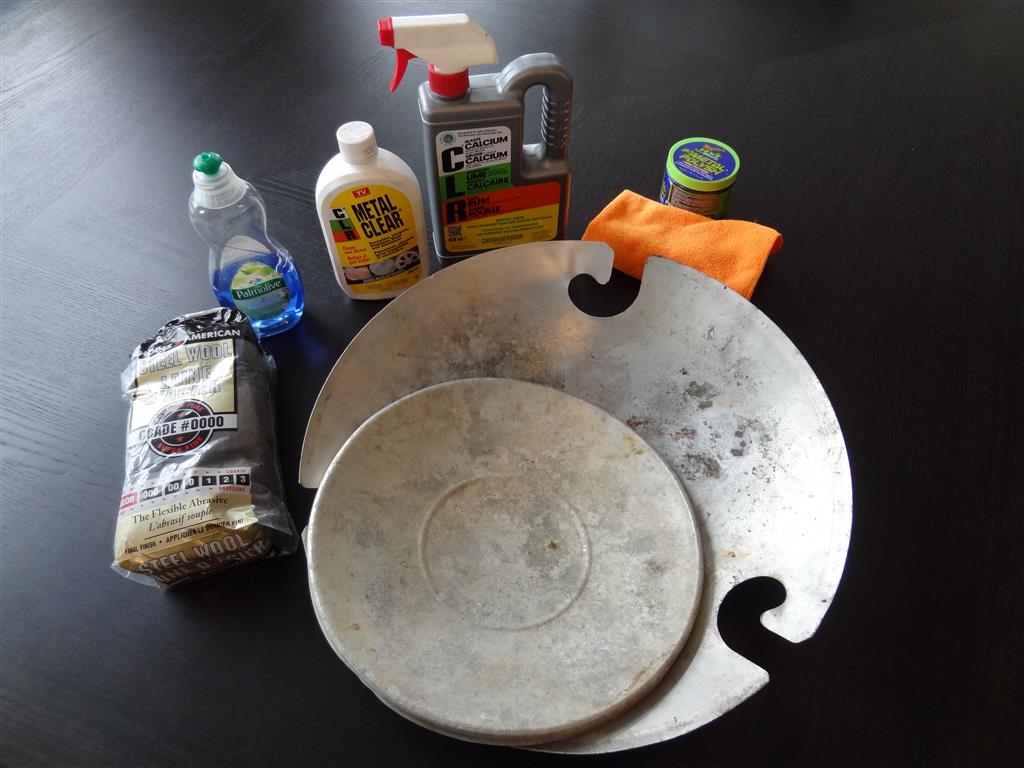
Weber Ash Pan Restoration Required tools and products:
– #0000 extra fine steel wool (3 pcs)
– Assortment pack of emery cloth (Fine grit – not pictured)
– CLR Calcium Lime & Rust Remover
– Metal Polish
– Cotton or Microfibre polishing cloth
Overview:
The main procedure here is very similar to that of the leg restoration article in that you want to first try to safely remove all the surface contaminants from the metal. From here you simply start out by attacking any remaining large deposits or stains on the surface of the ash pan. Once the major imperfections have all been taken care of you can then begin polishing the metal back to it’s original lustre. Hopefully in the end you will be left with a much better looking ash pan that doesn’t stand out like a sore thumb on that beautiful Cado’ of yours 🙂
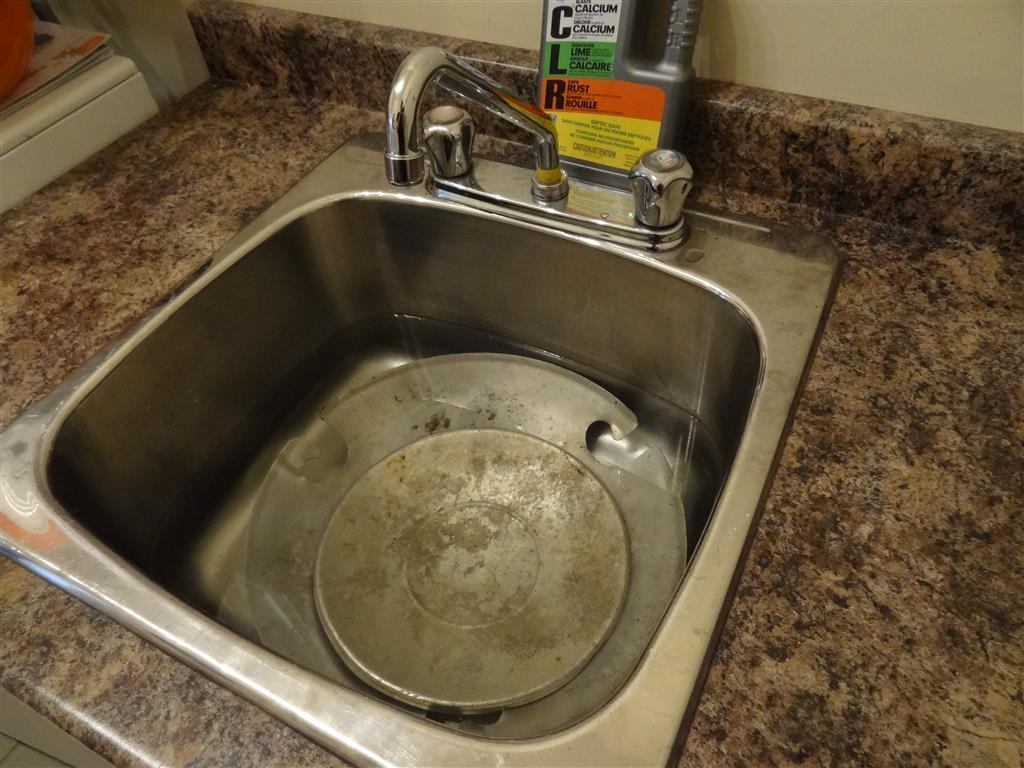
Step 1: Deep Soak
The very first thing I do with any ash pan is to let it soak in a diluted solution of CLR. Much of the surface rust and ash that has hardened onto the pan will slowly re-hydrate and become much easier to clean after soaking for an hour or so. A wash sink is an excellent place to do this but you could also use a big Rubbermaid bin or any other container large enough to hold the pan you are working on.
Place the ash pan in the container and begin to fill with warm water. Once the water has submerged the pan, add in 1/2 – 1 Cup of CLR and then just let it soak…
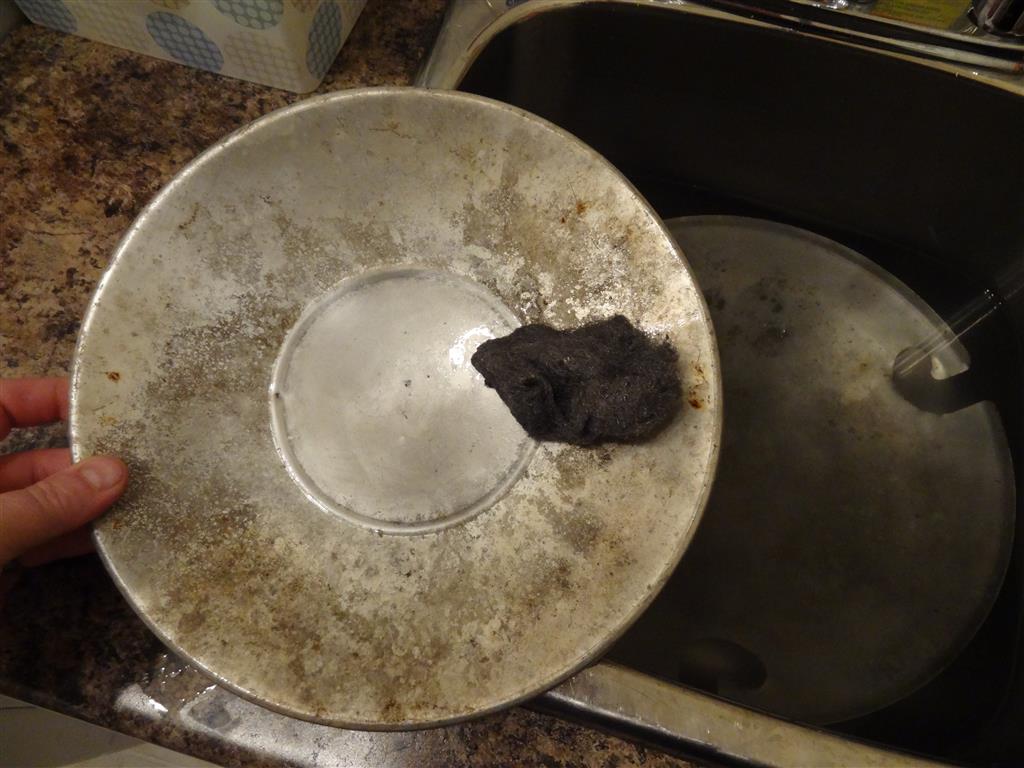
Step Two: Removal of Surface Contaminants
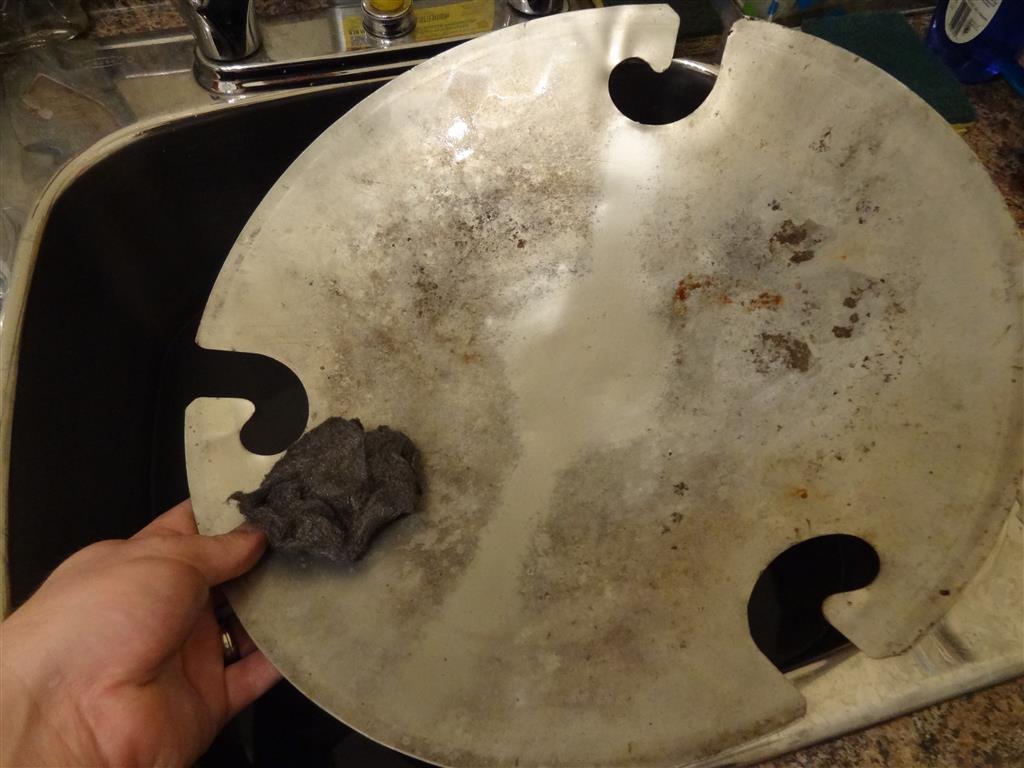
We will now start the initial clean up using super fine #0000 steel wool. Like the leg guide, you want to remember to avoid scratching the steel wool in all random directions if at all possible. It’s not going to ruin the ash pan if you really need to go after a section, but the scratching you introduce will only make the final polish stages more difficult. I generally like to start by swirling the steel wool around the pan (light pressure) almost as if you were hand washing a dinner plate. This will remove all the loose debris that softened up during the soak. Now take a good look and note areas with stubborn stains that may require some extra TLC. From here go ahead and try to buff out the stains with the steel wool.
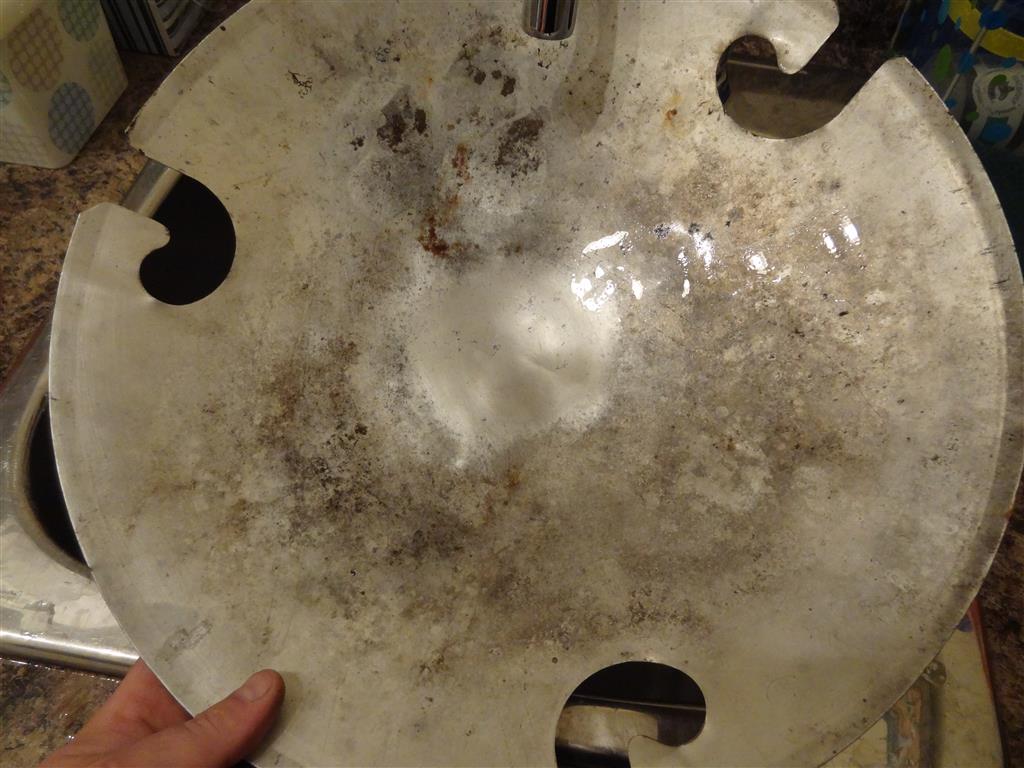
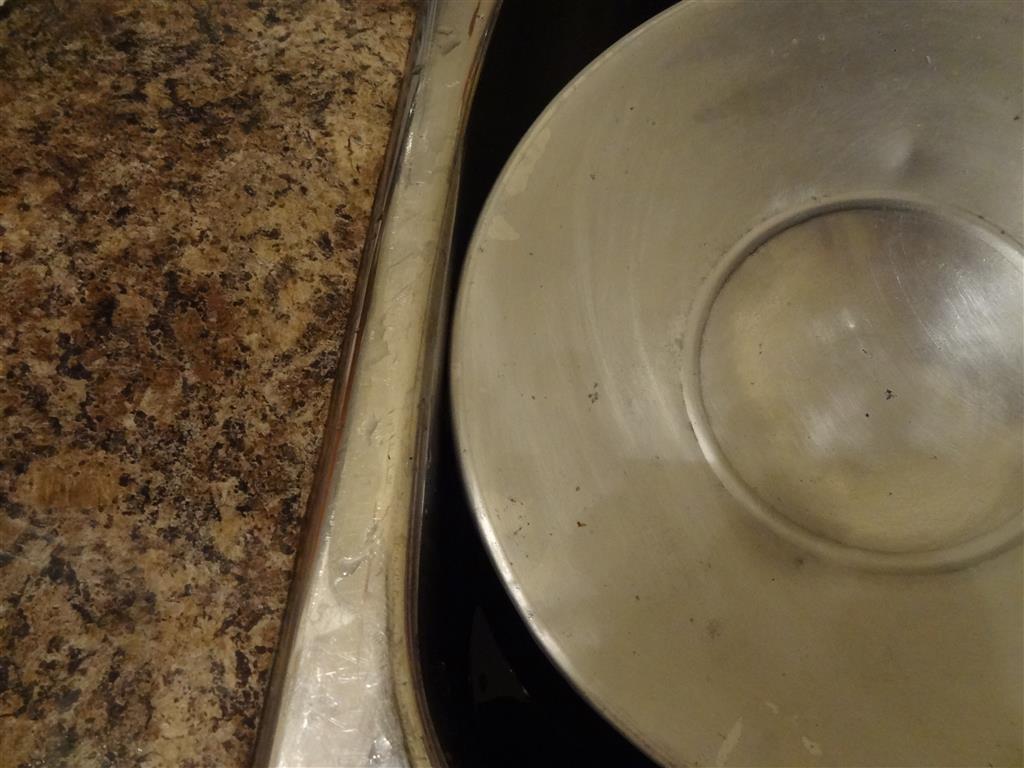
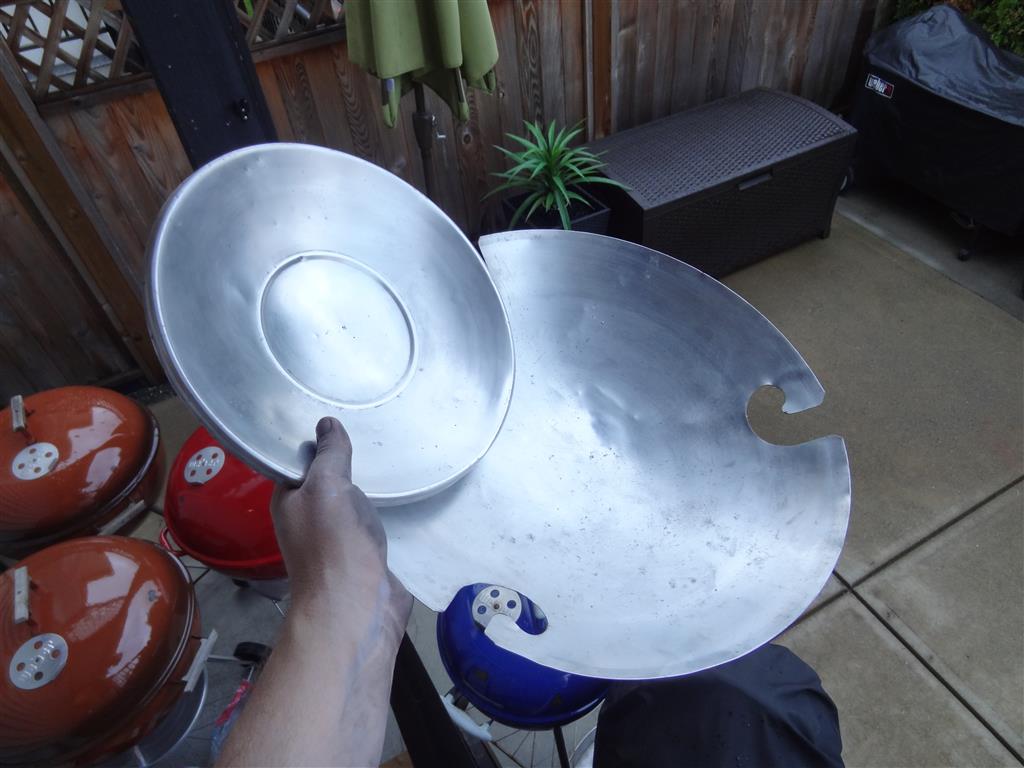
Take a look at how well the steel wool alone takes down the grime on both the 18.5″ and 22.5″ pans! You can put some good scrubbing pressure onto real bad areas at this stage. Some sections that don’t come as clean may require a light scuffing with fine emery cloth or very find sandpaper.
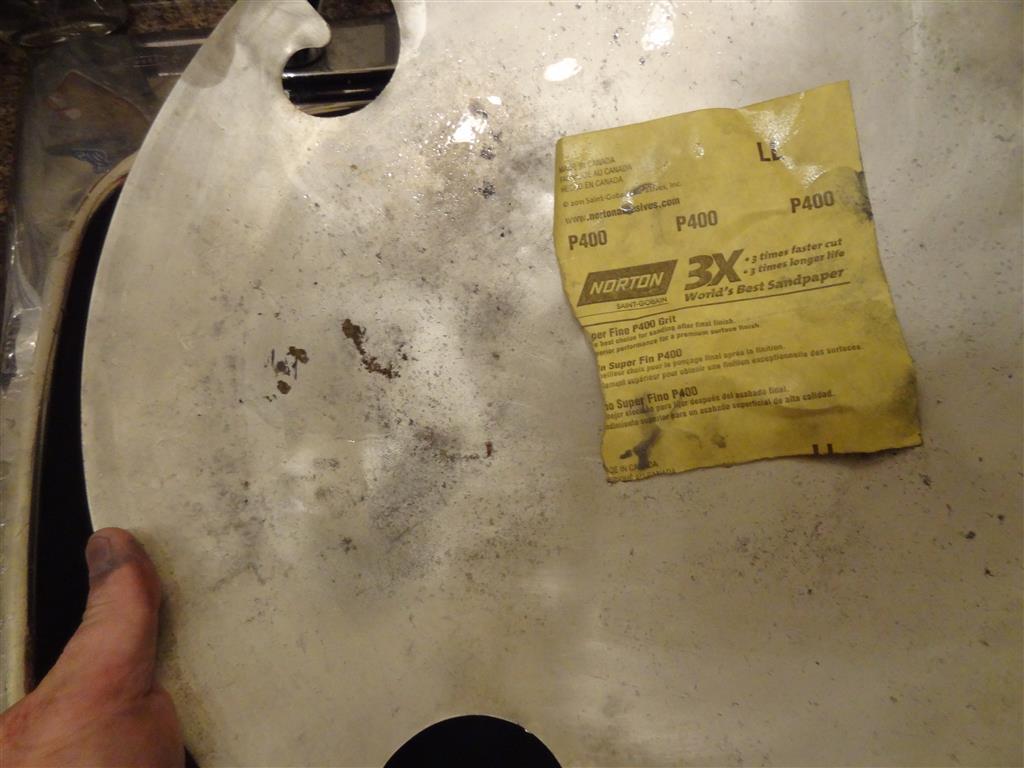
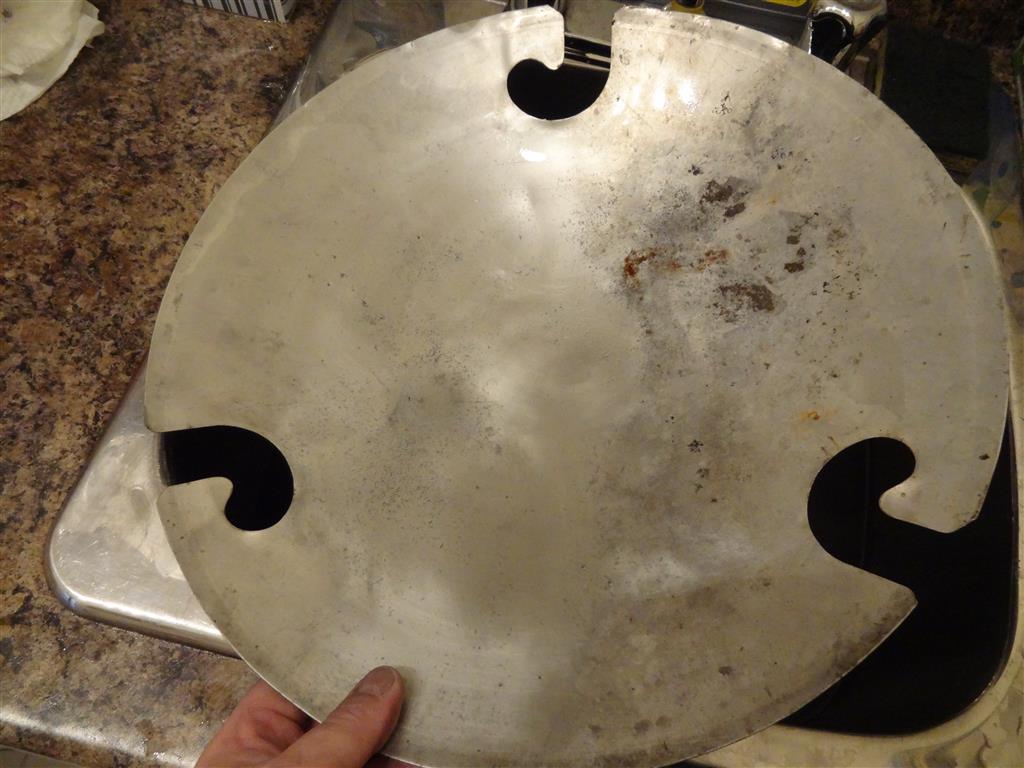
On the 22.5″ twist on pan above you can see the heavy corrosion marks to the left of the emery cloth. This type of stain would prove to be very difficult to remove using steel wool alone!

Heavy marks have now been reduced down to mostly bare metal with some sanding. The next few shots show the continued progress on each pan using the steel wool technique:
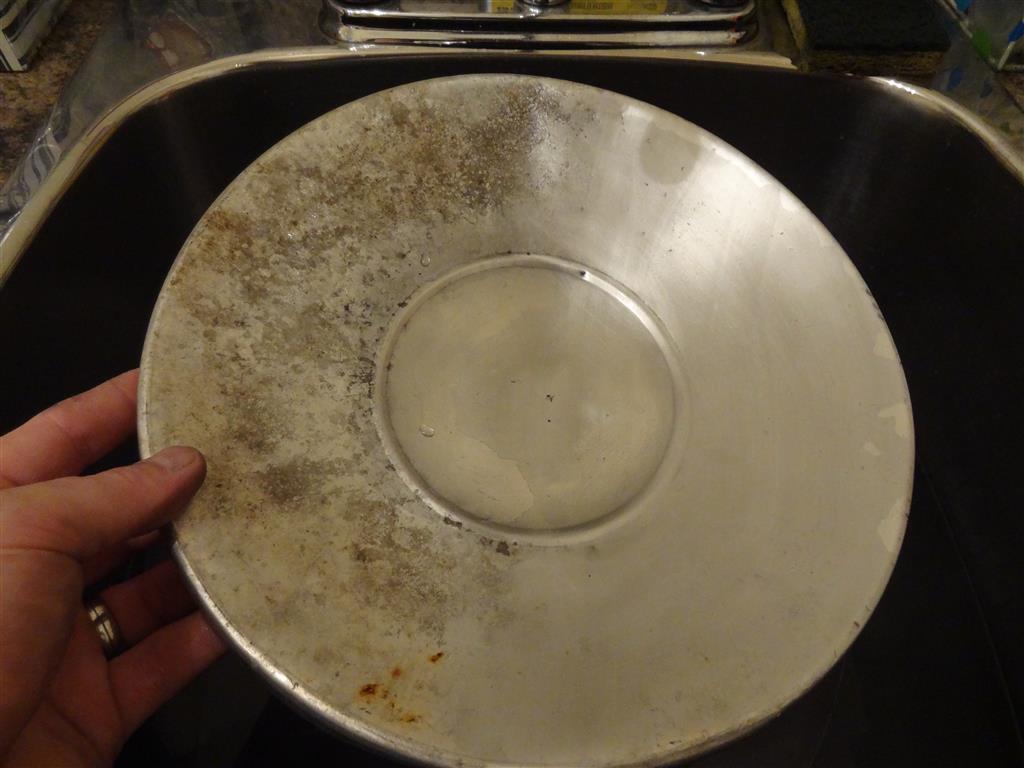
Once you have the pan mostly free of rust and blemishes give it one last good sanding in a circular motion using the steel wool. 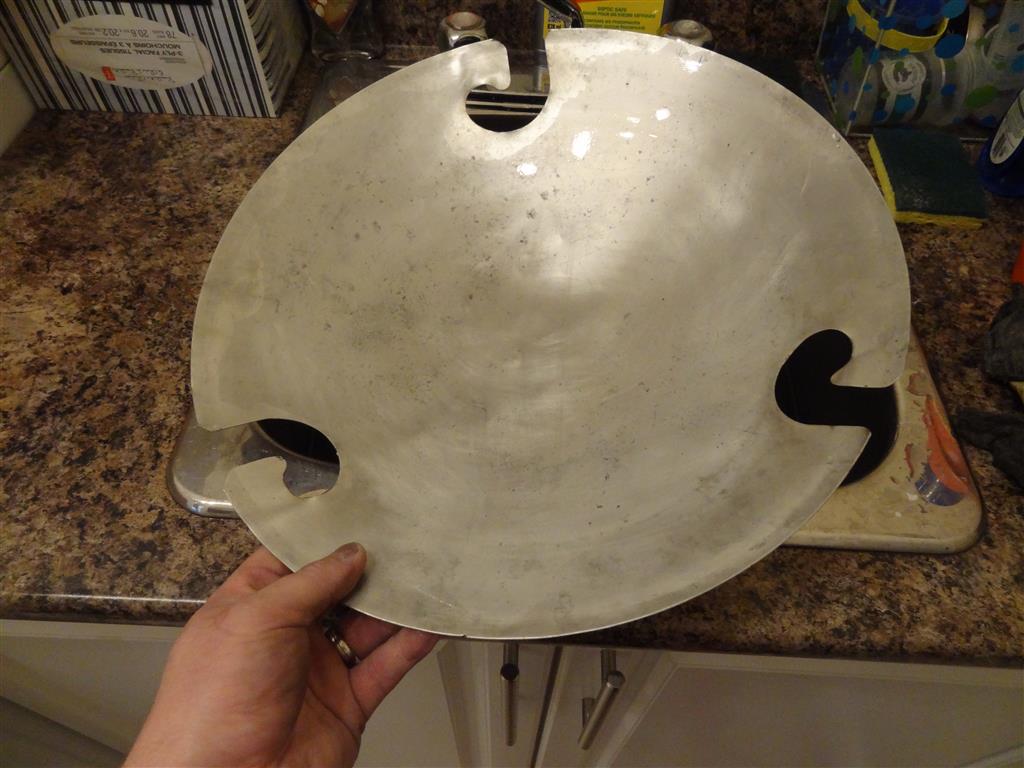
Above you can see the results of the final circular sand – this is using light pressure and should only leave very faint scratching on the pan.
Important tip: An often overlooked portion of the ash pan is the very rim edge. Giving this rim a quick once-over with the steel wool will really help give your ash pan that sharp “like new” look!
Step Three: Shaping the ash pan lip
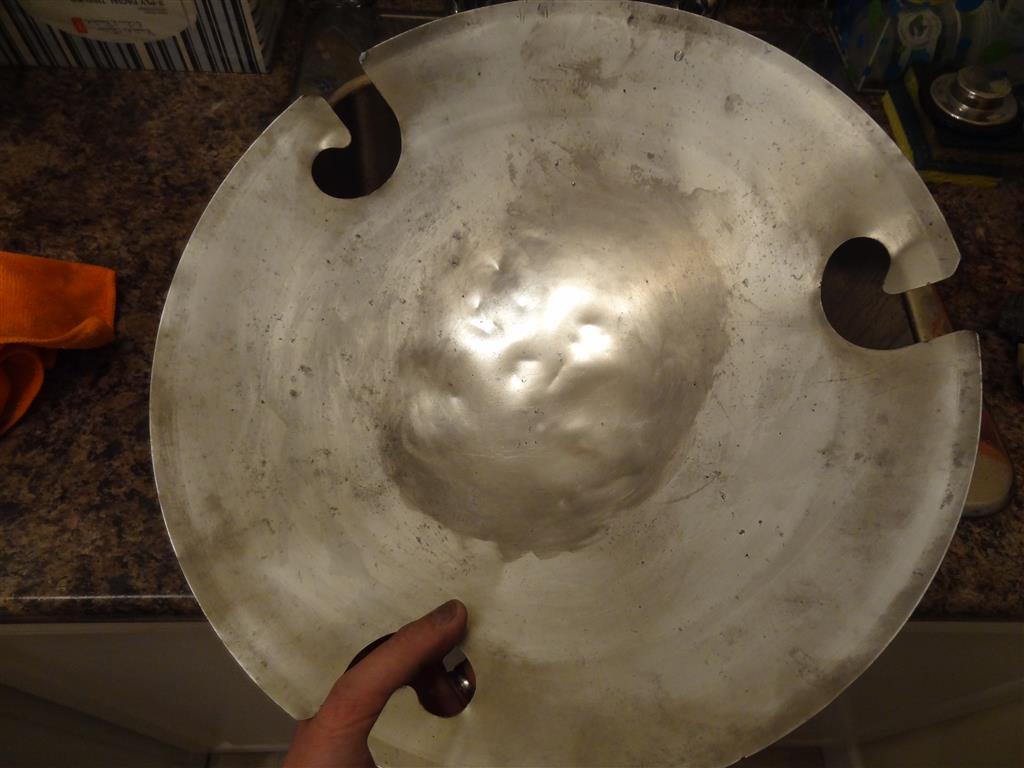
Now that the pan is clean and ready for polish, this is an excellent time to straighten out any bends in the lip and pan itself. A good start is to simply lay the pan upside down on a table to see just how out of round it is. Next, using moderate force try to gently bend the pan so that the entire rim will sit flat on the table surface. Once you’ve completed this step move on to straightening out the lip of the ash pan. I just work my way around the edge bending the lip back into position. It takes some decent force but I find the best way to do this is with your bare hands if possible.
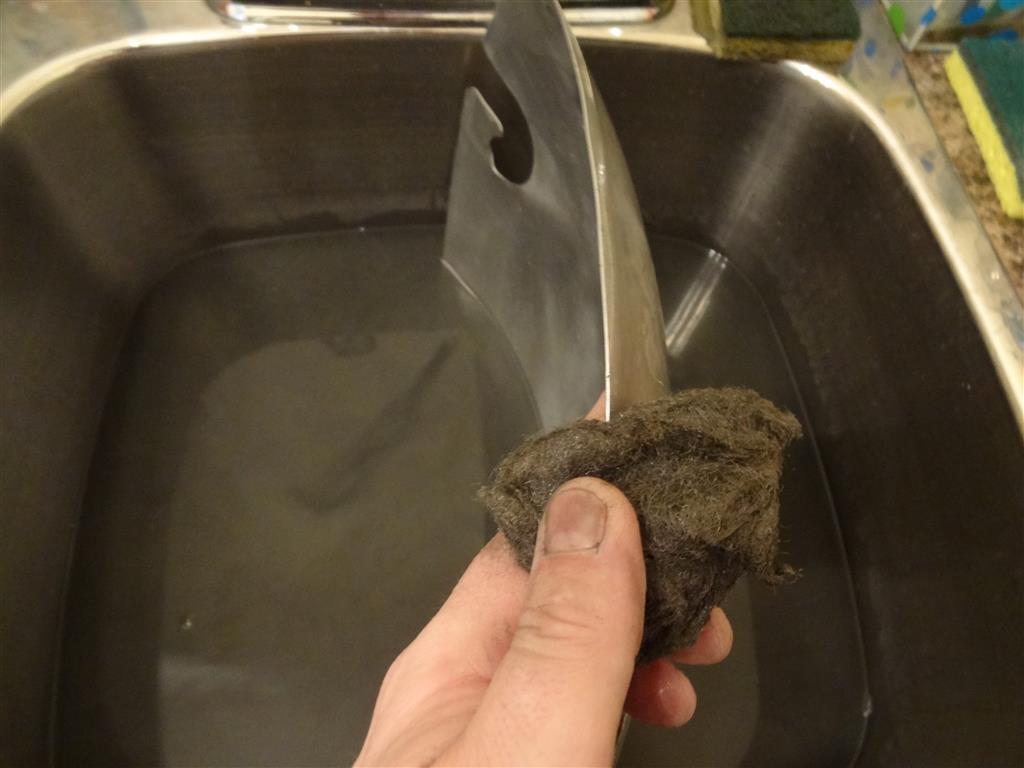
Another way to help reform the nice consistent curve of the ash pan is to use another hard object to “Roll” the deformed parts back into shape. In the shot below I am just using the side of the sink as it’s a nice, smooth and flat edge.
Step Four: Polishing
Polishing of metal is pretty simple and is generally a repetitive process regardless of what the item is. The goal is always to slowly bring the metal surface back to as smooth a finish as possible. Once you’ve done it a few times, either on legs or ash pans!, you will start to develop your own techniques of what works best for you.
The first step is to smear a large amount of metal polish onto the section of ash pan you are working on…
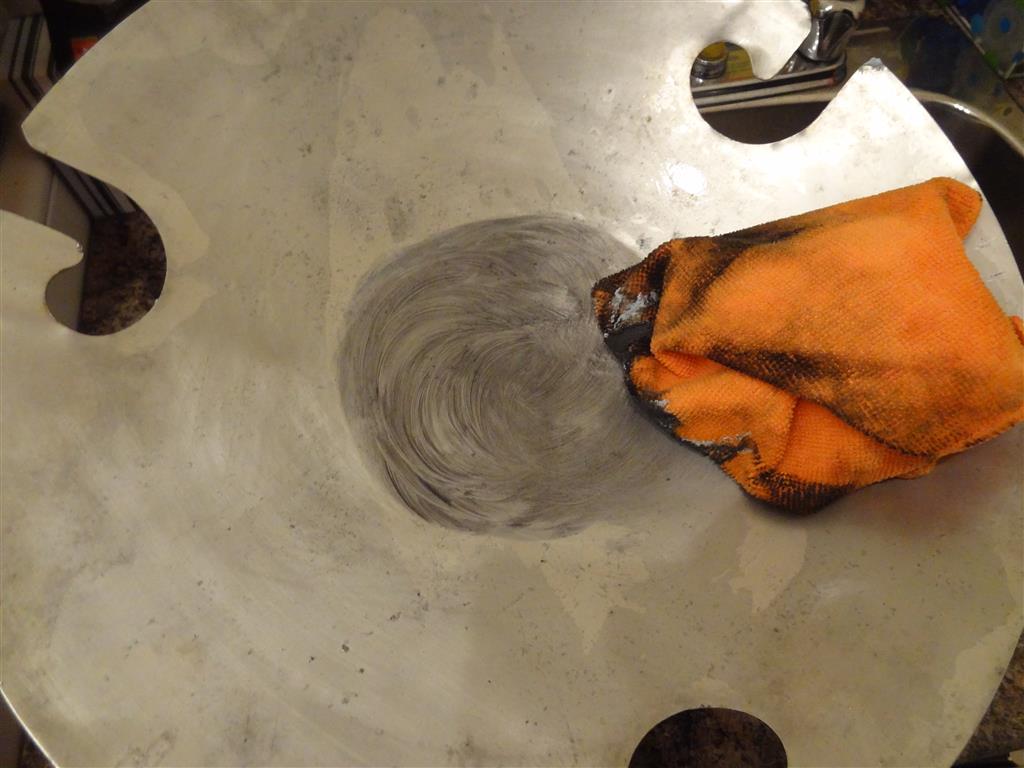
From here on out it’s simply a matter of scrubbing the paste around with as much pressure as possible without bending the pan. Take note here that an old school cotton dish cloth works even better than the orange microfiber one shown in the pics!
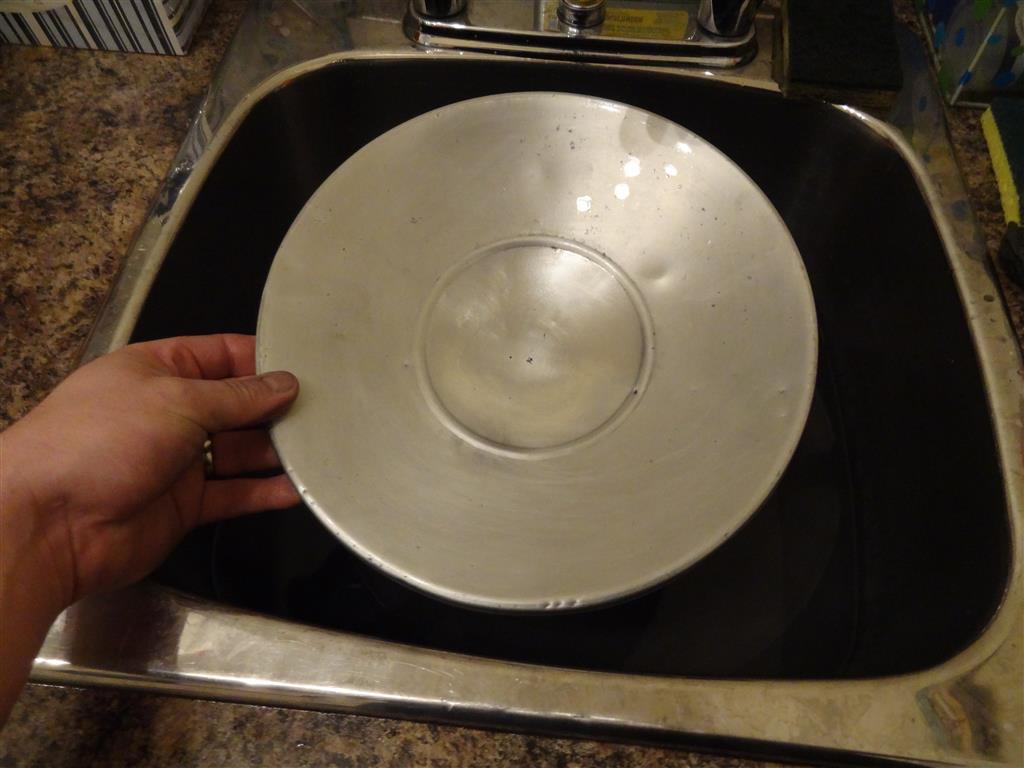
After your arm gets tired of scrubbing you can buff off the polish to get an idea of how far along your work has progressed.
Depending on how hard you scrub with the polish, this step may take multiple applications in order to bring back the true original shine.

Car Polish tends to leave a dark grease like substance on the pan, so be sure to wipe it off with soap and water or similar to see exactly how it turned out.
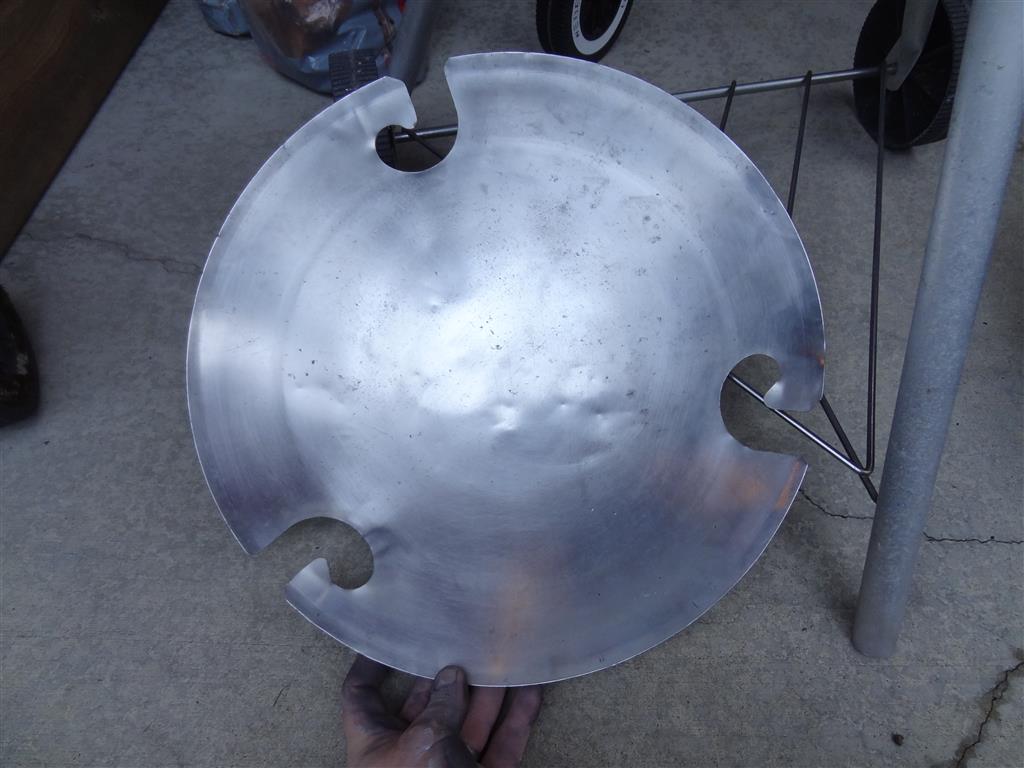
Below are a few shots of the finished products!
… Stay tuned for more installments of the WKC restoration guide in the near future!
R – R – R