
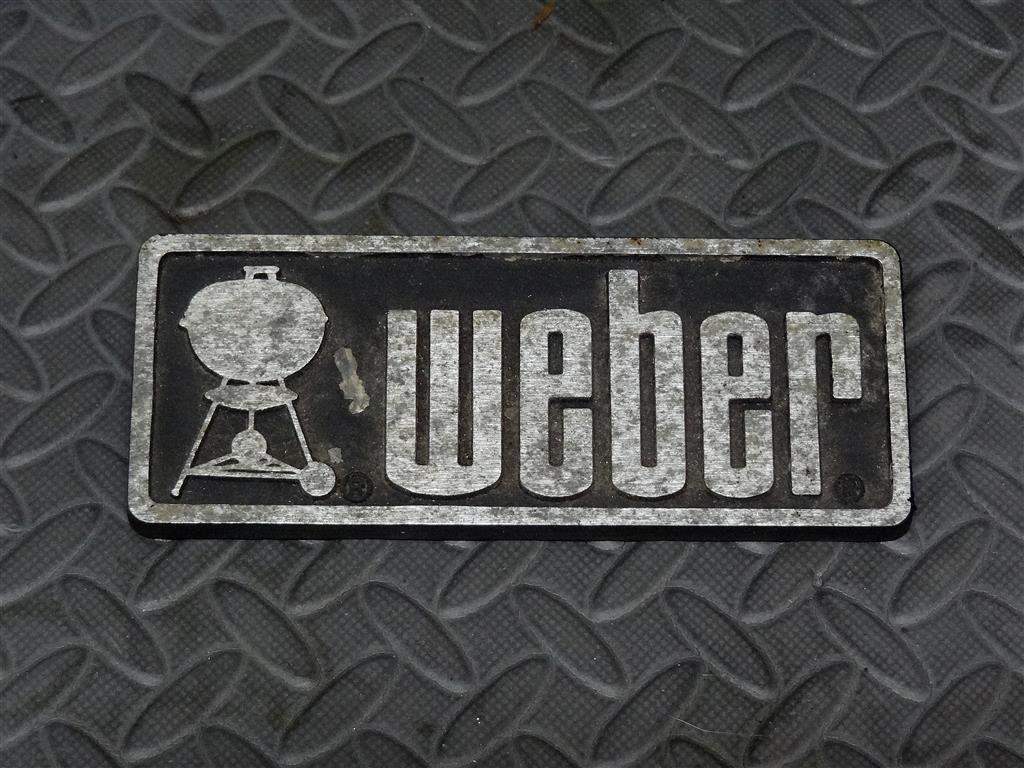
Recently member @demosthenes9 shared a fantastic tip on how to easily restore the older aluminum Weber emblems found on many Performers and Genesis gassers. I had an extra emblem just begging to test this out on so here we go!
Materials Required:
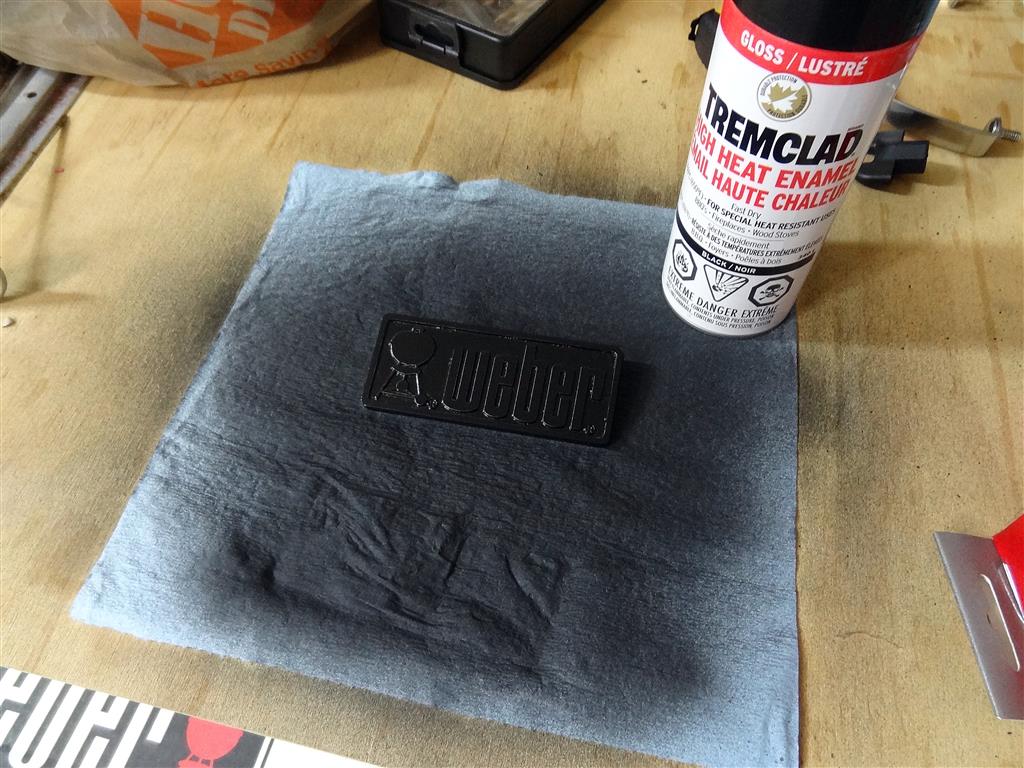
– High Heat Black BBQ Paint
– 400 Grit Sandpaper
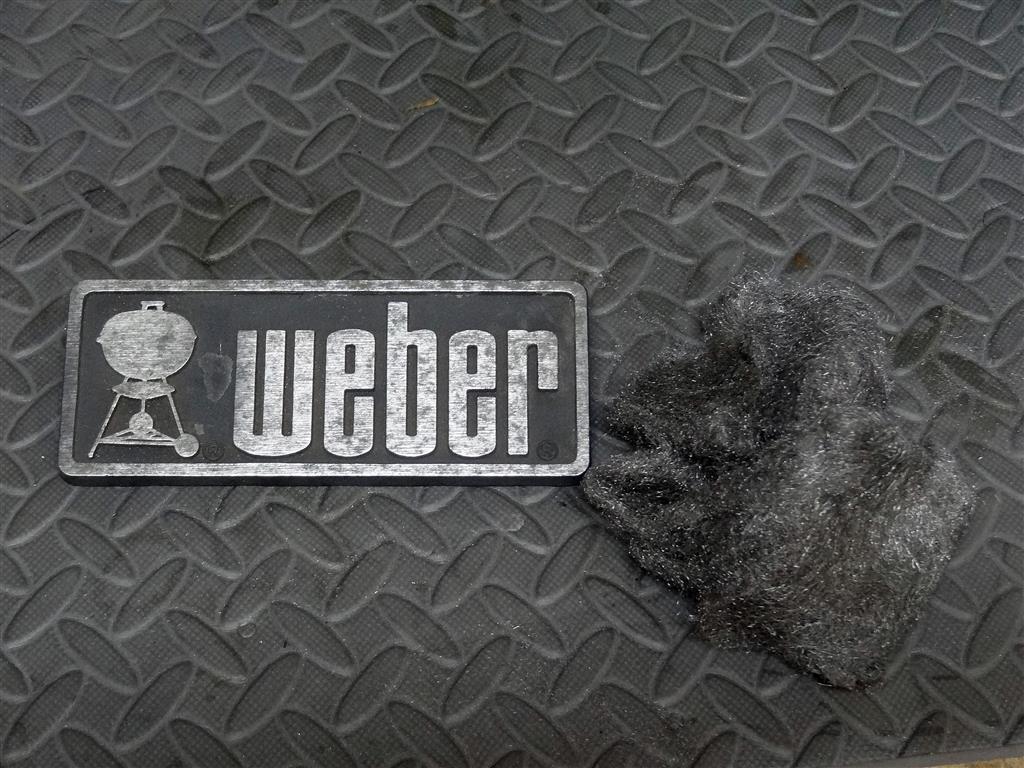
– Steel Wool
– Paint Thinner and Rag
Step 1 – Emblem Prep:
The first thing you want to do is clean up the emblem as best as possible. A simple wash under the tap with steel wool or a bristle brush and a bit of dish soap is a good start. Once the emblem is as clean as possible, inspect the black painted area that is inlaid behind the kettle logo and weber text. If there are any area of this paint that are chipped you are going to want to sand them down so that you don’t have the chip edges showing through your fresh coat of new paint. You can see how I’ve done just this in the shot below:

Step 2 – Paint:
Once you have cleaned the emblem thoroughly and removed any loose debris or chips you are now ready to paint. I always like to wipe the item down with some paint thinner and allow it to dry off completely (15 min to be safe) This will remove any oils that transferred from your hands after the wash.
Set yourself up in an area that will allow you to walk all around the emblem while painting, or if you’re tight on space you can use a paper towel and just rotate the piece around as needed. This will allow you to hit all the odd little edges and recesses around the text and logo. I like to spray a thin mist from each direction for each coat. Always go with multiple thin coats vs. a heavy one to avoid runs in your paint. Below is a shot of the painted emblem after receiving 3 coats of black:
Step 3 – Sand:
Now comes the part of the job where you want to take your time. This is super easy and actually pretty hard to screw up, but don’t try to rush things and ruin all your progress!
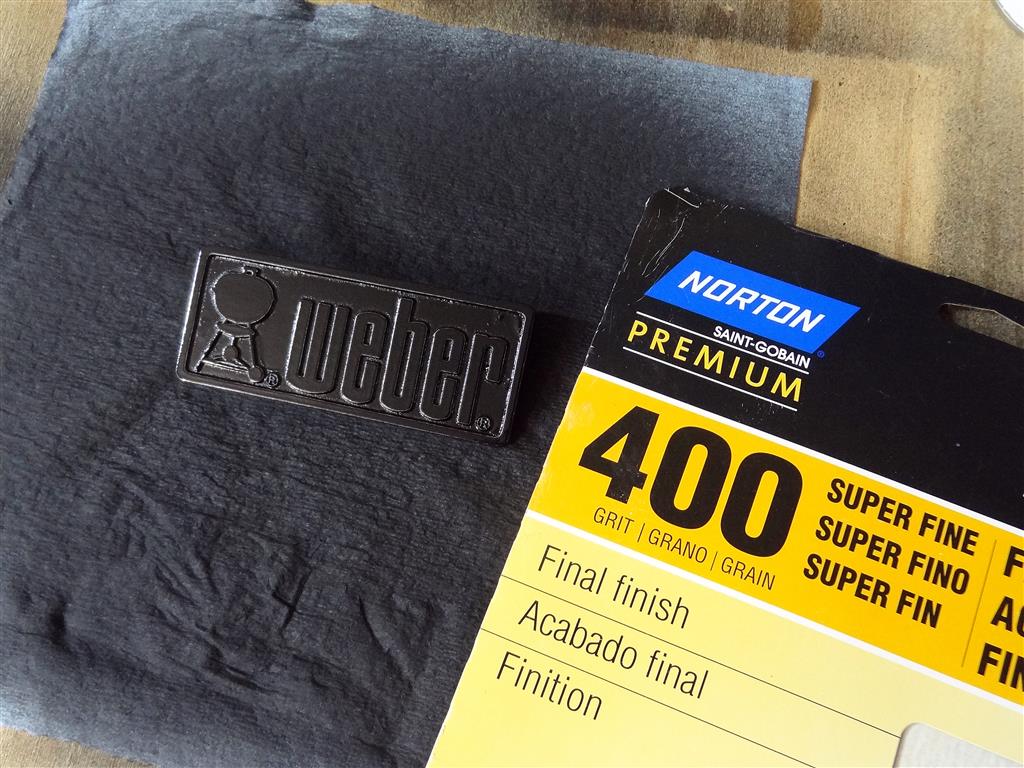
Lay a piece of 400 grit sandpaper onto a flat surface and then simply rub the emblem back and forth over the paper. You can go in swirls or whatever if you like, or if a certain area needs some extra attention you can sand using your fingertip behind the paper. Once the lettering, logo and border look clean lay the piece down one last time and do a few final straight passes to reintroduce the horizontal graining across the entire surface of the emblem.
In the end you should be left with something like this!!
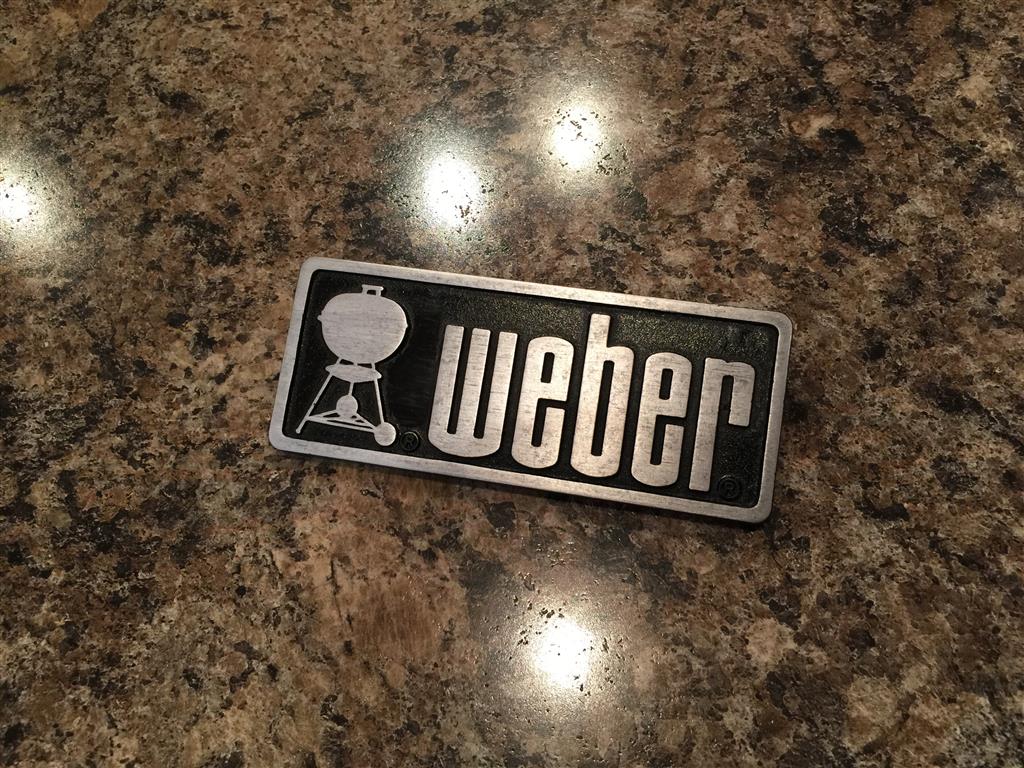
Thanks again to Dave for the tip – This worked out great!
Take care all,
Matt
R – R – R
This is flat out awesome. Thanks for the great tip, Matt! I may need to put this to use!