Everything turned out great, the crowd at the party loved it and were all requesting business cards so they could call me next time they were having a party. When I got home, I immediately fell asleep – completely forgetting about the 9th butt that I had smoked for myself.
At 8pm, when I finally woke, the 9th butt was no longer hot enough to pull. It was actually a solid piece of meat. I stuck it in the fridge to figure out later
The next morning, the whole family was looking forward to pulled pork omelets – a tradition for us the day(s) after I make pulled pork. I pulled the butt from the fridge and created what is now family’s absolutely favorite BBQ creation.
Step 1: Smoke your pork butt!This recipe is a ‘leftovers’ recipe – so I’m not going to teach you how to smoke a butt. Smoke it good though. Get a mahogany bark (not black) and take the temp up to 200.
Step 2: Don’t Pull that Pork!
That’s right. When that butt is done, wrap it in double foil and let it rest on the counter or in the oven (off) until it’s cool enough to stick into the fridge. When its easily handled, stick the whole thing in the fridge – foil and all.
Wait 24 hours. (This part sucks)
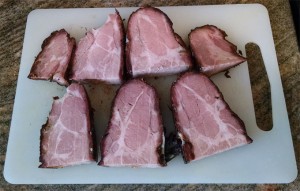
Remove butt from fridge and unfoil (duh). Remove the bone. Turn the butt so the money muscle to the right and the bone-side to the left. Cut the butt in half. Turn each half sideways and cut them into ‘steaks’ – I usually make mine 1″ or 1.5″ thick. The right half, with the money muscle, will produce more presentable and flavorful steaks. Step 3: Season the steaks
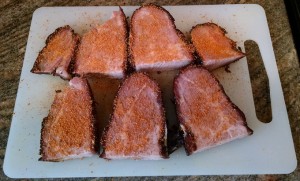
Dust the steaks with your favorite rub. I use a blend of Simply Marvelous Sweet Seduction and Big Poppa’s MONEY (or Sweet Money). This is the same rub I use when smoking as well. Step 4: Fry the steaks
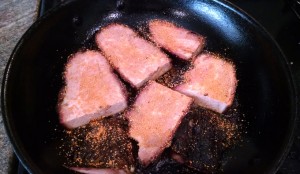
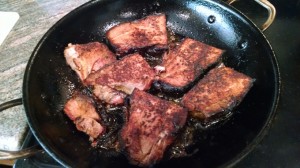
I use a well seasoned hard anodized aluminum Calphalon Commercial pan that I’ve been abusing for 10 years. A cast iron skillet will also work. I lube the pan up a bit with some saved up bacon grease or coconut oil. These unpulled pork steaks still have fat in them, which will provide anti-sticking lube and help build up a crust. Step 5: Flip and Glaze
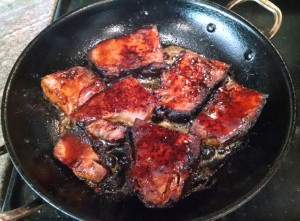
When the underside of the steaks have built up a nice crust, flip them. Brush the tops of the steaks with your favorite BBQ sauce and cover the pan to help set the sauce. If you really want to make a mess in the pan, you can flip the steaks again (sauce side down) and sauce the other side again. I usually don’t.
Step 6: Salt & Serve
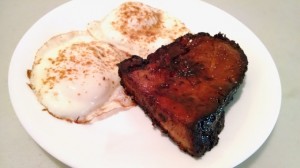
My rubs aren’t salty at all. I season with Fleur de Sel right before eating and its magical. If you use salty rubs, you should probably skip this step. These steaks make a great breakfast with some eggs. Or serve them with pretty much any side for lunch or dinner.
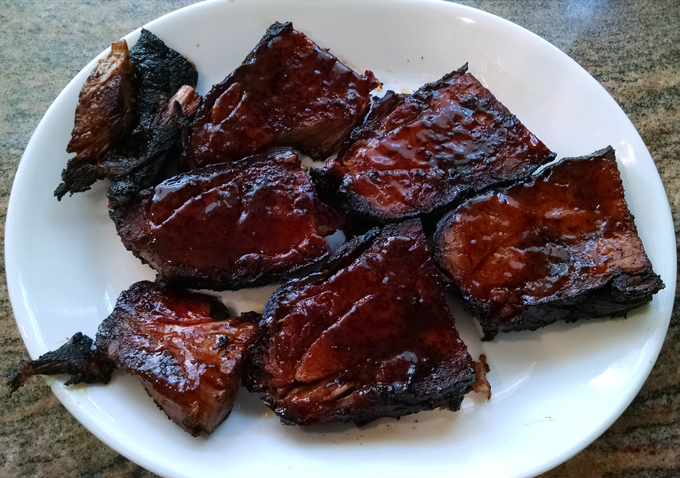
This dish is high demand at my house. Sometimes I smoke a few butts and don’t pull ANY of them. Not kidding either.

