
A guide by Nate: One of the WKCs food gurus!
There are different tried and true methods of cooking pizza on the Weber Kettle, but this was my method that turned out nice pies before I stared using the KP. Also, I’ve always used a pizza stone but this method should work with just a pizza pan. If using a pizza pan, do a test cook to get a feel how it cooks and what needs to change if anything.
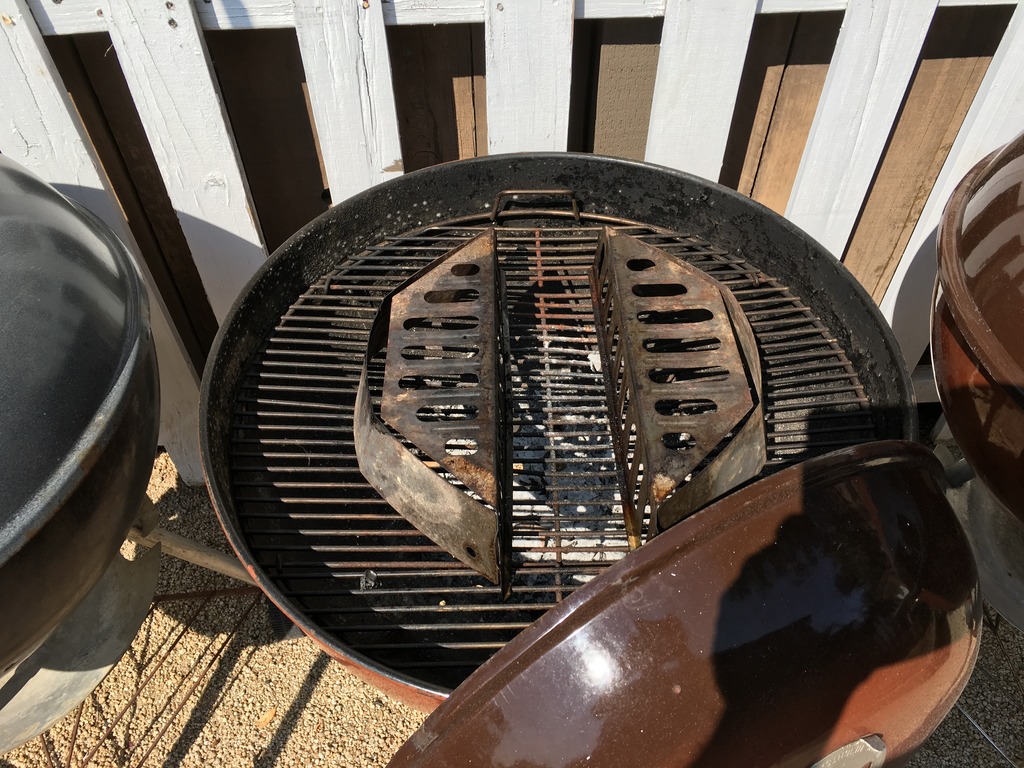
Charcoal baskets are an easy way to lift the pizza stone
Quality ingredients, IMO, makes all the difference. So grate your own cheese, make your own sauce, and if possible make your own dough.
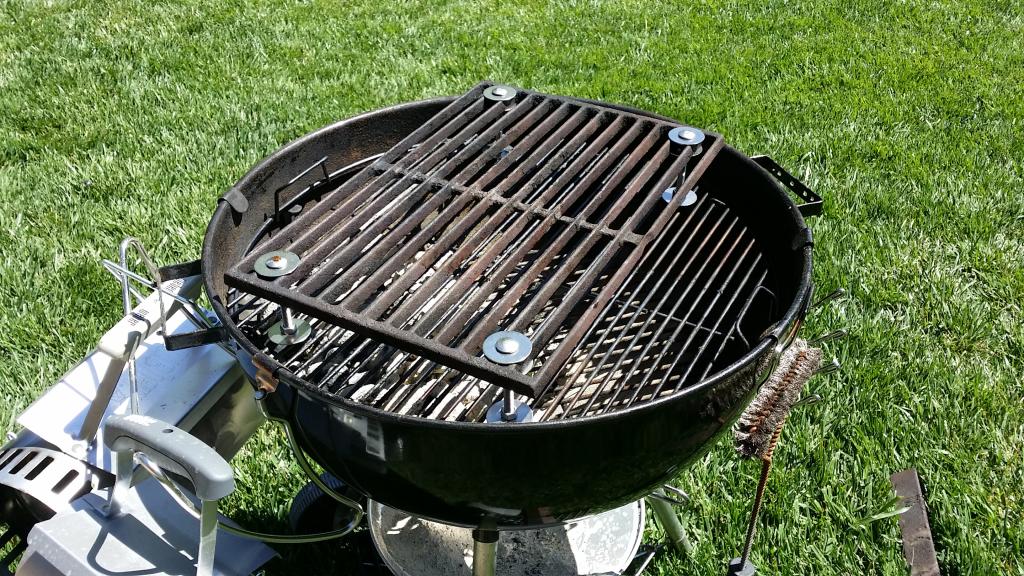
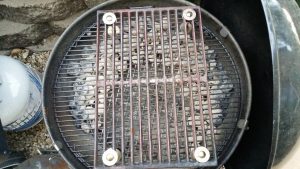
When making pizza on your Weber without a Kettle Pizza, you need to elevate your pizza stone or cooking surface to get the pizza into the dome heat. I’ve used elevated cooking grates that were held up with SS bolts, charcoal baskets. Charcoal baskets are the easiest and quickest and most people already have them.
Some examples:

If your lid doesn’t have a temp gauge, pick up a thermometer that you can insert into the lid vent. You’ll also need a pizza peel. If you don’t have a peel, you could try using the back of a cooking sheet
Charcoal setup for pizza on the Weber
Crescent Charcoal Setup for pizza
Use about 1.5 full Weber chimneys of charcoal. Start with 1 full chimney of lit charcoal and add about 1/2 unlit to it. My charcoal layout varied between a crescent shape to spreading it out around the entire perimeter (ring of fire) of the kettle. Both work but the ring of fire gives more even cooking. There shouldn’t be any charcoal below your pizza stone, otherwise it is highly likely the bottom of your pizza will burn.
Once lit, install your cooking grates and pizza stone. Make sure the bottom and top vents are wide open. Install the thermometer so it’s reading the temperature just above the stone. Now let it preheat for 30-45 min. You might need to crack the lid a bit to get the temps up. I always tried to get around 550 degrees F.
Building the Pizza
Now build you pie. It’s easiest to build you pie on the peel. Make sure you have flour or semolina flour on your peel if your dough isn’t already floured enough to slide. Stretch the dough out and set it on our peel. This is a good time to make sure it slides. Put your toppings on and immediately launch on to the pizza stone. If you’re cooking your pizza on a pizza pan, you don’t need to worry about the launching part. FYI, I don’t put anything on my stone, like semolina or corn meal.
Cooking the Pie
It’s been a long time since I’ve used this method, but I believe my pies took 10-12 minutes to cook. You can see how the pizza is cooking by looking through the lid vent. Rotate your pizza 180 degrees half way through the cook. I’d suggest checking the pie at 5 minutes to see how it’s cooking. This is a good time to check the bottom of the pizza to make sure you aren’t of the verge of burning. This should also give you a good estimation of how much time you have left to cook.
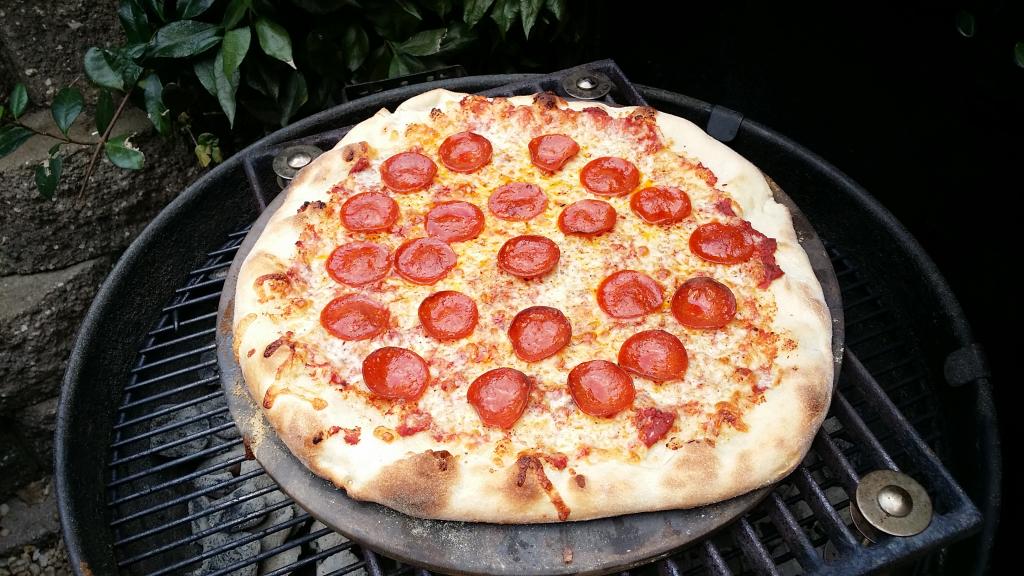
Examples of Pepperoni Pies:

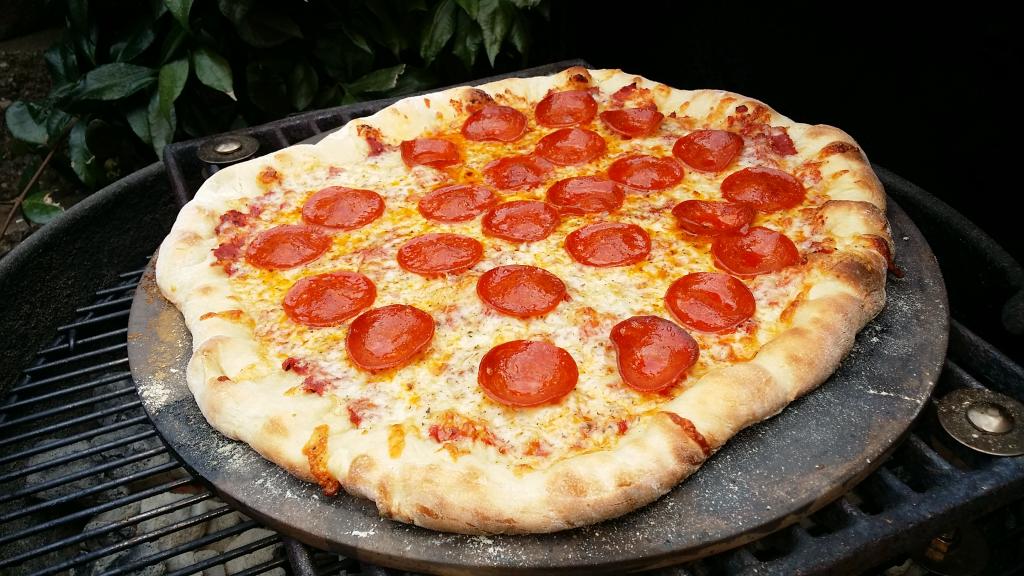
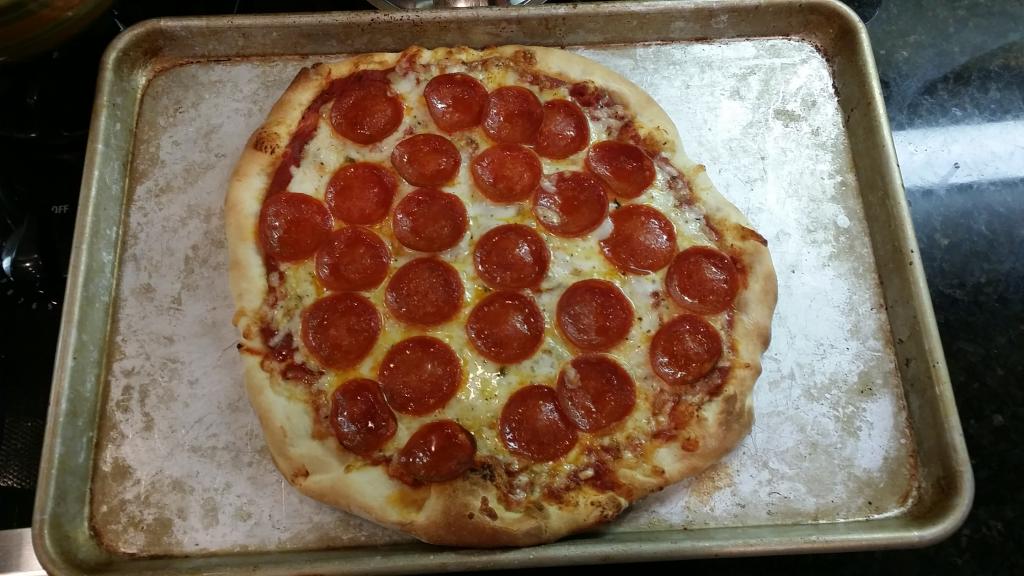
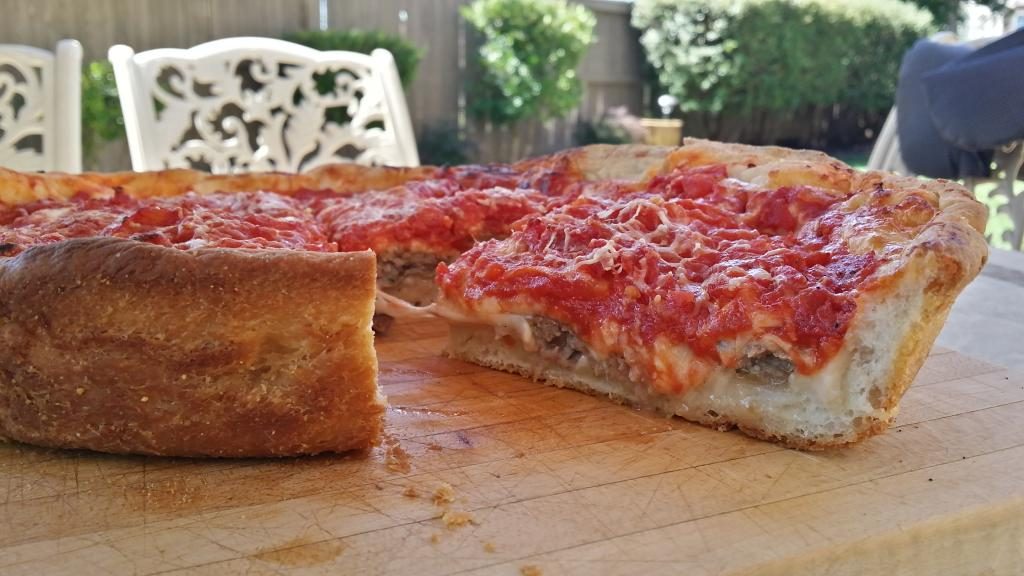
You can make cast iron deep dish pies using this method too. Just takes more time to cook.
One last tip: If purchasing store bought pizza dough, make sure you take it out of the bag/container it’s in and set it on a floured surface (like you kitchen counter) and cover with plastic wrap two hours before you plan on stretching your dough. It needs time to relax and get up to temp. Also, do a test cook. You’ll learn a lot from one cook.
Great info… I just mixed up a batch of dough this morning… I will be grilling pizza Friday for lunch. Thanks Nate.