When Weber introduced it’s latest bolt-on handle design many purists were very critical of the change, not because it was a bad handle, but because it simply looks bulky and distracts attention away from the beauty of the classic kettle design. Gone are the days of a welded (and painted!) strap style handle – we are now provided with a new bolt on design that incorporates a large metal heat shield assembly and is attached using plate nuts and a special tool designed to prevent over tightening.
The new handle feels very secure once installed but lacks some of the character of the older grills in my opinion. If you’re like me and belong to camp old school then read on to learn how you can give your new kettle that classic retro feel. Below you can see a comparison of the new style handle along side the ranch version which we plan to modify and install.
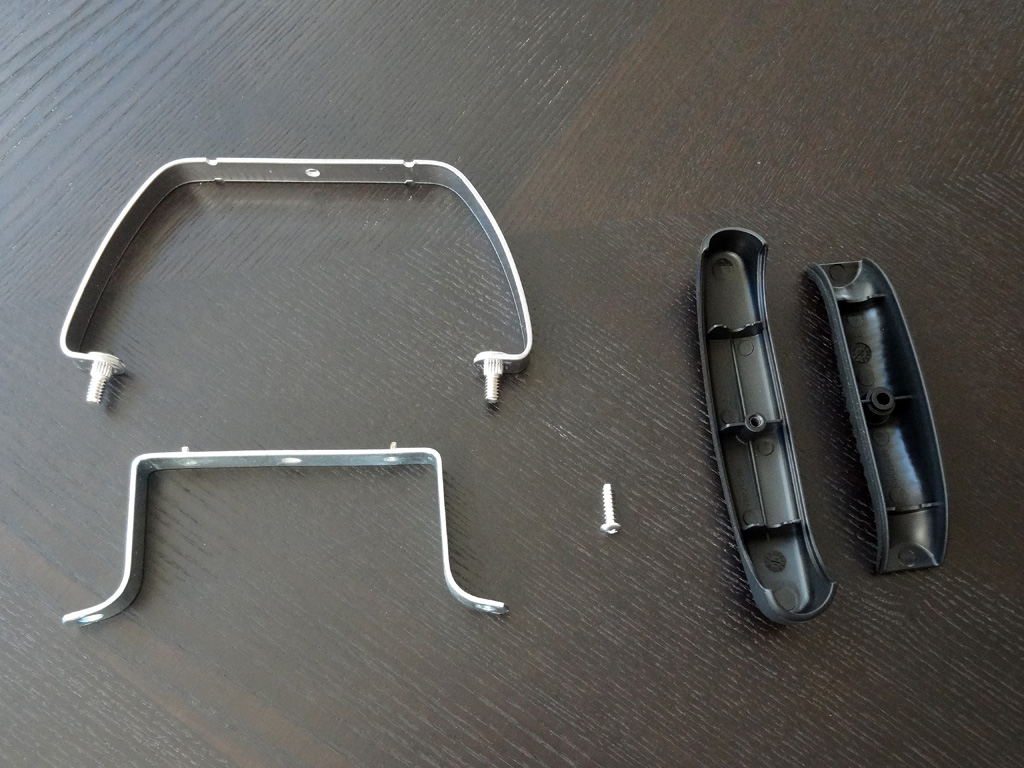
Quick note before we begin! I would like to personally thank member “terrymo” for graciously sending me this ranch handle bracket! He knew I was looking for one and very generously sent it to me. Cheers Terry!
Required Materials:
1 x Old Style Bolt on Handle Frame. ** You need to track down either a single handle from a Ranch kettle (#80554) (Note this seems to be discontinued!) or alternatively you can order fireplace handles in pairs (#61486). It appears as a bonus you get new original Weber wood handles as part of the deal as well! Will confirm this in a week or so.**
2 x Stainless Steel Carriage Head Bolts – 1″ in length or as close as possible
Drill with a 21/64 metal bit
Hammer
High Heat Paint
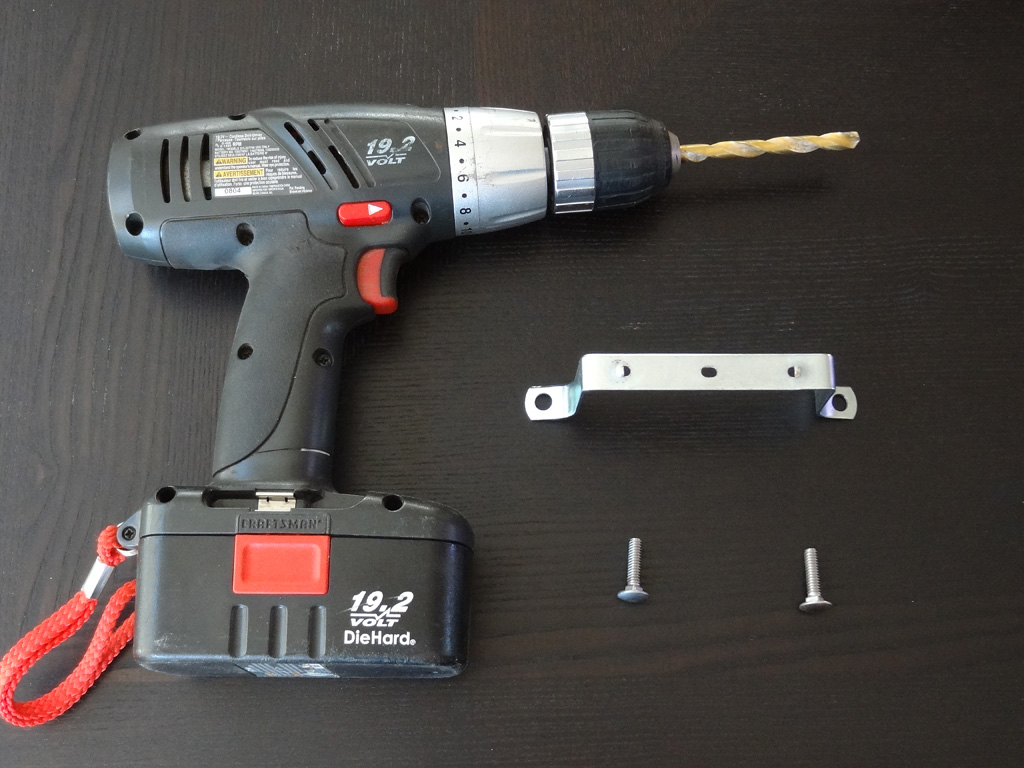
Objective: We need to accomplish a few key things in order for this to all work. #1 – Drill out the existing mounting holes on the ranch handle. #2 – Bend the mounting tabs flat. And #3 – Paint to suit. These are all simple tasks so take your time and all will go smoothly.
Step 1: Drill out mounting holes
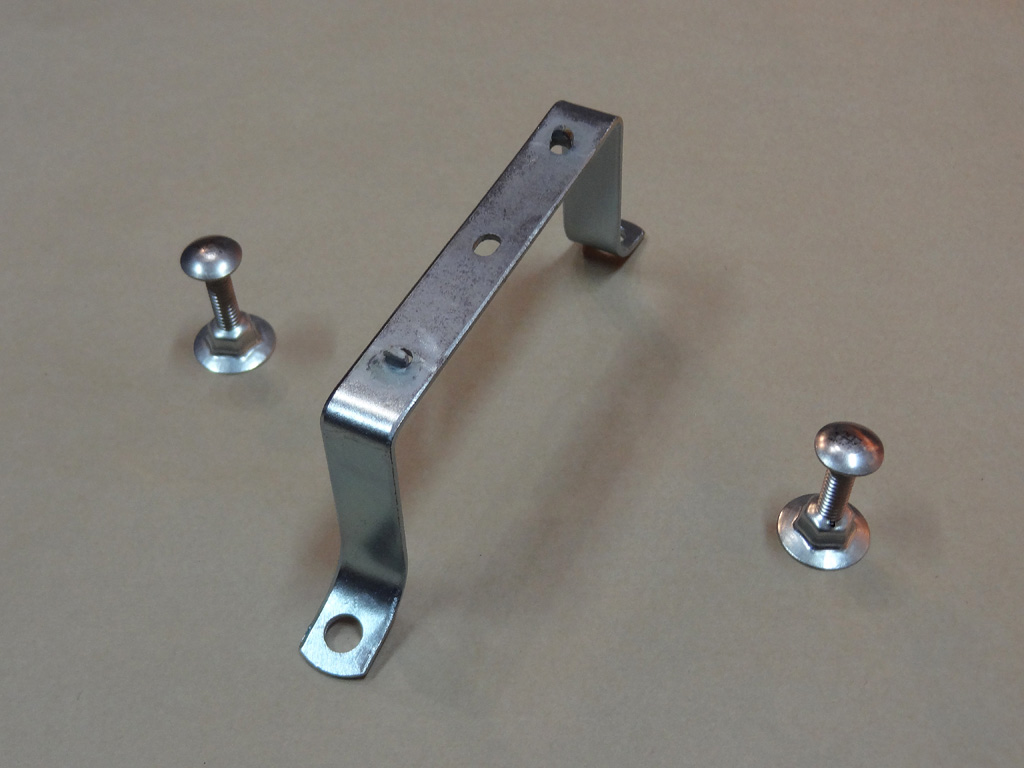
Using your drill and 21/64th drill bit – expand the two holes located on each of the handle mounting tabs. This is to allow the square neck at the top of the carriage bolt thread to sit flat against the handle and not pinch or damage the porcelain on your kettle. The 21/64th worked perfectly for the bolts I had and will more than likely work with whatever you find locally. Essentially you want to drill them out just enough so that the bolt head will sit flush against the handle strap.
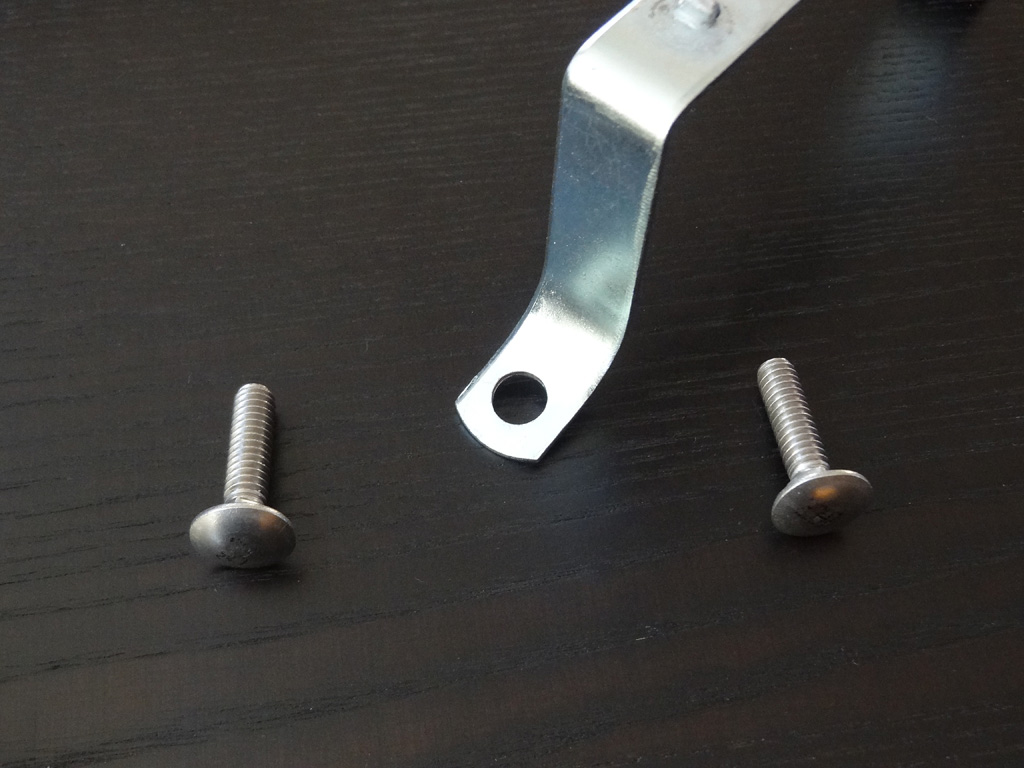
Step 2: Flatten the new handle tabs to match the profile of a 22.5″ kettle.
Since this handle strap was originally designed for the slope of a ranch lid, you need to bend the same little tabs that you just drilled out so that the handle will sit flat against the lid. If you look at the picture below I have yet to bend them flat so the handle is resting only on its outer two most edges (or “tiptoes” for lack of a better expression) and not flat on the tabs. If you were to tighten the handle on like this it would certainly dig into the porcelain and cause damage.
I placed the strap down as shown below and then tapped the top outside edges with a hammer to slowly force the inner portion of the tab to rest flat against the ground. You will be able to tell just by looking at the profile view if it’s close or not – and then simply make small adjustments until it looks good.
Step 3: Painting the handle strap
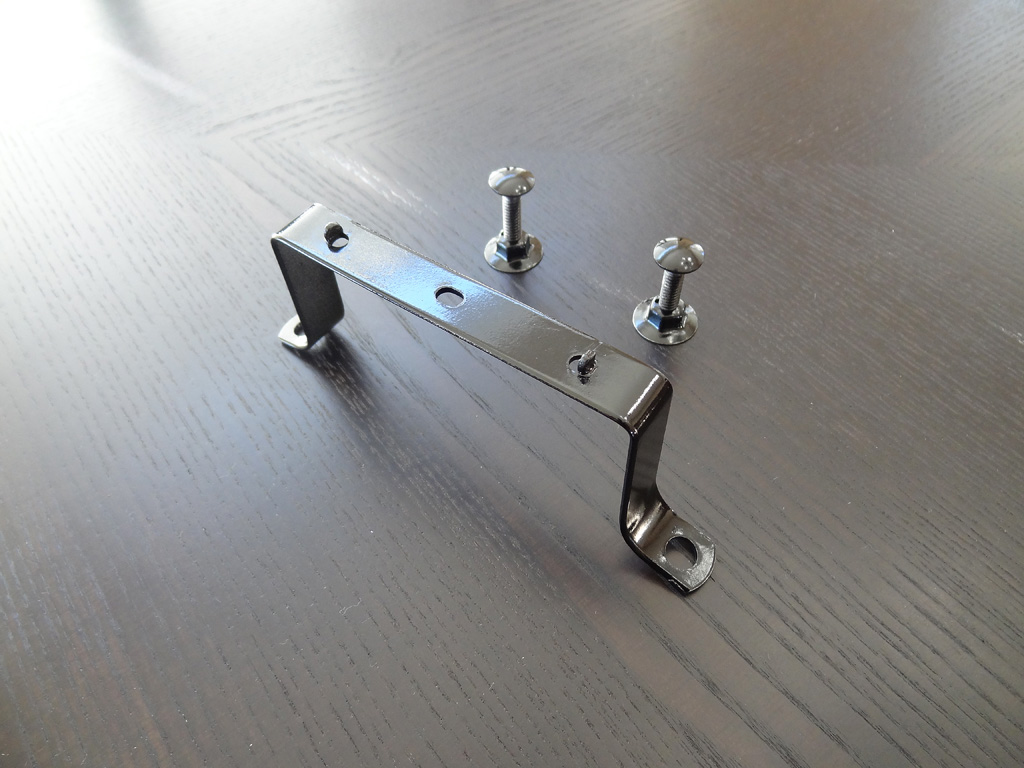
Since this was a first attempt at such a modification I decided to start out with good old classic black and the new MT was a perfect candidate. I used the large flat nuts from the underside of the lid to hold the carriage bolts upright while painting. I went with gloss black BBQ paint (Tremclad) and it’s a damn near perfect match! Since this product is quick dry I did 4 coats in less than an hour then allowed it to sit overnight before handling.
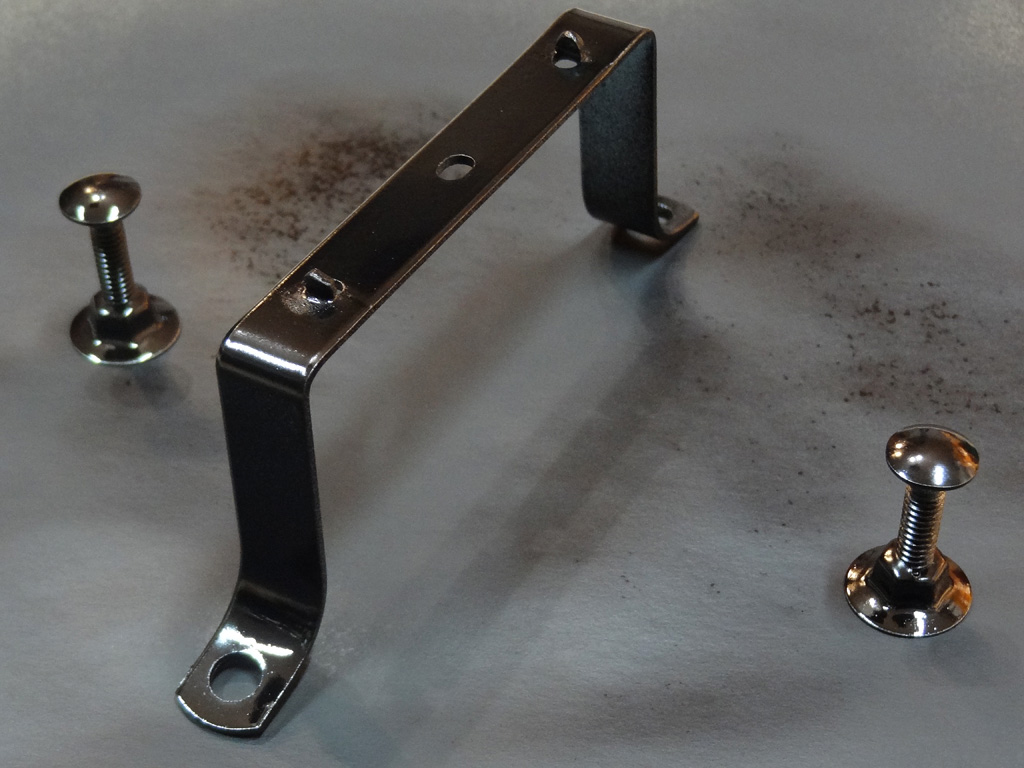
And that’s it folks! Easy as that and you have a classic retro strap style handle with no heat shield. And should you feel like taking things to the next level you can combine this mod with a set of Brian’s amazing handles! See below:
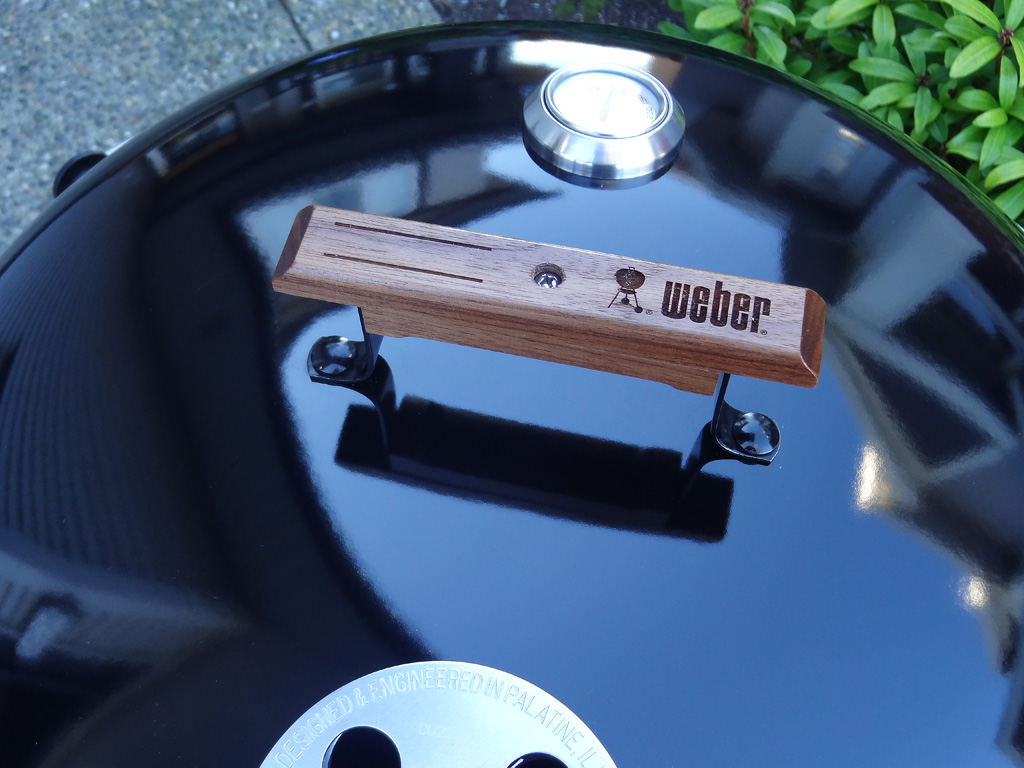
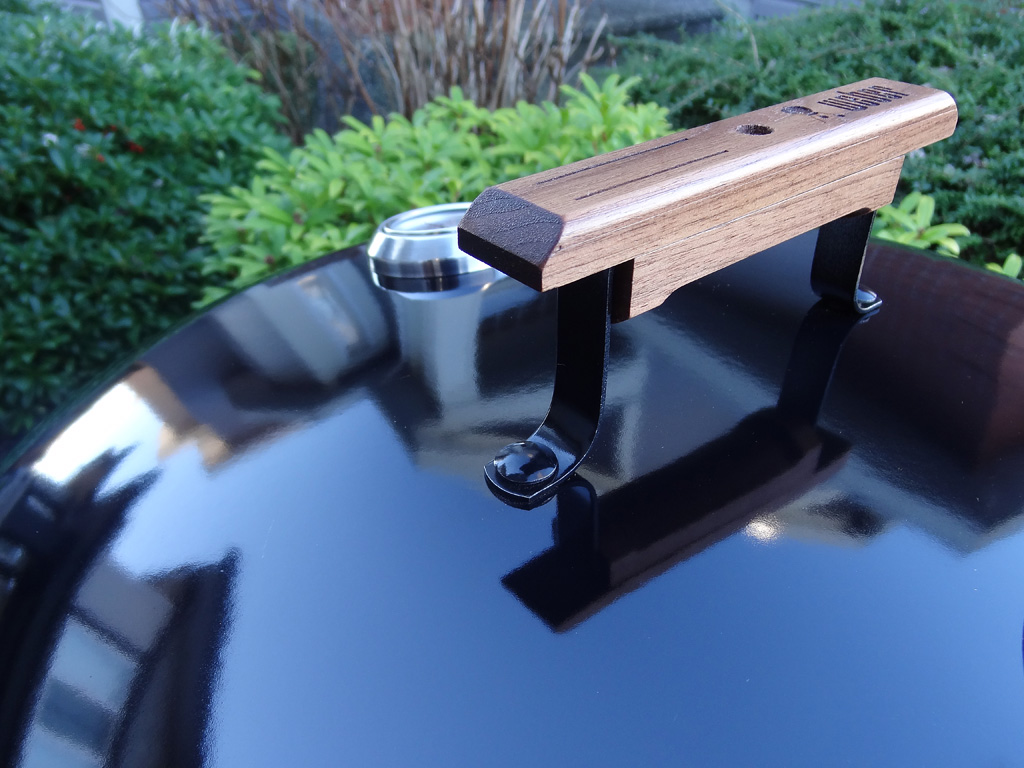
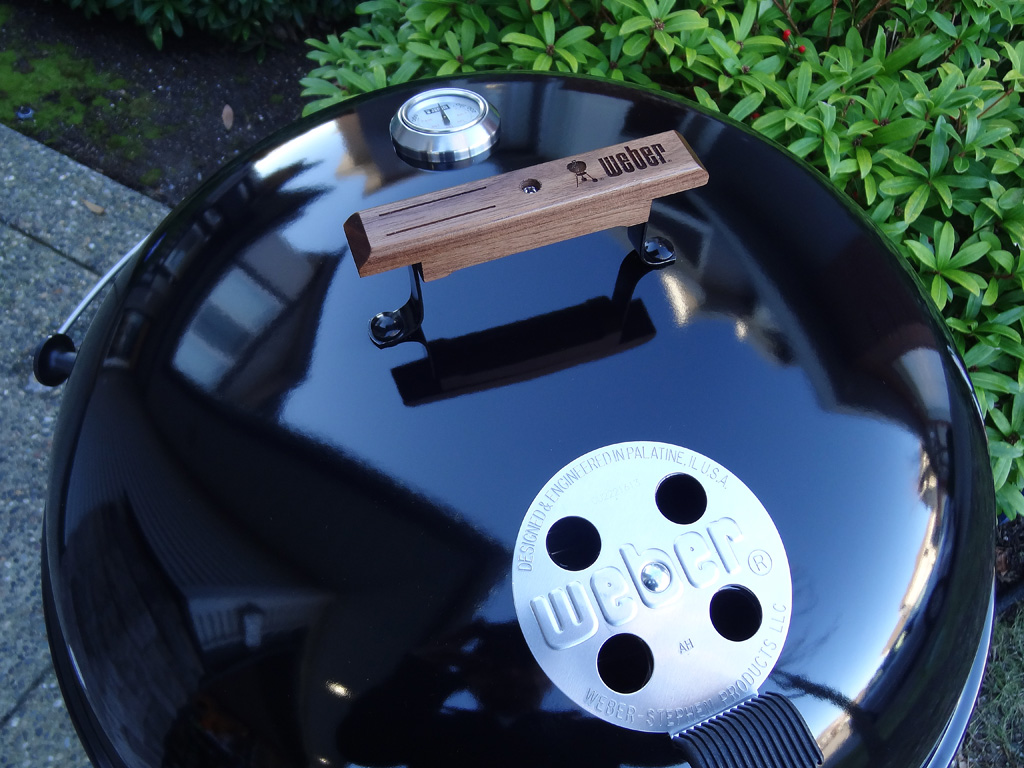
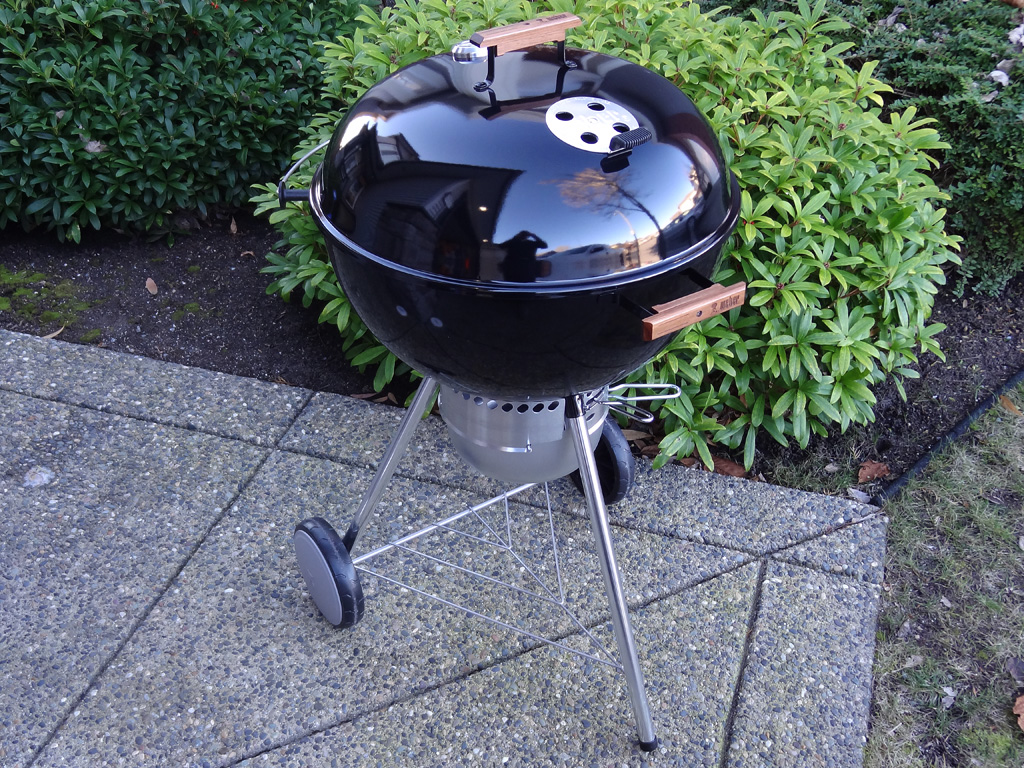
Happy Holidays from the WKC and here’s looking forward to a great 2015!
R – R – R
