
Your camera phone can take amazing pictures with these simple steps. We will focus on full kettle closeup picture with a tight crop. For real glamour shots, wipe down / clean the gunk and dust from your kettles first!
Step 1. Choose a decent background
Choose a background that isn’t busy with shapes and colors. This will help the kettle stand out in the photo. Clean up any surrounding junk to make sure it’s not visible in the frame. Large patches of grass, driveways, roads, walls, and fences make great backgrounds. In the examples below, the ugly dead garden and fencing is distracting, while the sidewalk/road that is less distracting.
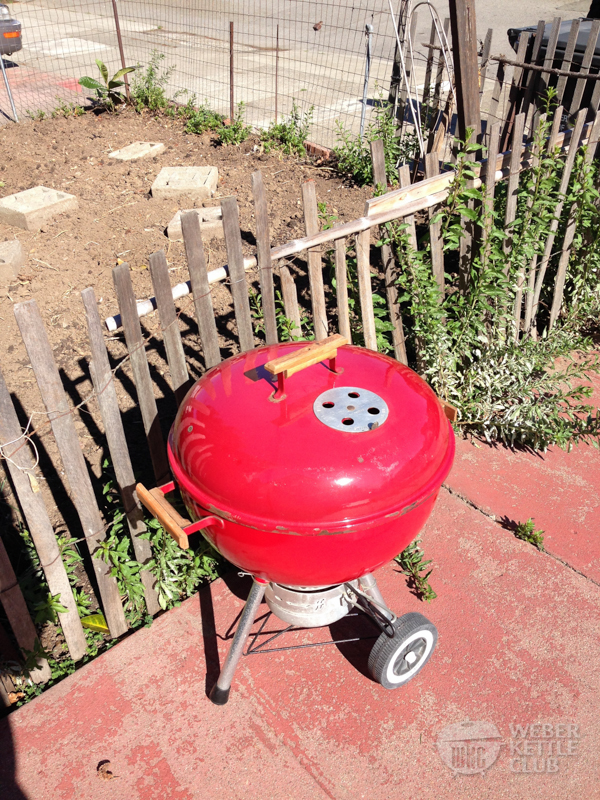 Ugly distracting background |
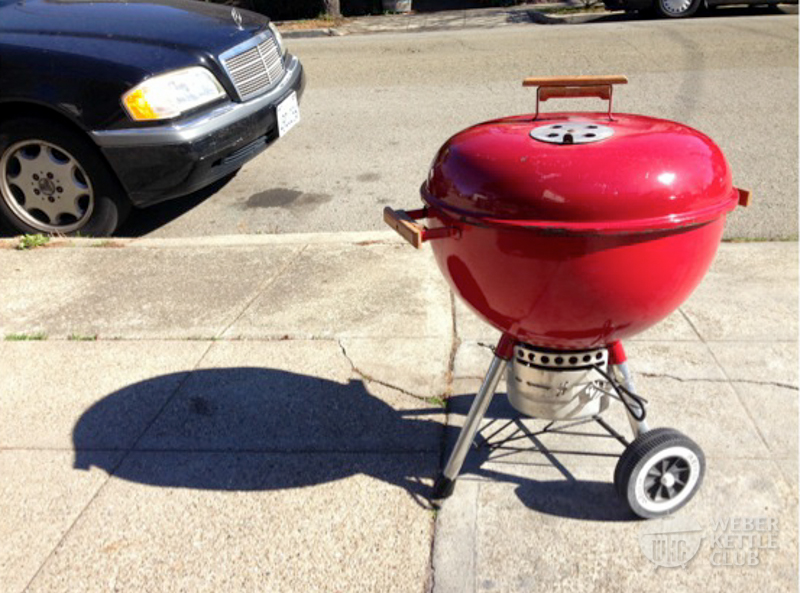 Much better background |
Step 2. Compose your shot.
Great! Now you have a decent back ground. Position the kettle and yourself so that you can get a better view. Note that you won’t be able to move some things in the background- that’s OK! Just try your best to keep the background clear.
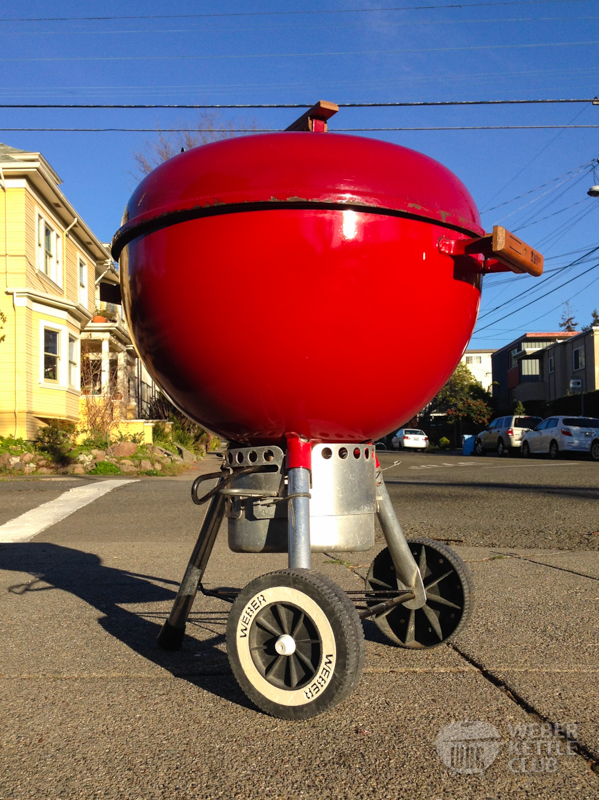
Let’s try to get a good angle on this kettle. Taking the picture while standing up straight with the camera at eye level will show more of the top lid and the ground and less of the bowl & legs. Taking the picture lower, around knee level, will show more of the bowl and the background behind the kettle. We want to see the vent and handle on the lid as well as the bowl so around chest level should do.
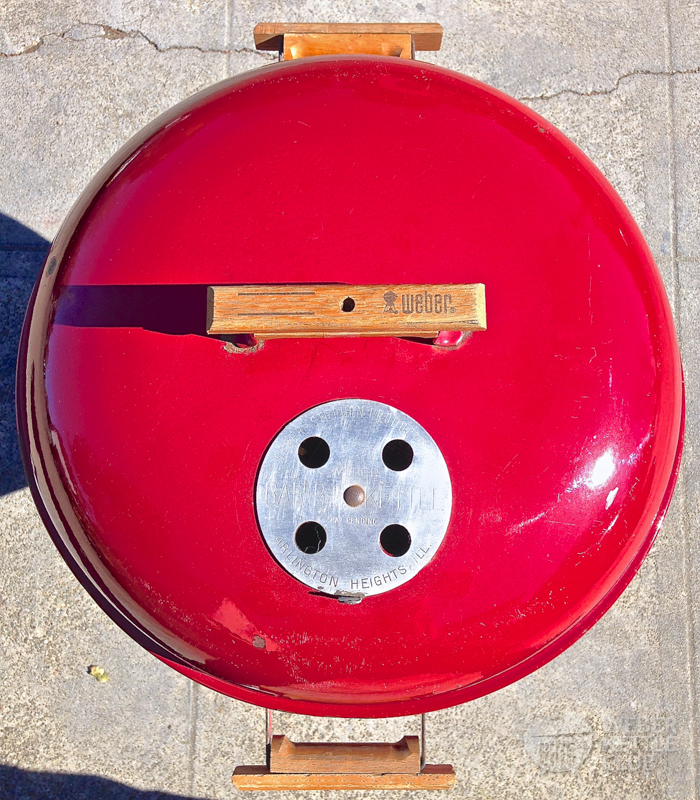 Top view taken overhead |
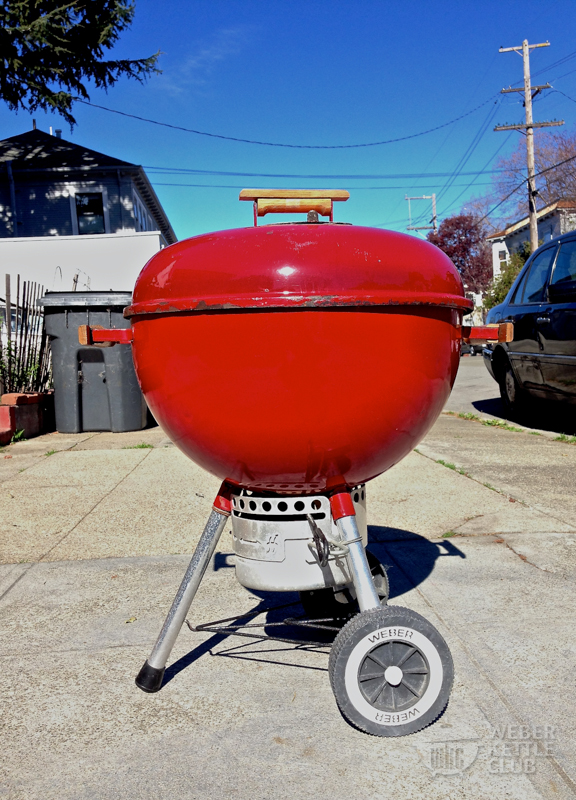 Side view taken evenly with the bowl
|
 Bottom view taken very low by the legs
|
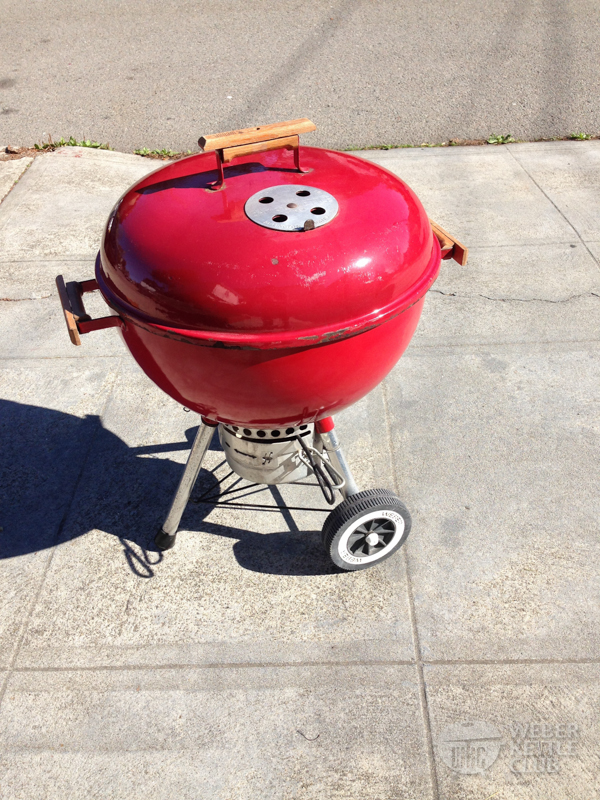 Three-quarter view. We see the top lid and a little of the bowl and the legs. This picture was taken around chest height.
|
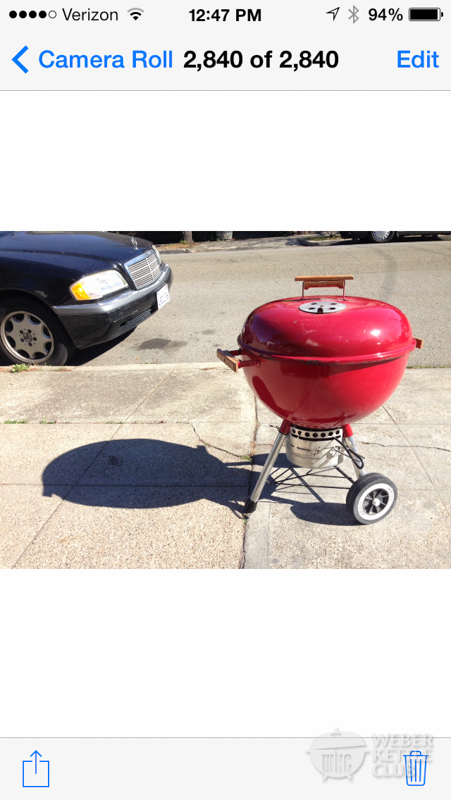
Use your camera preview screen to move the kettle around your picture. Make sure that the immediately behind the kettle is clear. The picture below has a clear view of the kettle. If I stood to the right a little more, the black car would be right behind the kettle and ruin the picture. I also opted to take the picture so that we can see the vent on top as well as the rest of the kettle.
Step 3. Lighting, focus and exposure.
We want the kettle to be the main subject of the picture so avoid having harsh shadows or distracting reflections on the kettle.
Yuck! I’m pretty sure I saw pics like this on CL for “Webber BBQ”
Spend the extra second to make sure that the camera is in focus and correct brightness before you take the shot. You can press your finger on any section of the screen to focus and expose on an area. Camera phones usually need a second or two to calibrate if you are moving the camera around. When you focus, an orange box pops up- it will focus, and set the brightness. Select the kettle lid, hold steady for one sec, and then take the pic.
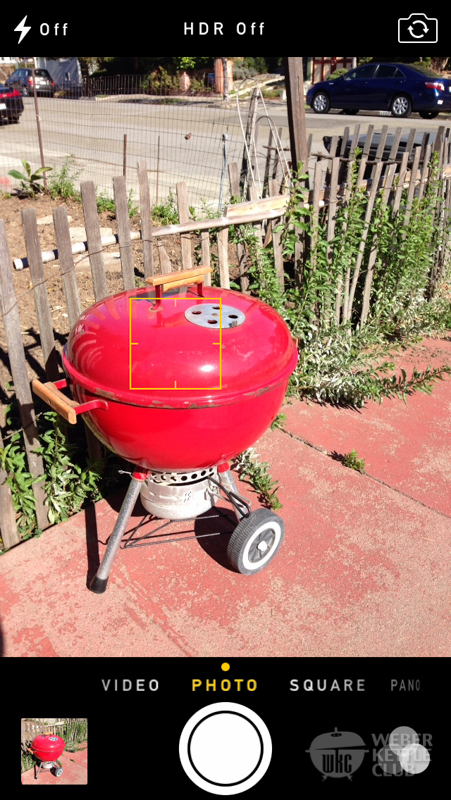
Press your finger on the kettle lid and your camera will set the brightness and focus point there.Check it to make sure it’s OK in your camera album.
The picture is in focus and the brightness is just right
Step 4. Editing
Bravo If you’re lucky enough to have the perfect shot after step 3! But most photographers need some extra time in the “darkroom” / photo editor to make their pictures really pop out.
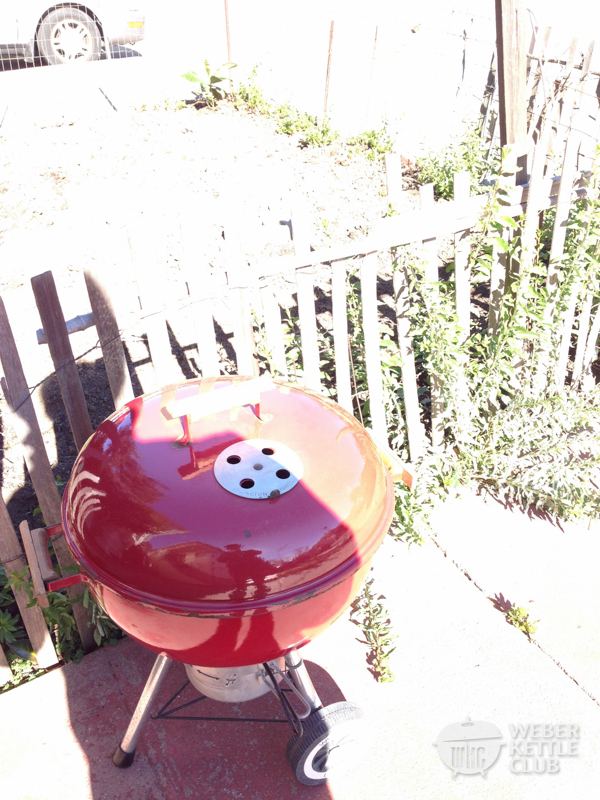
I took this picture to show you how to edit. It’s alright because there view of the kettle is ok, the background isn’t too busy, and it’s in focus. but I want a better portrait of this kettle to put on my desk at work and in my wallet. 😉 The iPhone has a really useful editing tool to meet your needs. We’ll use those tools to get cut out the car in the back and make the red really pop.
Step 5. Cropping
Cropping is zooming into a specific area of your picture by cutting out part of the picture at the edges. We can crop a lot, like in this example, or just a little to better frame the kettle. Let’s cut out the car so we can get a closeup of the kettle. Click EDIT on the upper right hand corner of your picture.
The editing tools are in the upper right corner
A number of editing icons will show up at the bottom. The one on the end with the bracket thingies is CROP. Click that icon to trim your pic. A grid and frame pops up on the photo once we are in the CROP tool. Let’s get in nice and tight on the kettle without cutting out the handles or legs. Drag the edges of the grid and frame to keep the portion we want. The rest of the image will darken and look- no more ugly car! The crop tool will will give you a preview too so play around with it till it’s just right. Save the crop by hitting the CROP button on the upper right.
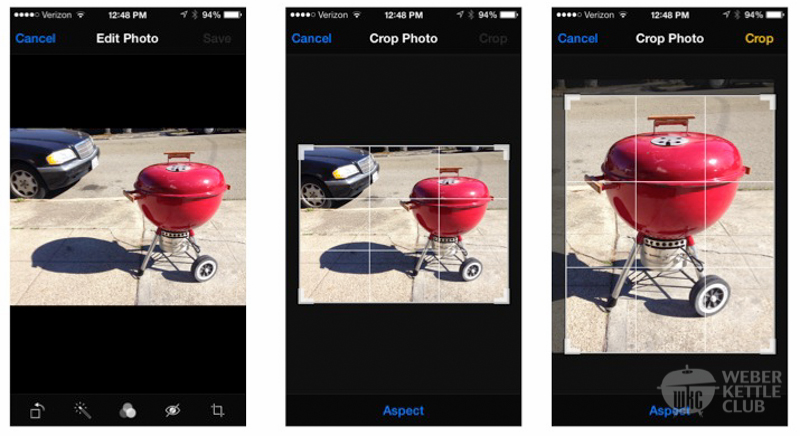
Step 1: crop tool at the bottom right. Step 2: drag the window around the kettle. Step 3: Hit “CROP” at the top right to accept.
Step 6. Enhance
Voila! We almost have a kettle picture that is worthy of the WKC gallery. We want to make this redhead really pop so we aren’t quite done yet. Let’s go back to EDIT. The second magic wand icon at the bottom is an “enhance” feature. It deepen the colors, and make things pop with more contrast. Give it a try!
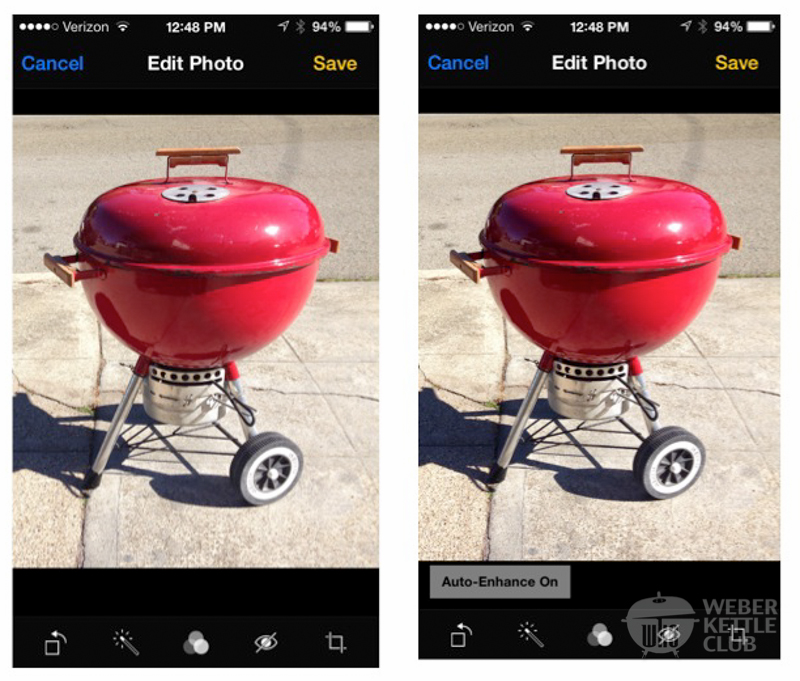
Auto-enhance darkens the colors and increases contrast for a more appealing pic.
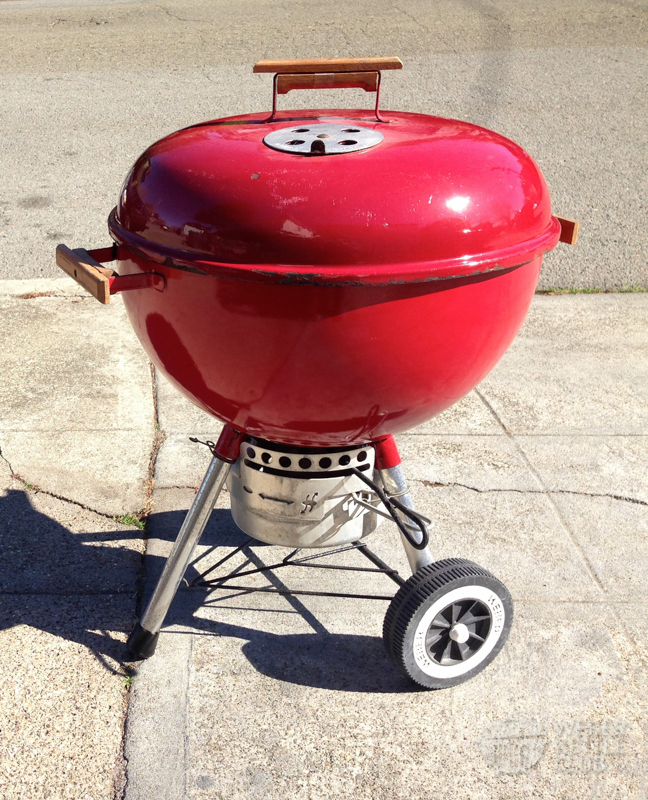
We now have a nice close up portrait of our kettle!
Last but not least, upload your lovely kettle pics to the forum with Zavod’s awesome photo tutorial.
In the next WKC photo installment we will discuss more advanced ways to take pictures of your kettle.