Hello all, so back in August
@pbe gummi bear found a Avocado grill lying in a dumpster near his home in northern California. He posted about it here:
http://weberkettleclub.com/forums/weber-kettles-accessories/dumpster-diving/After seeing his post, I really felt that I WANTED this grill. I always love a good underdog story, and I thought this grill might be a lot of fun for my first restore. So, I private messaged him, and he sent the grill to me here in Las Vegas. Here are a few pics of the grill before.
This is the pic he had on his post showing what he pulled from the dumpster:
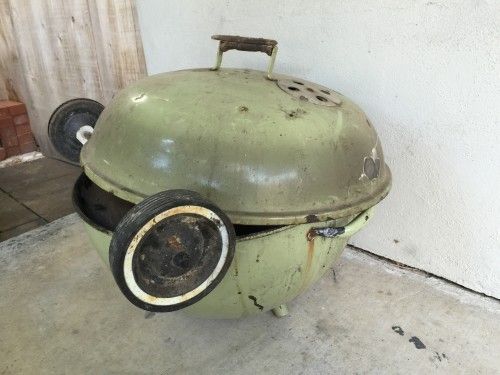
These are pics he sent me via email of what I was getting into:
The grill arrived a couple of weeks ago, and although Lawrence kept the original wheels, he was AWESOME and provided me with a BEAUTIFUL new wood handle, as well as two legs, a triangle, and the charcoal grate. Furthermore he contacted
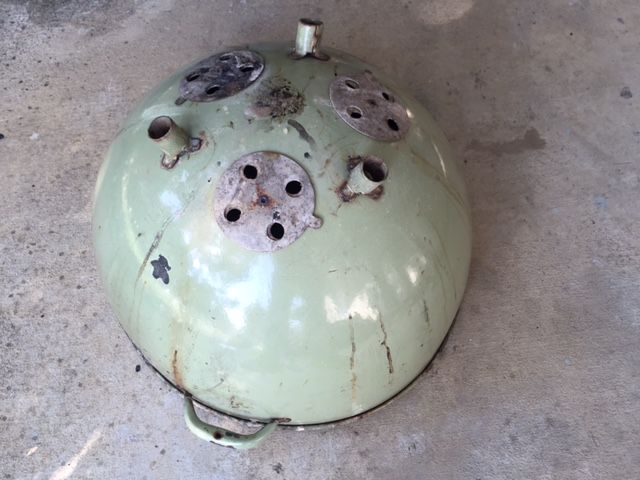
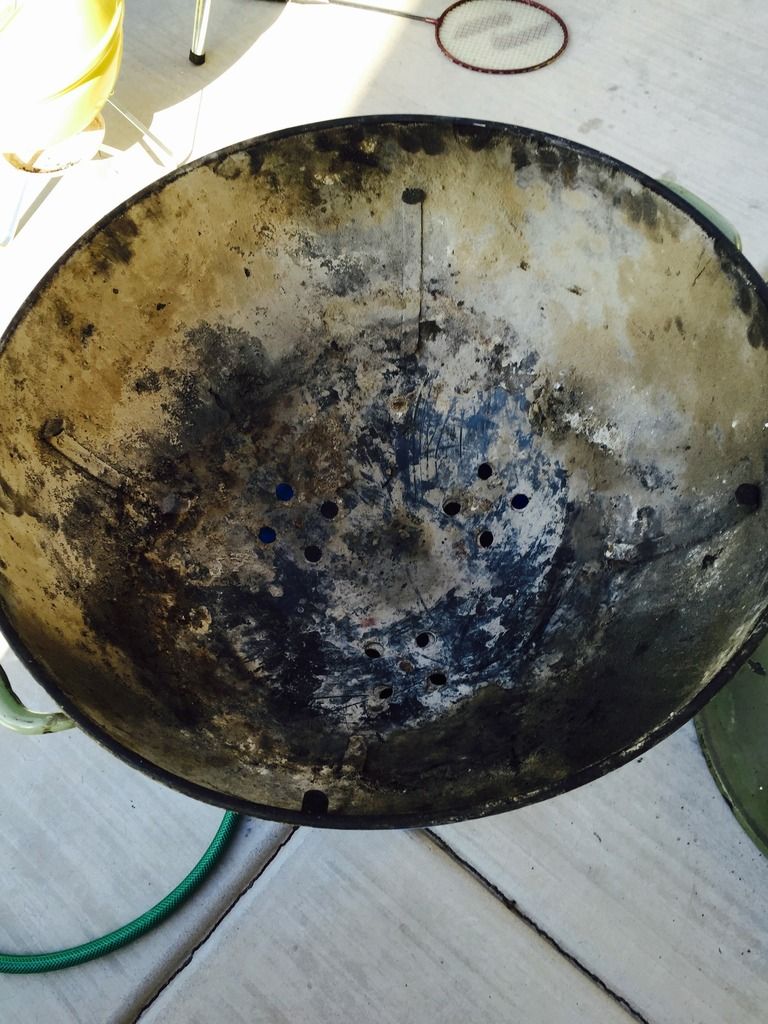
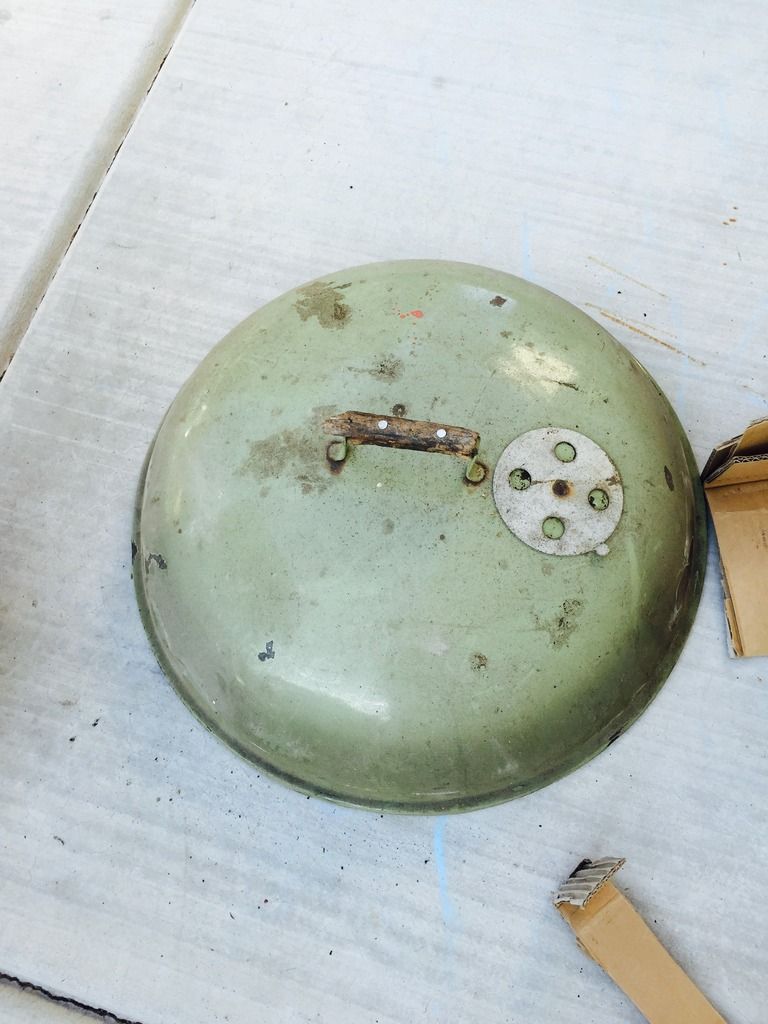
@Craig about getting me a front leg for the grill which arrived today. Kettle Karma all around, and I couldn't have done any of this without their help. So, upon unpacking the grill, I immediately set to work. My first task was removing the baked on ash from the bowl. Here is a before pic:
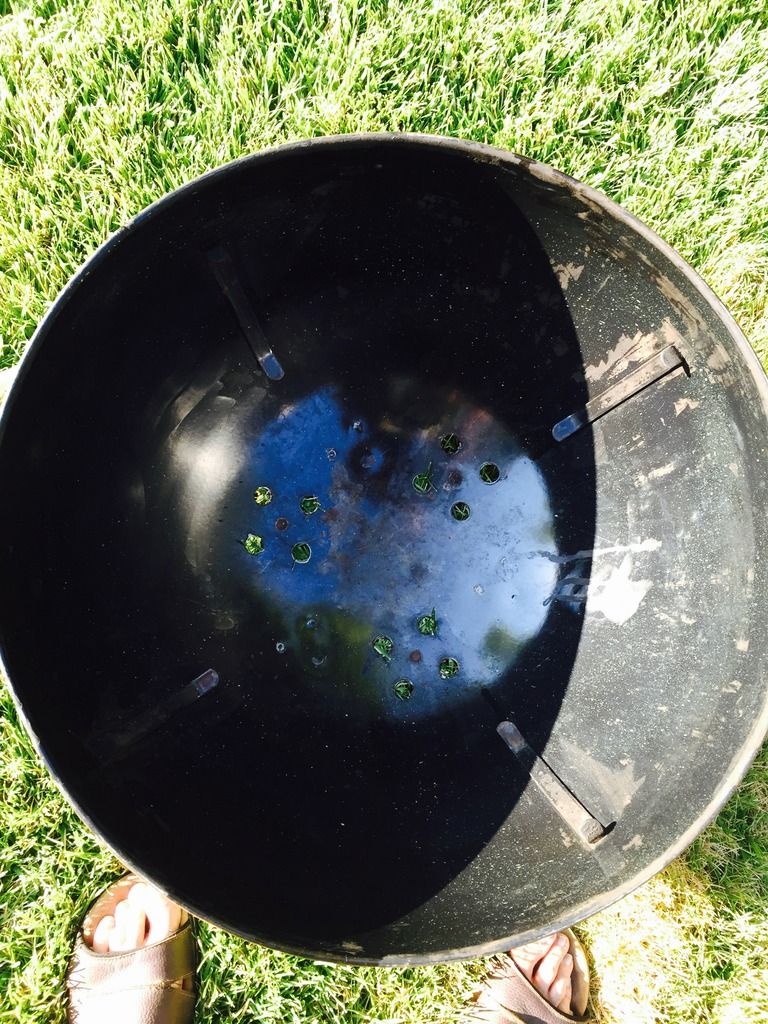
I used the razor scraper as advised on the restoration forum, and then I cleaned it up with some 0000 steel wool. The results were pretty amazing. There were a few pieces here and there that would just NOT come off, but it is 98% better. Here's the after pics:
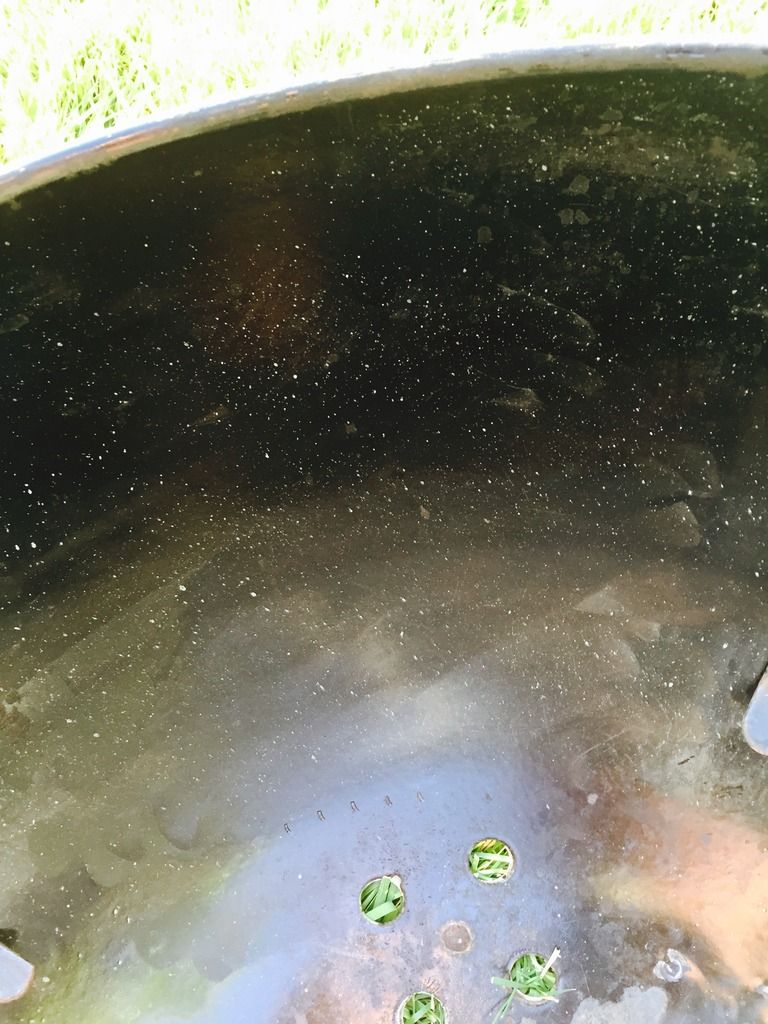
I love the green speckled overspray in the bowl. I cleaned the lid as well, but one of the dings/rust spots on the lid seemed pretty soft, and I did NOT want to make a hole in the grill at all. so I was more careful there but I got the vast majority of crud off there as well.
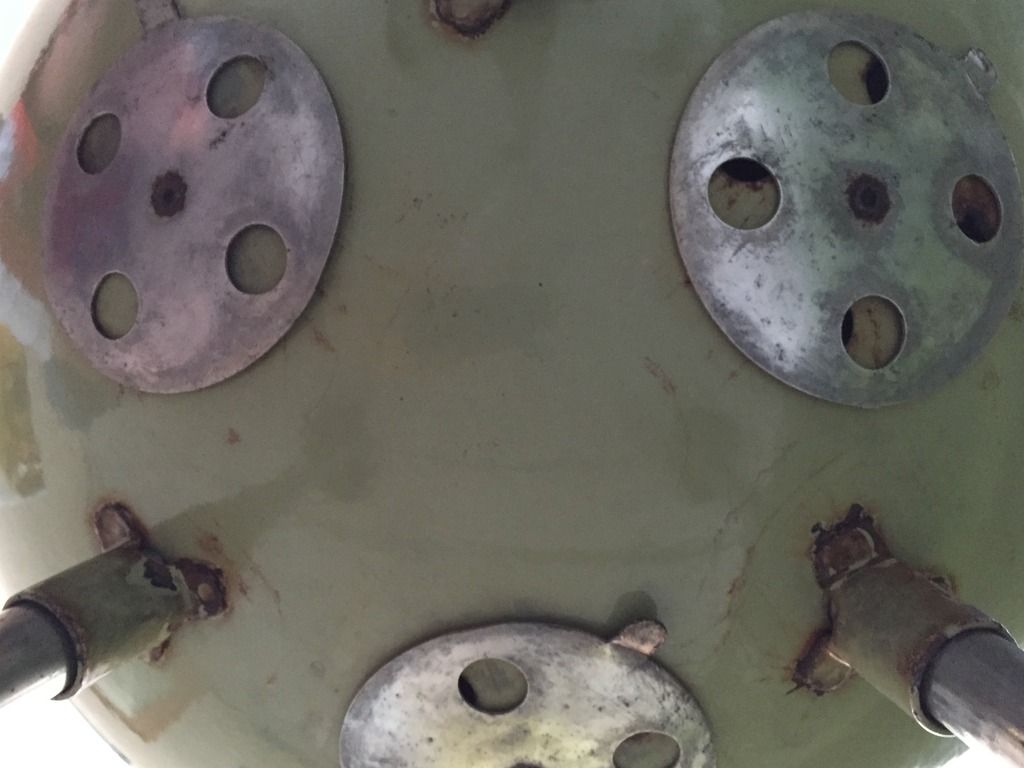
After that, it was on to the exterior. To restore the bowl I used steel wool and soapy water. This did the VAST majority of the work. To get the rust stains off the bottom, I used a paste of water and Bar Keepers Friend...that part was AMAZING. I couldn't believe how well it got rid of those old stains. The lower vents were stuck in place, but after some WD-40 and some gentle rocking back and forth, I got all three bottom vents to move freely. Sadly, I never took a good pic of this in progress, but here is a pic this evening of the lower vents. I assure you they are much better!
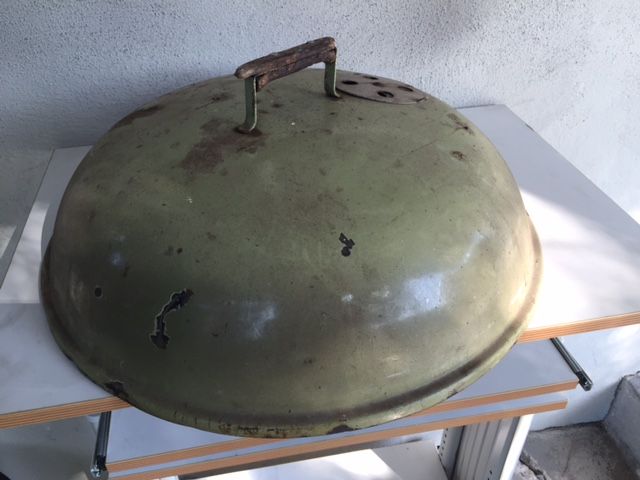
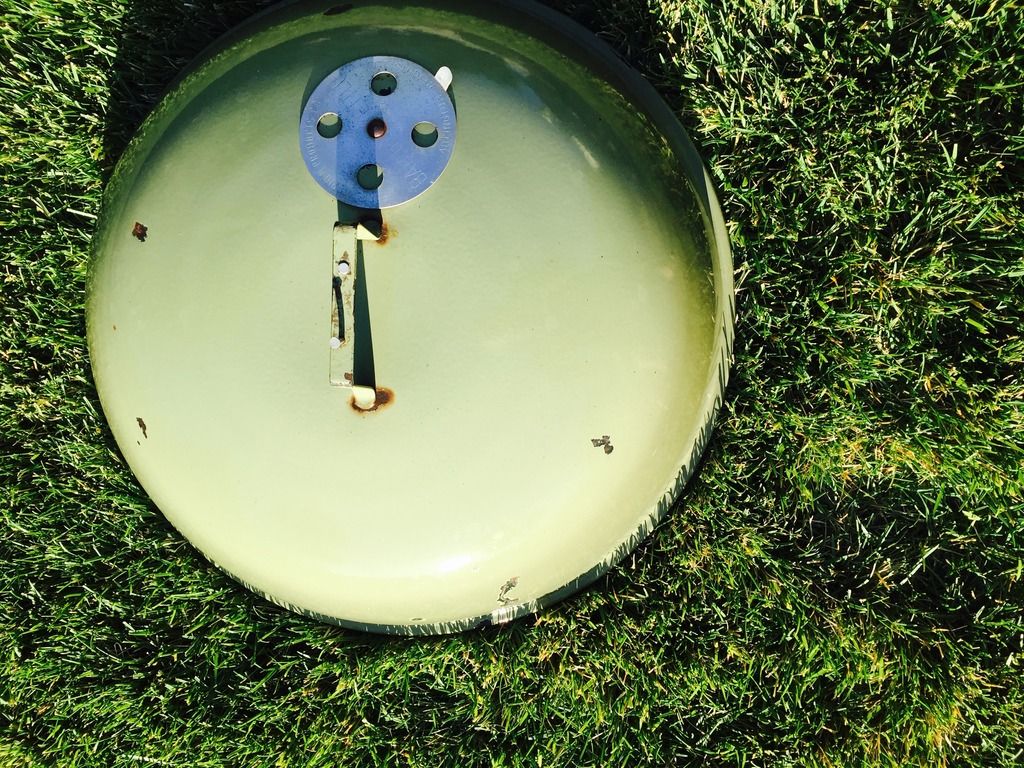
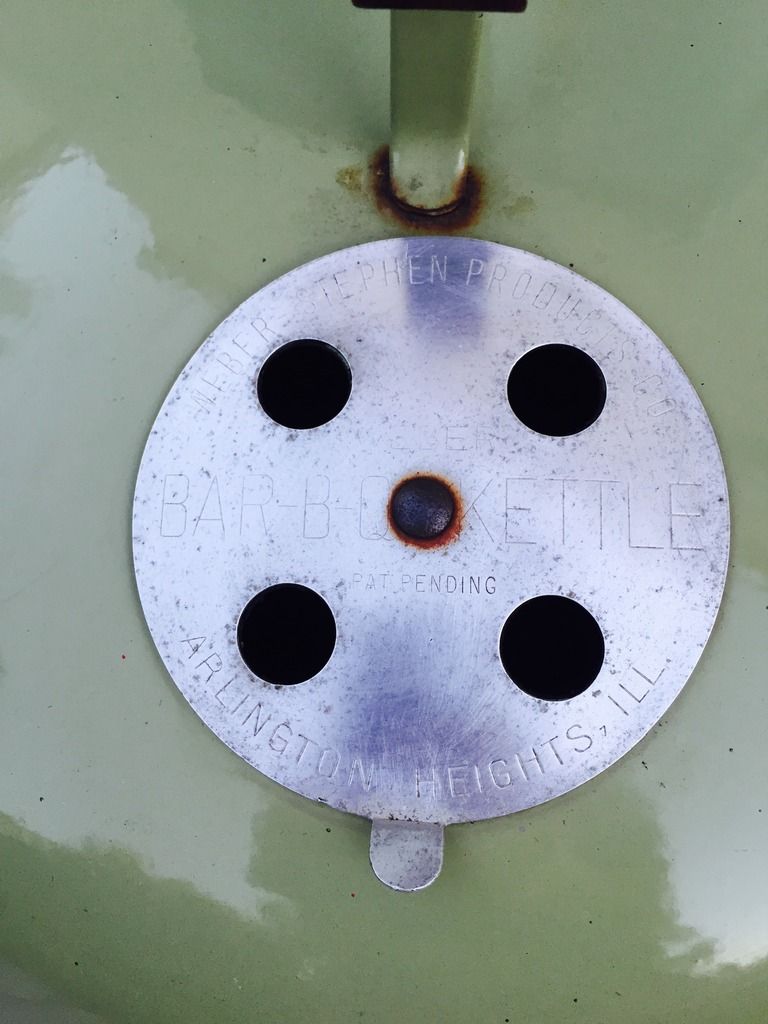
My favorite part was restoring the lid. I really didn't know what to expect under all the grime, but it cleaned up beautifully. Here are the before pics:
Here's a pic cleaned up, but before the new handle:
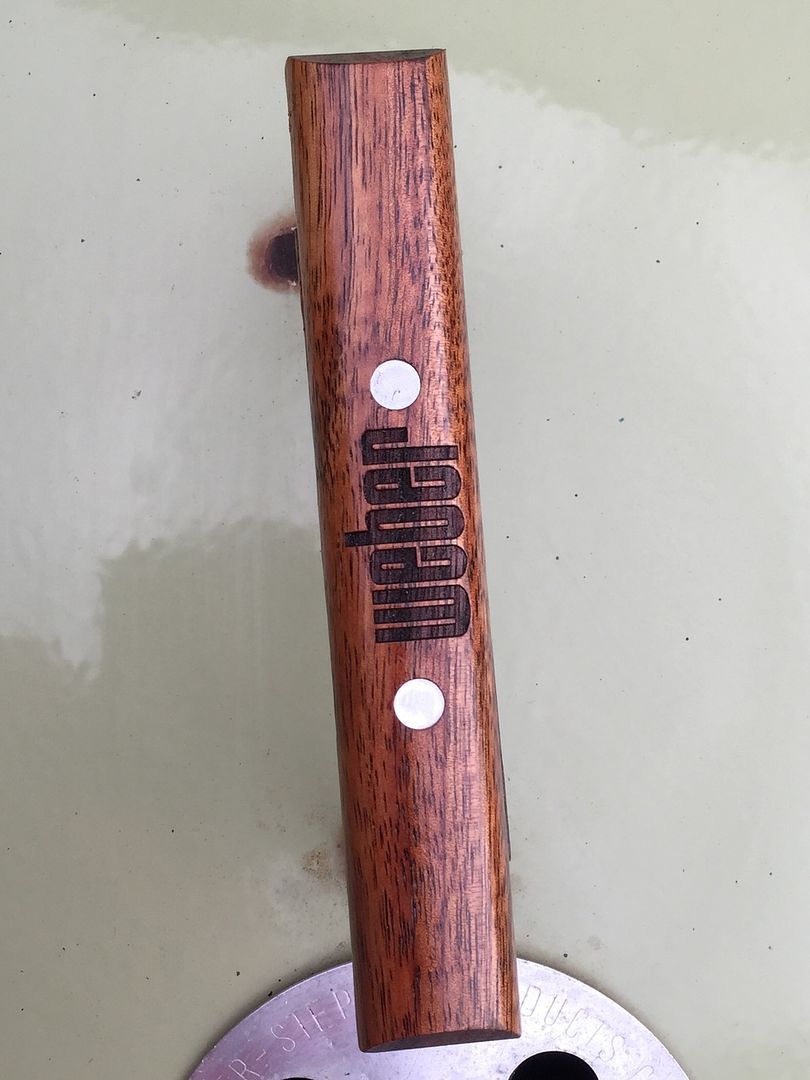
Getting the old rotten handle off was a bit of a chore. I used a saw and got it off chunk by chunk, but the rivets were left behind. I used my needle nose pliers to apply pressure and slowly reshaped the bottom of each rivet until it came out thought the top.

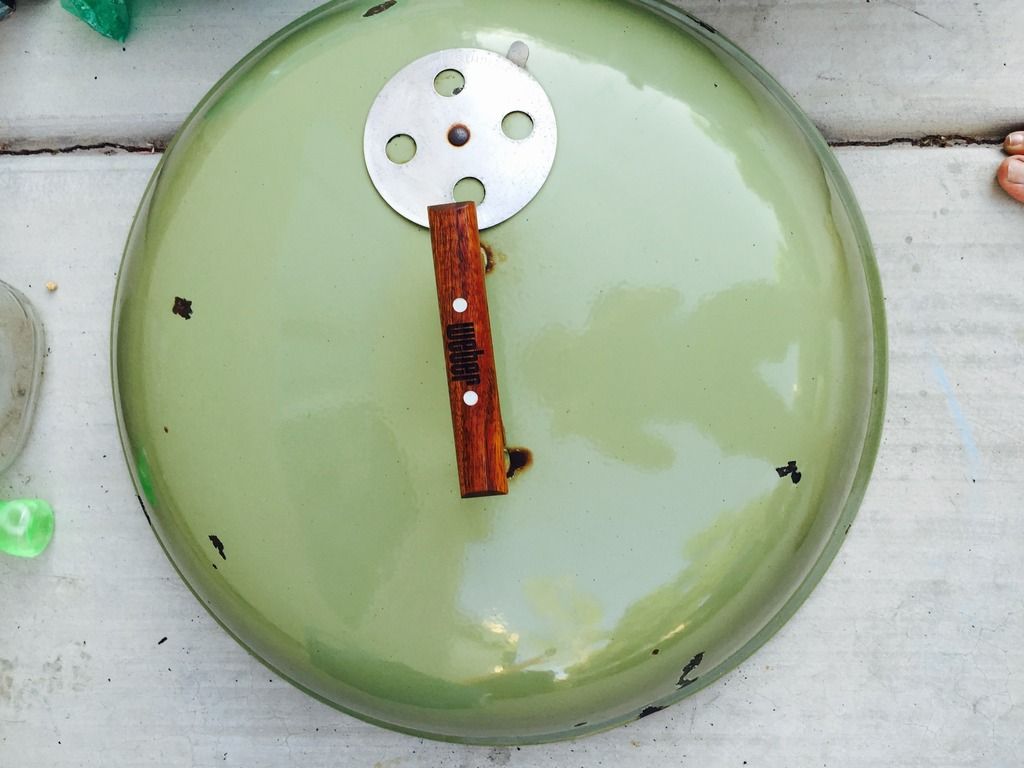
And here is with the new wood handle installed:
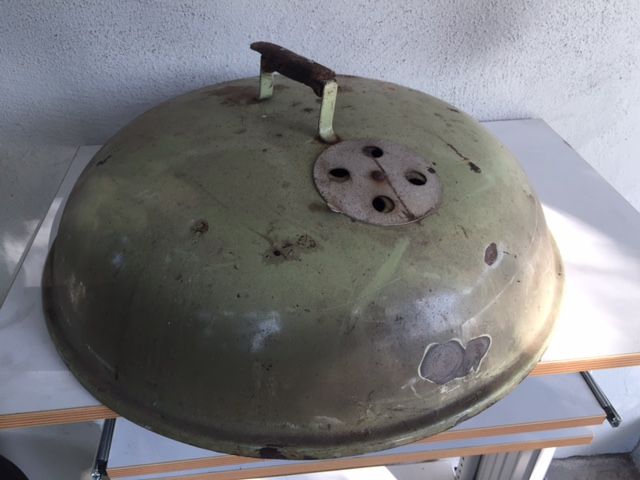
The bowl was complete now, but the lid was crooked as you can see here:
I used a rather un-elegant solution to the bent handle. I put a scrap of cardboard up against the handle, set it against the house with a plastic box lid guarding the house and the Cado lid, and banged the lid back into place with a hammer...I don't think this is recommended, but it worked beautifully.
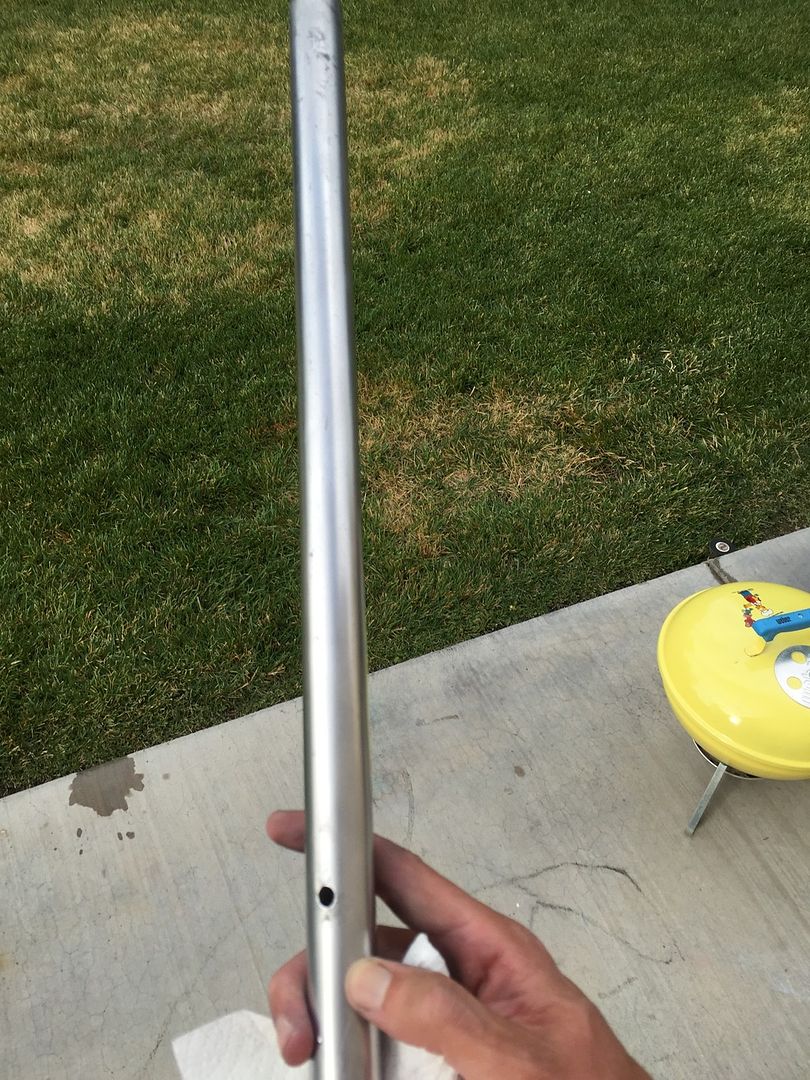
Finally it was on to polishing the legs and triangle. I polished the two Lawrence sent me last week using sandpaper, steel wool, crest toothpaste, and more steel wool. I did the same this evening with the front leg. Here's a pic of the front leg before and after:
Before:
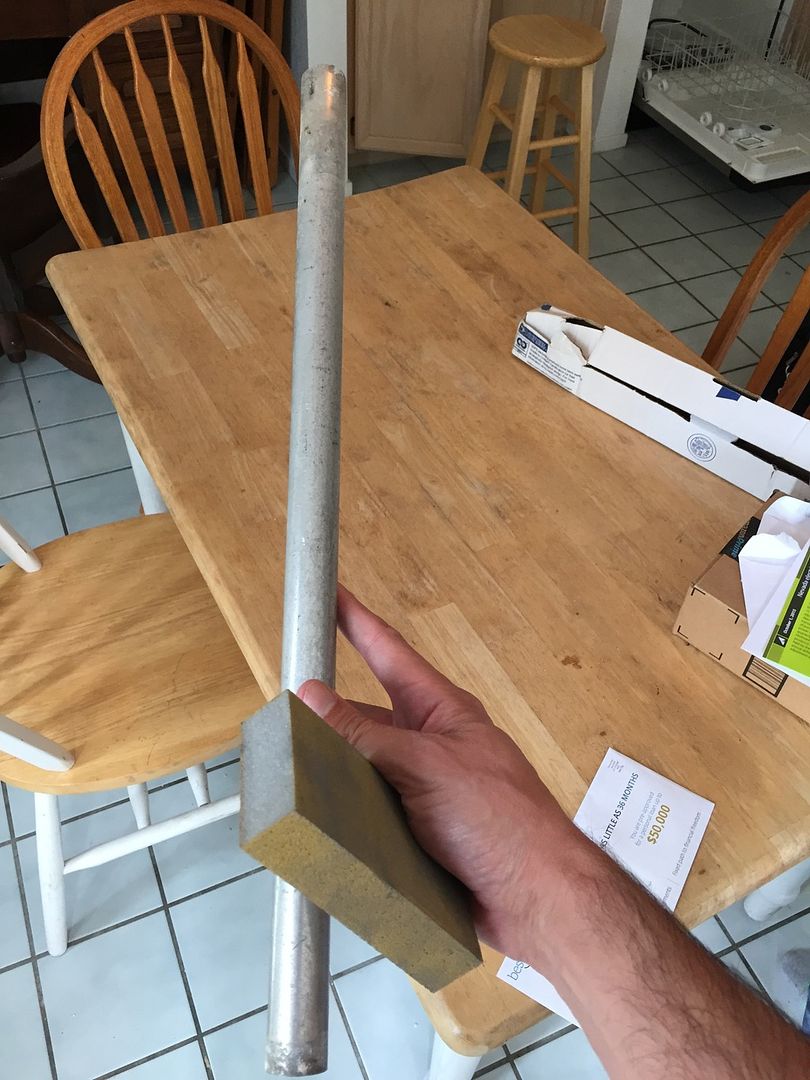
After:
Cleaning the triangle was going well, until one of the spokes broke as I was cleaning. I decided then and there to stop, as the spoke still sat nicely in its spot and you can't notice the break. I like to say the triangle has a nice patina!
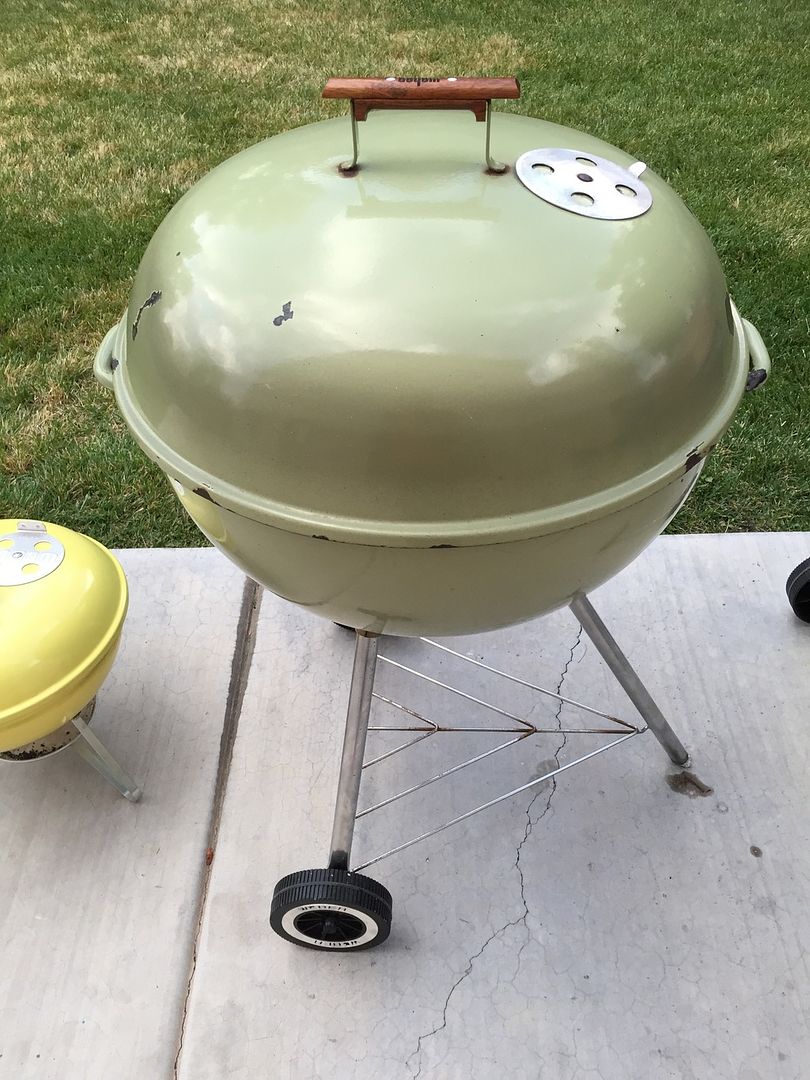
Finally, tonight I put it all together. After installing the legs, I noticed there was a bit of a lean as it seems that one of the leg sockets must have moved or is bent. I had not noticed this before, but after putting some aluminum foil in the top of the front leg as well as the bottom, it sits nice and straight and you barely notice. Here are the pics of the finished product.
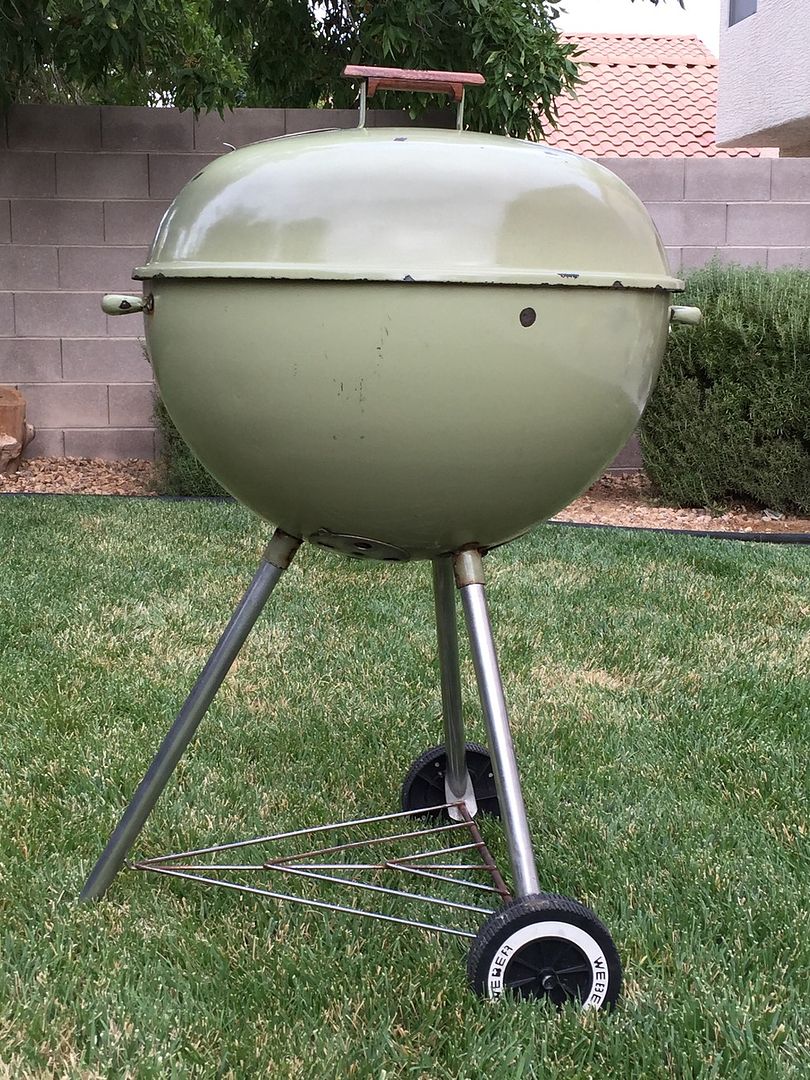
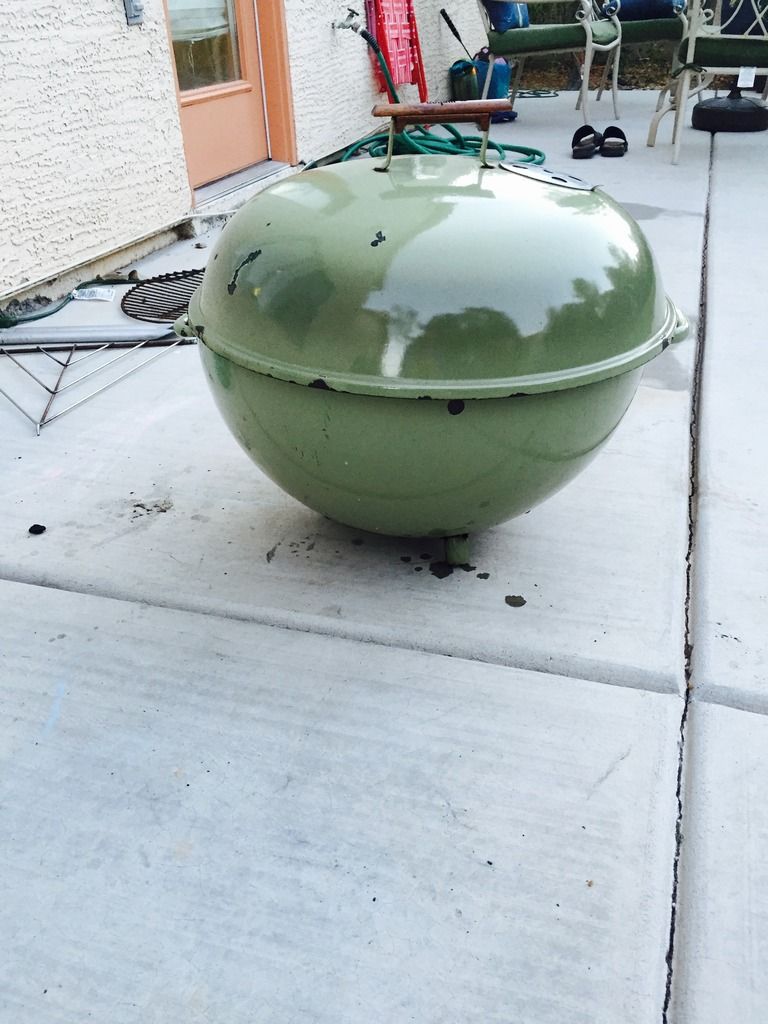
Here it is on my patio...today is the ONE cloudy day we have in Vegas, so it doesn't really shine well...
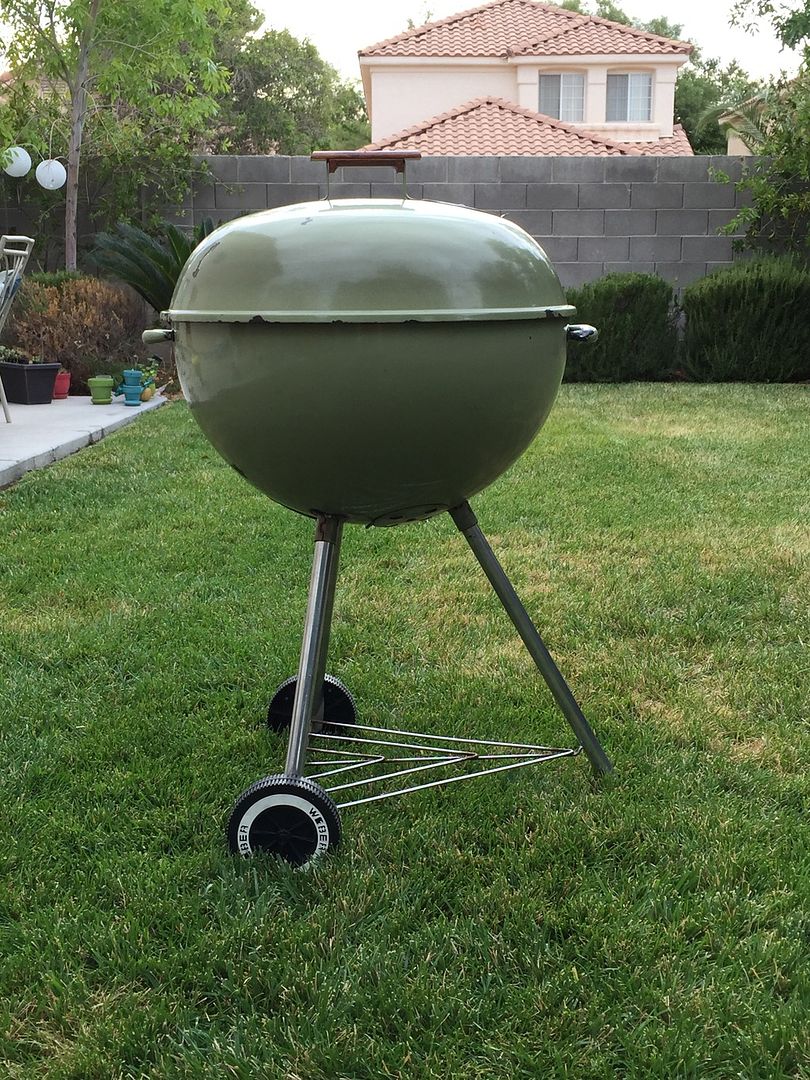
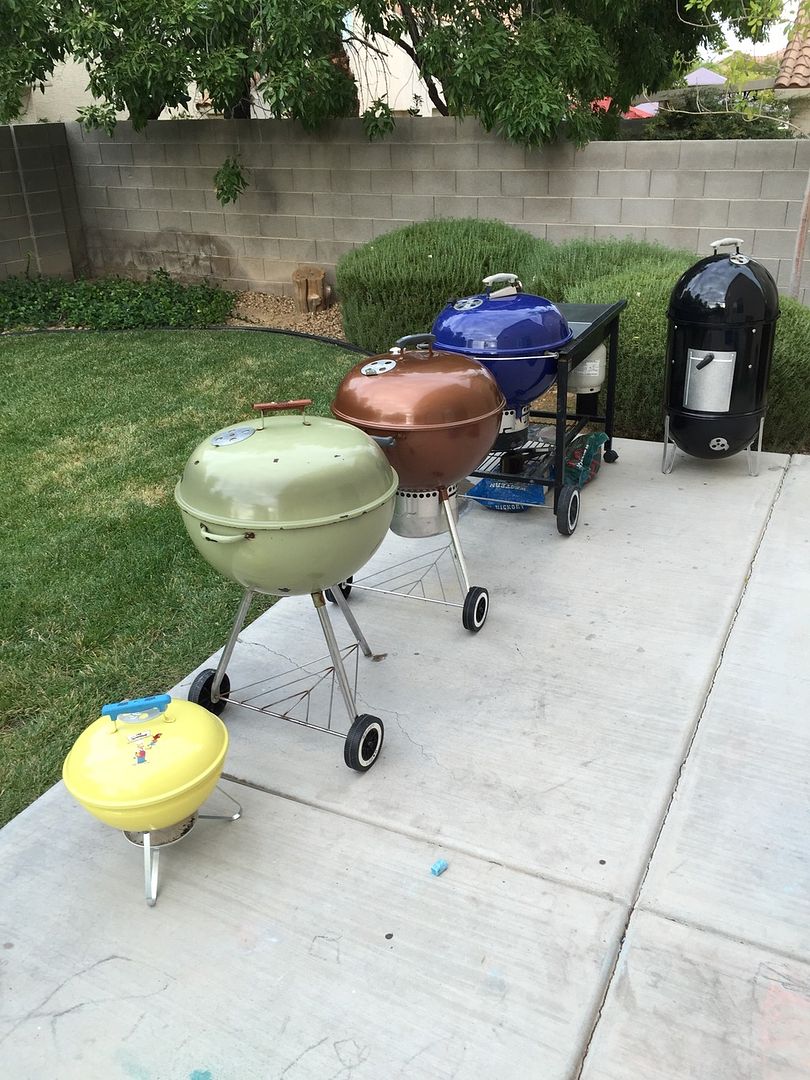
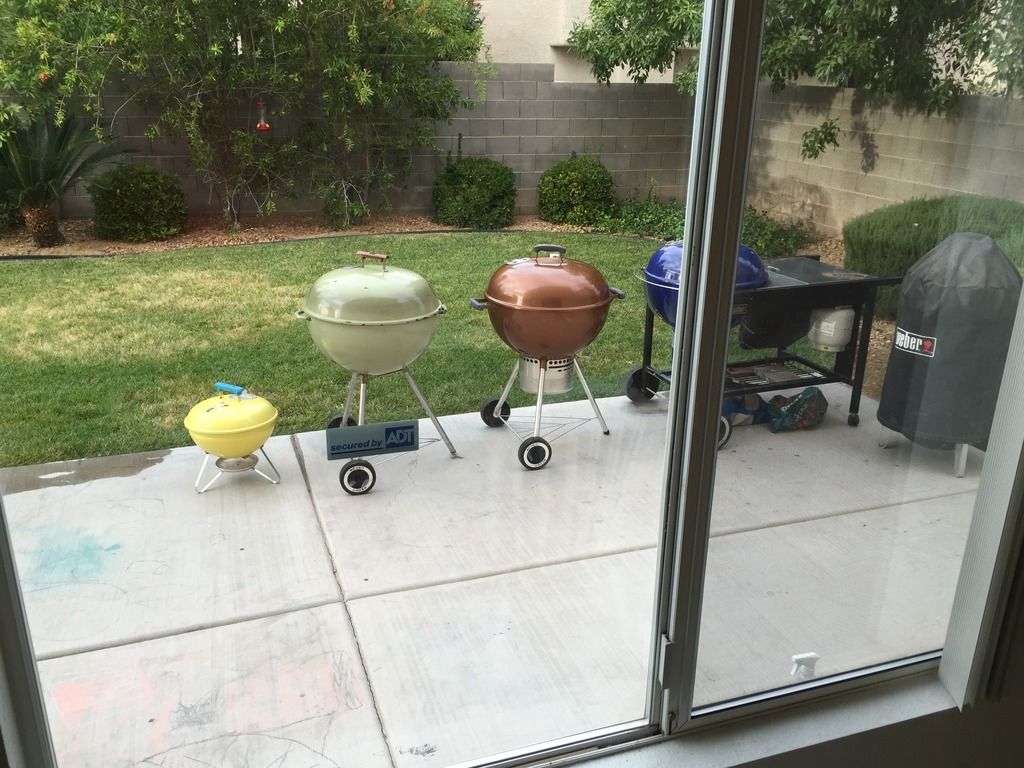
Finally, here it is with all its friends, and the final pic is my view out of my kitchen window right now...I really like it.
Overall, I had a blast doing this restore. I'm not terribly handy, but I did it all on my own with a fair amount of sweat. I loved bringing this old grill back to life. I like the idea that it went from being in neglected in a dumpster in California to a new life in Las Vegas. I plan on caring for it for many years to come. I'll cook on it soon, and I'll share those pics when it happens. Finally, I really have to thank
@pbe gummi bear and
@Craig for the wood handle, front leg and all their shipping. I couldn't have done this without the community here, and I'm glad to be a part of it. RRR!

