Welcome, Guest

Shop Amazon.com and support the WKC | WKC T-Shirts

Author Topic: How I cleaned up some Smokey Joe legs  (Read 6691 times)

saxart

  • WKC Ranger
  • Posts: 934
How I cleaned up some Smokey Joe legs
« on: August 21, 2013, 06:15:33 PM »
I'm going to post somewhat of a 'how-to' but it's more of a 'what I did' to clean up the legs on one of my SJs.  Please don't think that you have to agree with this, or that this is necessarily the right way to do this.  It's kind of an experiment on my part.  The real test is to see what this looks like 5 or 10 years in the future...

Anyway, I have a Copper SJ that was in rough shape for such a collectable grill.  The main shell of it wasn't dented or chipped, just REALLY dirty, and the legs had some rust on them.  I didn't take much for 'before' photos, but here is what I was starting with.   You can't see it in these pictures, but the inside was CAKED with the remains of many grillings.  It was kind of a diamond in the rough just waiting for some lovin'.


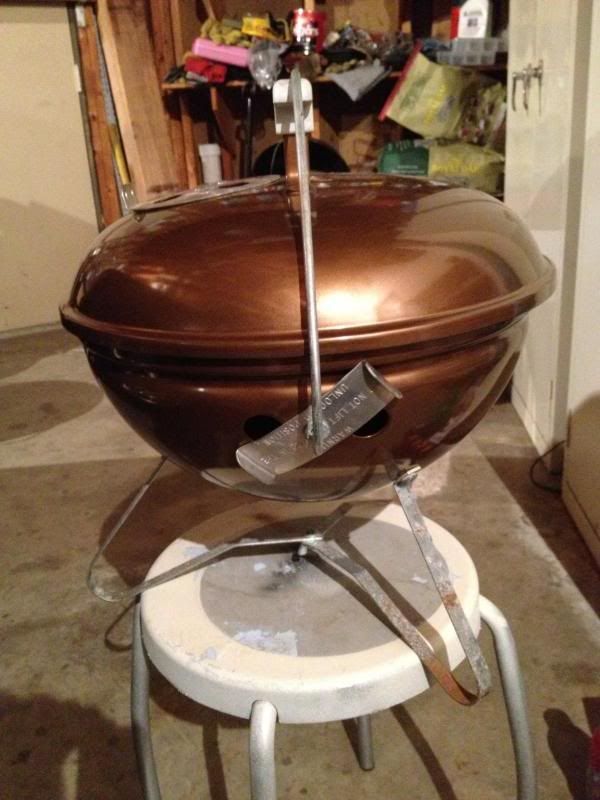
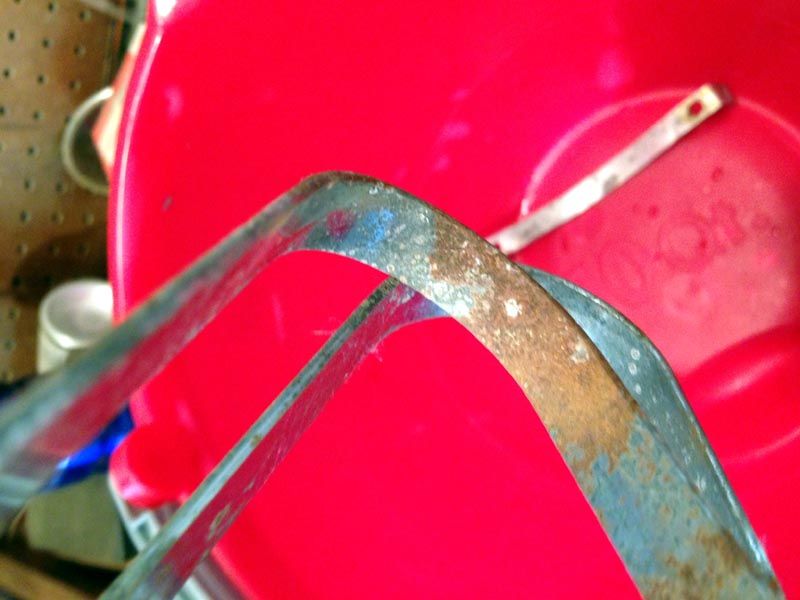
As you can see, the legs are not horrible, but they certainly didn't add to the beauty of this fine SJ, so I decided to do something about it.

The first step was to remove the rust as well as the remaining plating on the legs.  I've noticed that these the plating on these legs is very thin and weak, so I figured it was best to just start over.

The first step is to clean the legs of any grease, then put them in a PLASTIC container and add muriatic acid to remove the rust and plating.  You can find muriatic acid at any home-improvement store in the pool dept.


I need to stop now and warn you.  Muriatic acid is VERY caustic.  You MUST do this outside, and once you add the acid to the container, you need to step away as the fumes are horrible and very dangerous.   I learned long ago that you also do not want to use this acid near any tools.  The fumes that rise up will form a fog and rust anything made of metal in the general vicinity.    Eye protection and thick gloves are a must!  If you're outside (you should be outside with this) you also need to pay attention to the wind direction.  Do not be 'downwind' of this as you add the acid.   Stay upwind and step swiftly aside after adding acid.

Here are the legs and lid-holder arm bubbling away...


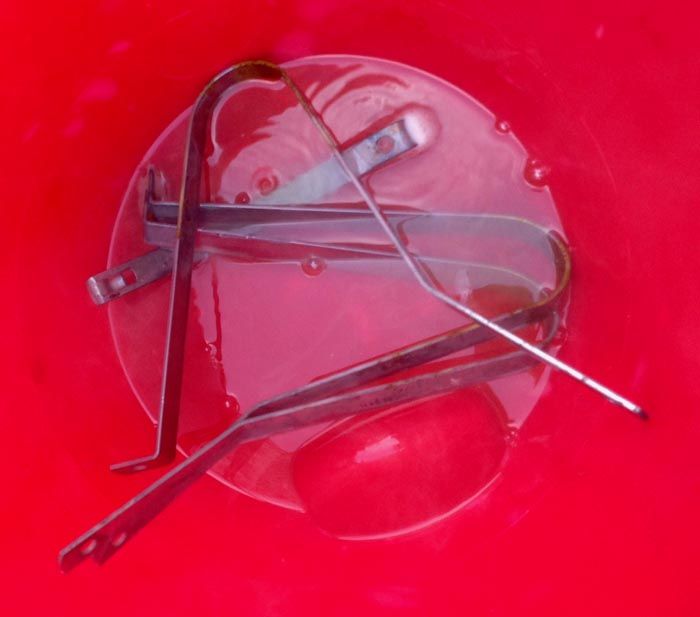
Notice how when the acid is done working, you are left with a YELLOW liquid (that used to be clear) and the legs have a grey hue to them.  No rust!


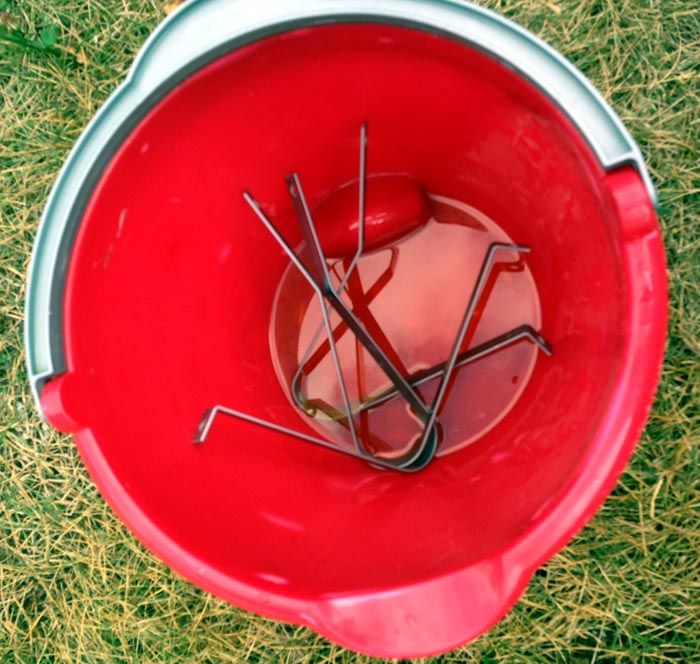
These legs are now raw steel free of rust and plating.  I used a rubber-gloved hand to remove the legs from the acid, and dropped them into a 5-gallon bucket that was filled with water.  The water will neutralize the acid, you can reach in with your bare hand after this, give them a quick rinse under a hose, and set them in the sun to dry.

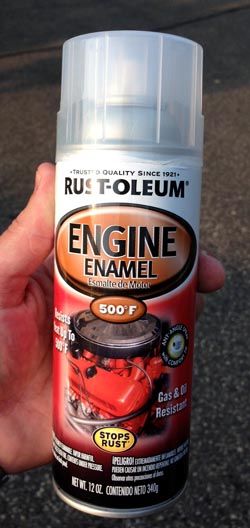
I don't have any pictures of this, but as they are drying, the legs will form a light rust on them.  I polished most of this rust away with some fine steel wool, then wiped them down with lacquer thinner, and sprayed them with a Rustoleum 'clear' engine paint, which is good to 500-degrees.


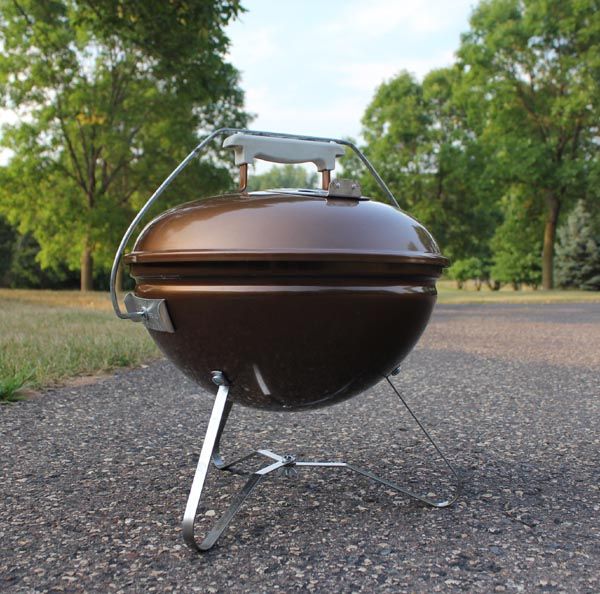
That's it, you're done.  After the clear coat has dried, it's time to reassemble your grill.  My hope is that this clear-coat finish will prevent any future rust from forming.  Only time will tell.  Do NOT go doing this to every SJ you own thinking that this will keep these legs from rusting.   I tried this as an experiment, and so far I am happy with the results, but we do not know how long this will last.

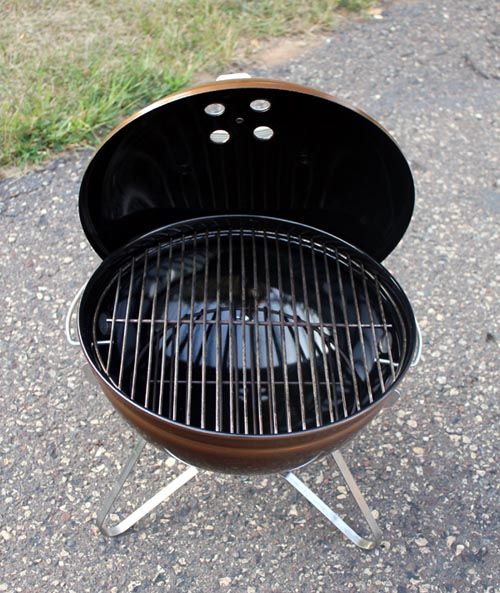
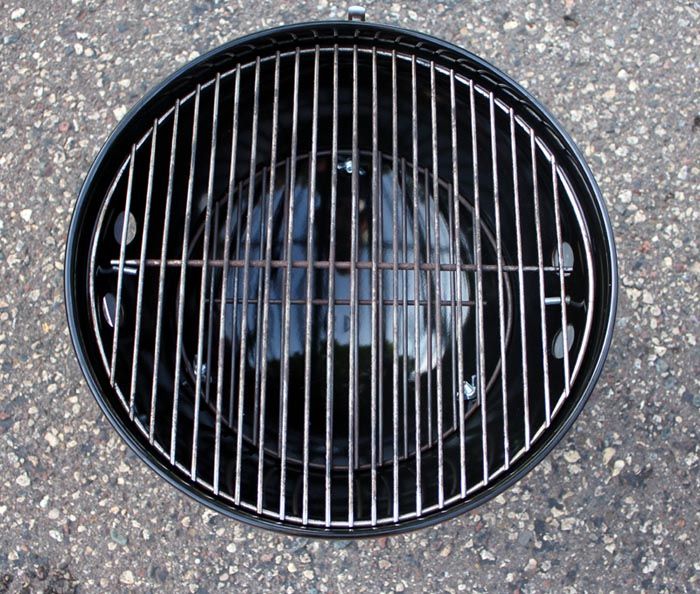
Here are some 'poser' shots of the grill since I did the 'oven cleaner thing' and got the inside all shiney too...  (By the way, a wire brush and some WD-40 will go a long way toward making some very used grates look better.)


« Last Edit: August 21, 2013, 06:32:42 PM by saxart »
Interested in ANY offset handle SJs you may have.

landgraftj

  • WKC Performer
  • Posts: 2516
Re: How I cleaned up some Smokey Joe legs
« Reply #1 on: August 21, 2013, 06:24:43 PM »
Looks nice Art! Interested to see how long the legs will still look like new.
Not everyone deserves to know the real you. Let them criticize who they think you are.

Jeff

  • WKC Performer
  • Posts: 4839
Re: How I cleaned up some Smokey Joe legs
« Reply #2 on: August 21, 2013, 06:28:22 PM »
that turned out great!
Kettle collector AND cooker!

edhead35

  • WKC Ranger
  • Posts: 773
Re: How I cleaned up some Smokey Joe legs
« Reply #3 on: August 21, 2013, 06:32:17 PM »
Nice work.

1buckie

  • WKC Ambassador
  • Posts: 9048
Re: How I cleaned up some Smokey Joe legs
« Reply #4 on: August 21, 2013, 06:35:35 PM »


 That clear ceramic ( I think 500f is also ceramic) paint is pretty rough & tough......only place it might wear is right where it sits on the ground......maybe have the wife sew up a nice puffy litttle Nomex pillow for it to sit on..............nevermind...... 8)


Looks really Sharp !!!!!
"If you want it fancy there is BBQ spray paint at home depot for that. "
    Covered, damper-controlled cooking.....IF YOU PLEASE !!!
           "But the ever versatile kettle reigned supreme"    

Chasing_smoke

  • WKC Ranger
  • Posts: 1530
How I cleaned up some Smokey Joe legs
« Reply #5 on: August 21, 2013, 06:39:50 PM »
They looks great! Like new again for sure!


 "my kettle is more powerful it will do almost anything."
MH Copper mist, Daisy Wheel P, Homer Simpson OTG, Blue 18, Blue Mastertouch, SJS, Genesis Sliver B, Red 18 Bar-b-q-kettle Pat Pending, Copper performer

glrasmussen

  • WKC Performer
  • Posts: 3275
Re: How I cleaned up some Smokey Joe legs
« Reply #6 on: August 21, 2013, 06:46:14 PM »
Looks great Art!

pbe gummi bear

  • WKC Mod
  • Posts: 9059
Re: How I cleaned up some Smokey Joe legs
« Reply #7 on: August 24, 2013, 09:15:26 PM »
This was great! That's a really nice kettle you got. How long did you soak in acid?
"Have you hugged your Weber today?"
Check out WKC on Facebook:
https://www.facebook.com/pages/Weber-Kettle-Club/521728011229791

Craig

  • WKC Mod
  • Posts: 11004
Re: How I cleaned up some Smokey Joe legs
« Reply #8 on: August 24, 2013, 09:30:16 PM »
Nice work!

Duke

  • The Duke
  • Posts: 7968
Re: How I cleaned up some Smokey Joe legs
« Reply #9 on: August 25, 2013, 02:12:27 PM »
Nice work Art! :)

Red Kettle Rich

  • WKC Ranger
  • Posts: 1985
Re: How I cleaned up some Smokey Joe legs
« Reply #10 on: October 12, 2013, 01:47:43 PM »
I'm such a pussy - I gave ereplacement.com $10 for a new set of legs.  I've been burnt enough times and gotten enough acid holes in my jeans from Hydrochloric (Muriatic) acid to not want to use it if at all possible 8)

Don't forget to use stainless nuts & bolts when reassembling - and avoid puckerbutt 8)
Looking for a RED 26" Kettle & a tabbed no leg RED 22" Kettle near STL. Copper Sam Adams SJ anywhere 8)

HankB

  • WKC Performer
  • Posts: 2326
Re: How I cleaned up some Smokey Joe legs
« Reply #11 on: October 12, 2013, 01:57:17 PM »
Nice work on the legs. Thanks for the sincere warning about the hazards of working with Muriatic acid. It's nasty stuff!

I hope that the treatment works well. I usually use the silver colored paint for stuff like that. I fabricated some legs for the SJS which I use for a WSM as the round style ones did not seem strong enough for the weight. After a year or two they had rust spots again but I did not acid etch before painting.
kettles, smokers...

1911Ron

  • WKC Performer
  • Posts: 4457
Re: How I cleaned up some Smokey Joe legs
« Reply #12 on: October 12, 2013, 02:03:53 PM »
Looks brand new!  If you ever want to get rid of it let me know, ok? ;D
Wanted: 18" Platinum any color will work
This is my Kettle there are many like it but this one is mine......

Darko

  • WKC Performer
  • Posts: 4855
Re: How I cleaned up some Smokey Joe legs
« Reply #13 on: July 22, 2016, 10:22:28 AM »
@saxart , how are the legs holding up 3yrs later?

Mr.CPHo

  • WKC Mod
  • Posts: 3892
Re: How I cleaned up some Smokey Joe legs
« Reply #14 on: July 22, 2016, 10:39:59 AM »
I'm such a pussy - I gave ereplacement.com $10 for a new set of legs.  I've been burnt enough times and gotten enough acid holes in my jeans from Hydrochloric (Muriatic) acid to not want to use it if at all possible 8)

Don't forget to use stainless nuts & bolts when reassembling - and avoid puckerbutt 8)
Do you have a link to the replacement legs?


Sent from my iPhone using Tapatalk